
Adding your own images
Upload your own artwork
There are several ways to add your own images to a storyboard in Boords, whether you're uploading in bulk, replacing a single frame, or building a reusable asset library.
Uploading multiple images
When you have a set of images ready to turn into a storyboard, you can upload them all at once.
From a blank storyboard
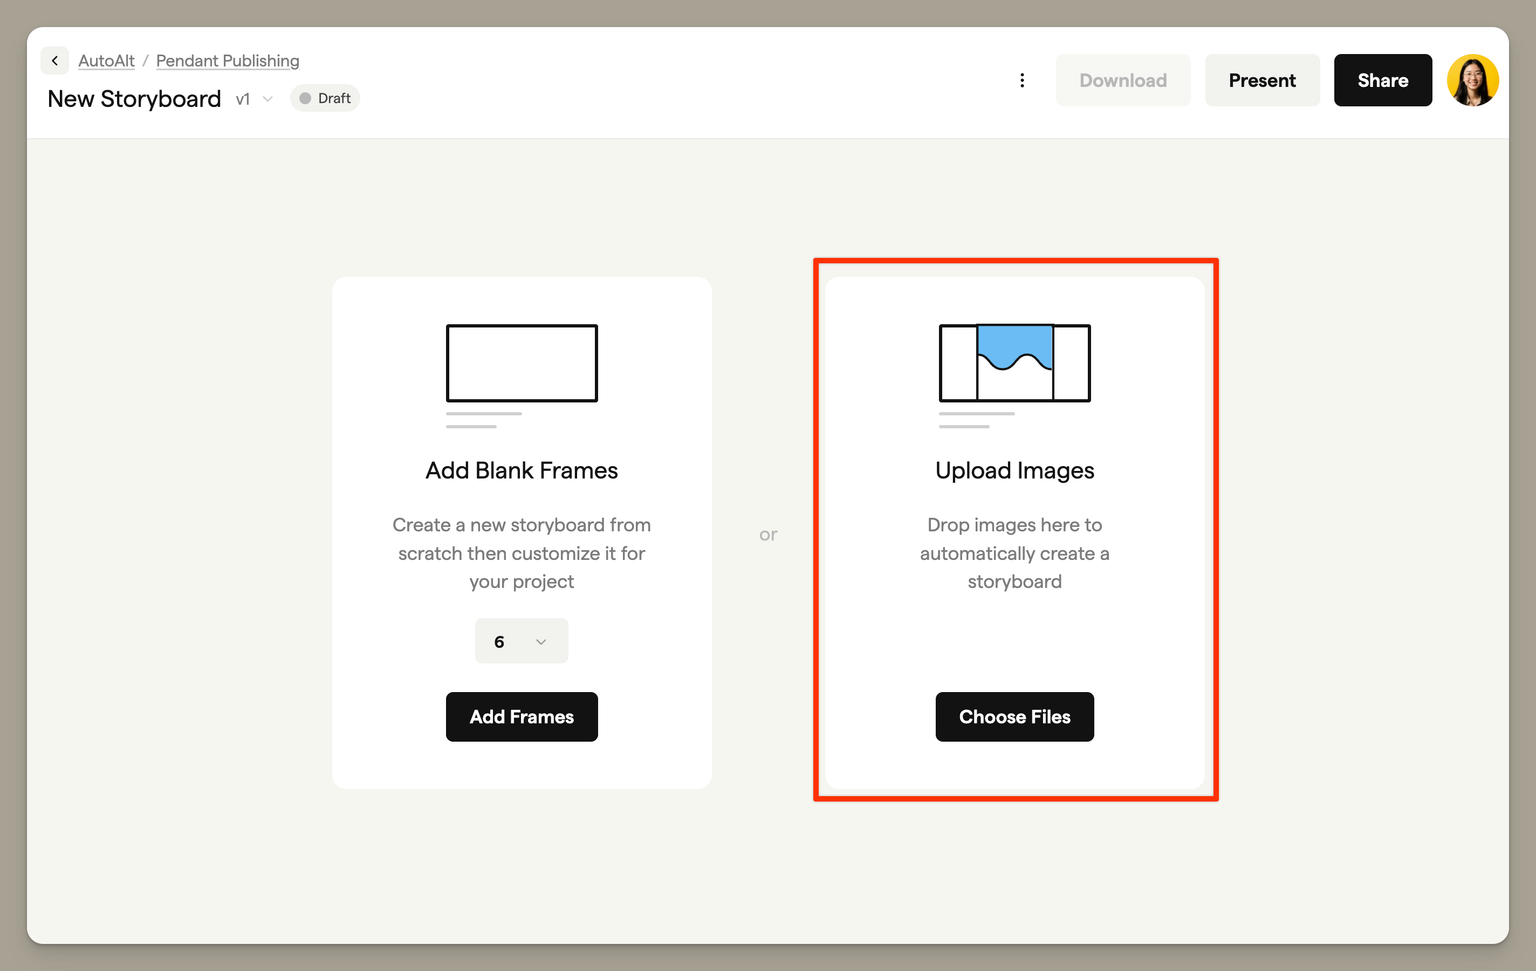
When you open an empty storyboard, click Add Images to see your upload options. Select Upload images to choose multiple files from your computer — Boords will create a new frame for each image.
Drag and drop to the canvas
You can also drag multiple images from your computer directly onto the storyboard canvas. Each image becomes a new frame, added in the order you selected them.
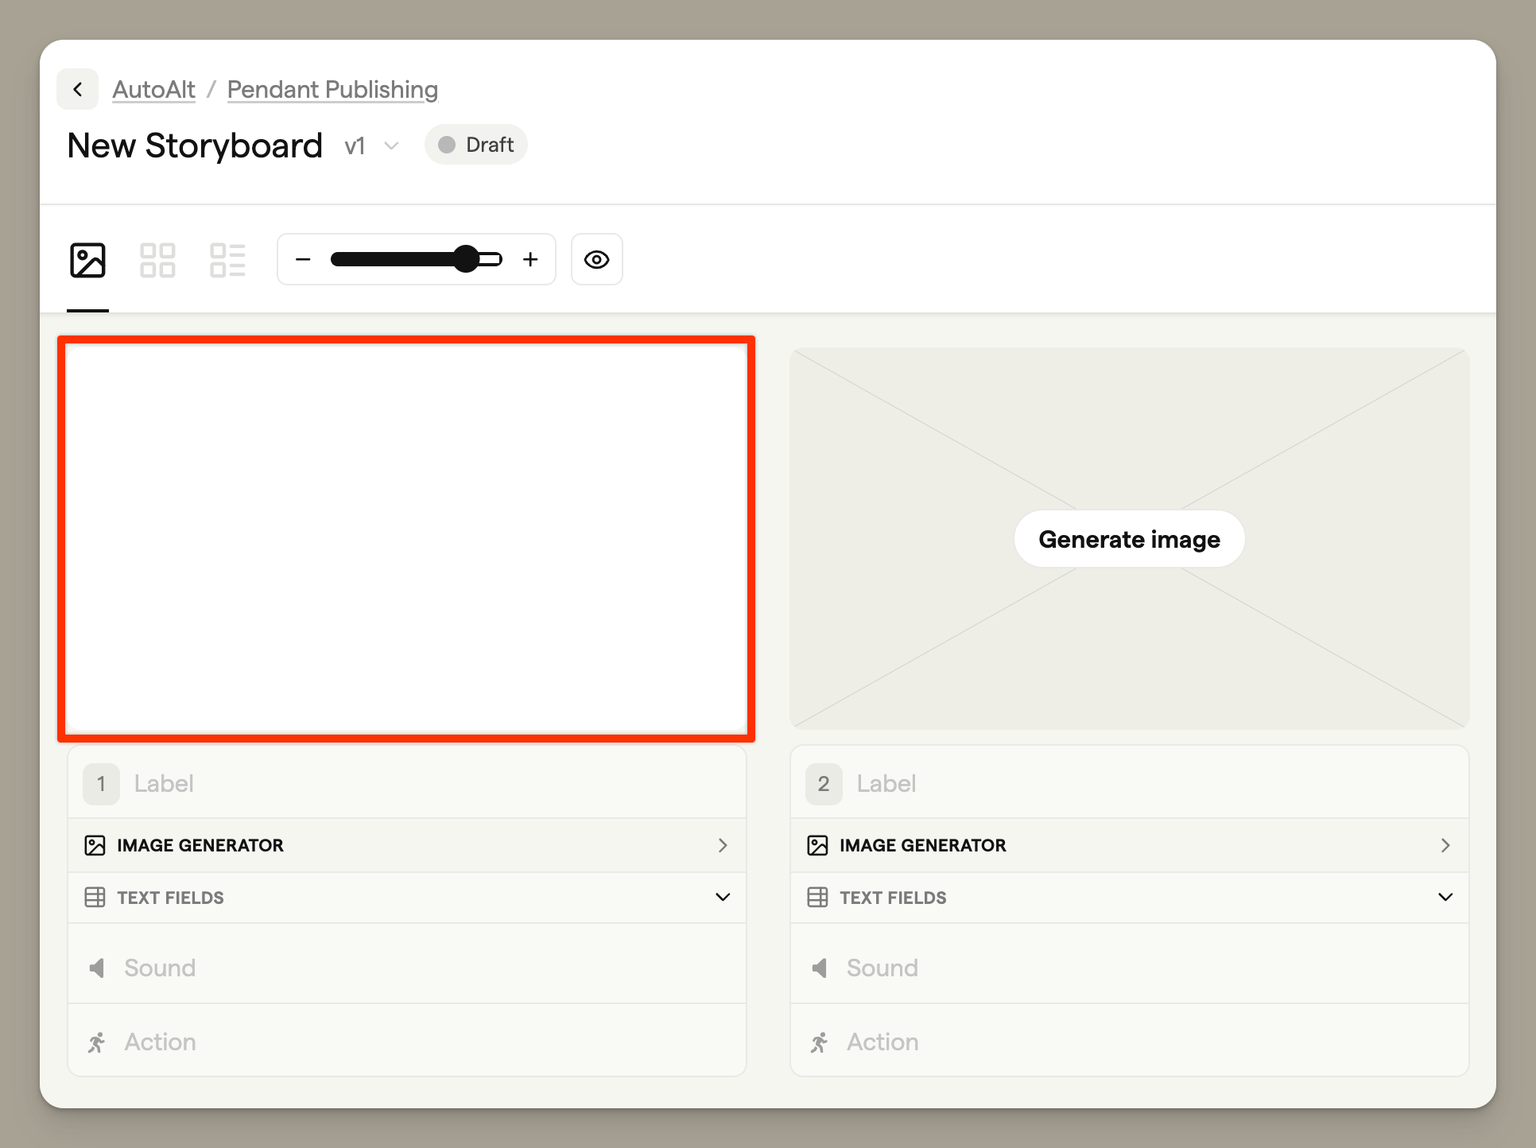
Replacing a frame image
To change the image on an existing frame:
Drag and drop onto a frame
The quickest method — simply drag an image file from your computer onto any frame to replace its current image.
Using the frame menu
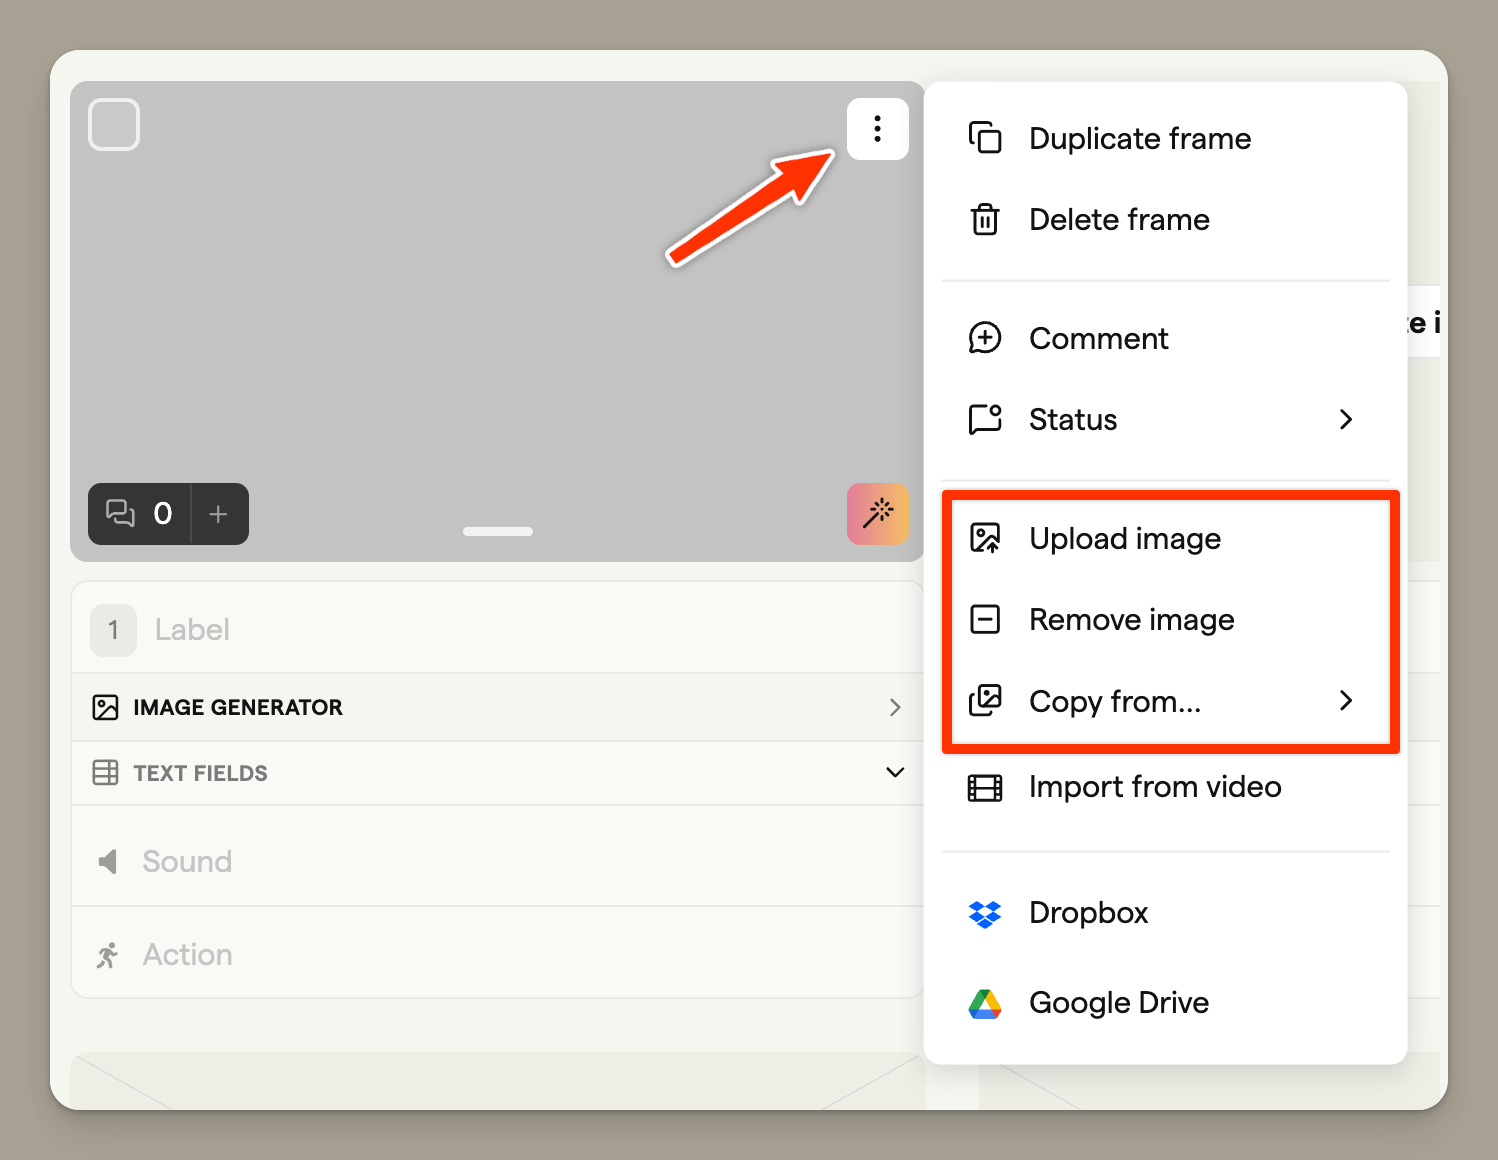
Hover over a frame and click the three-dot menu (⋮) in the top-right corner. From here you can:
- Upload image — Choose a new image from your computer
- Remove image — Clear the frame image entirely
- Copy from... — Reuse an image from another frame in the storyboard
Cloud storage integrations
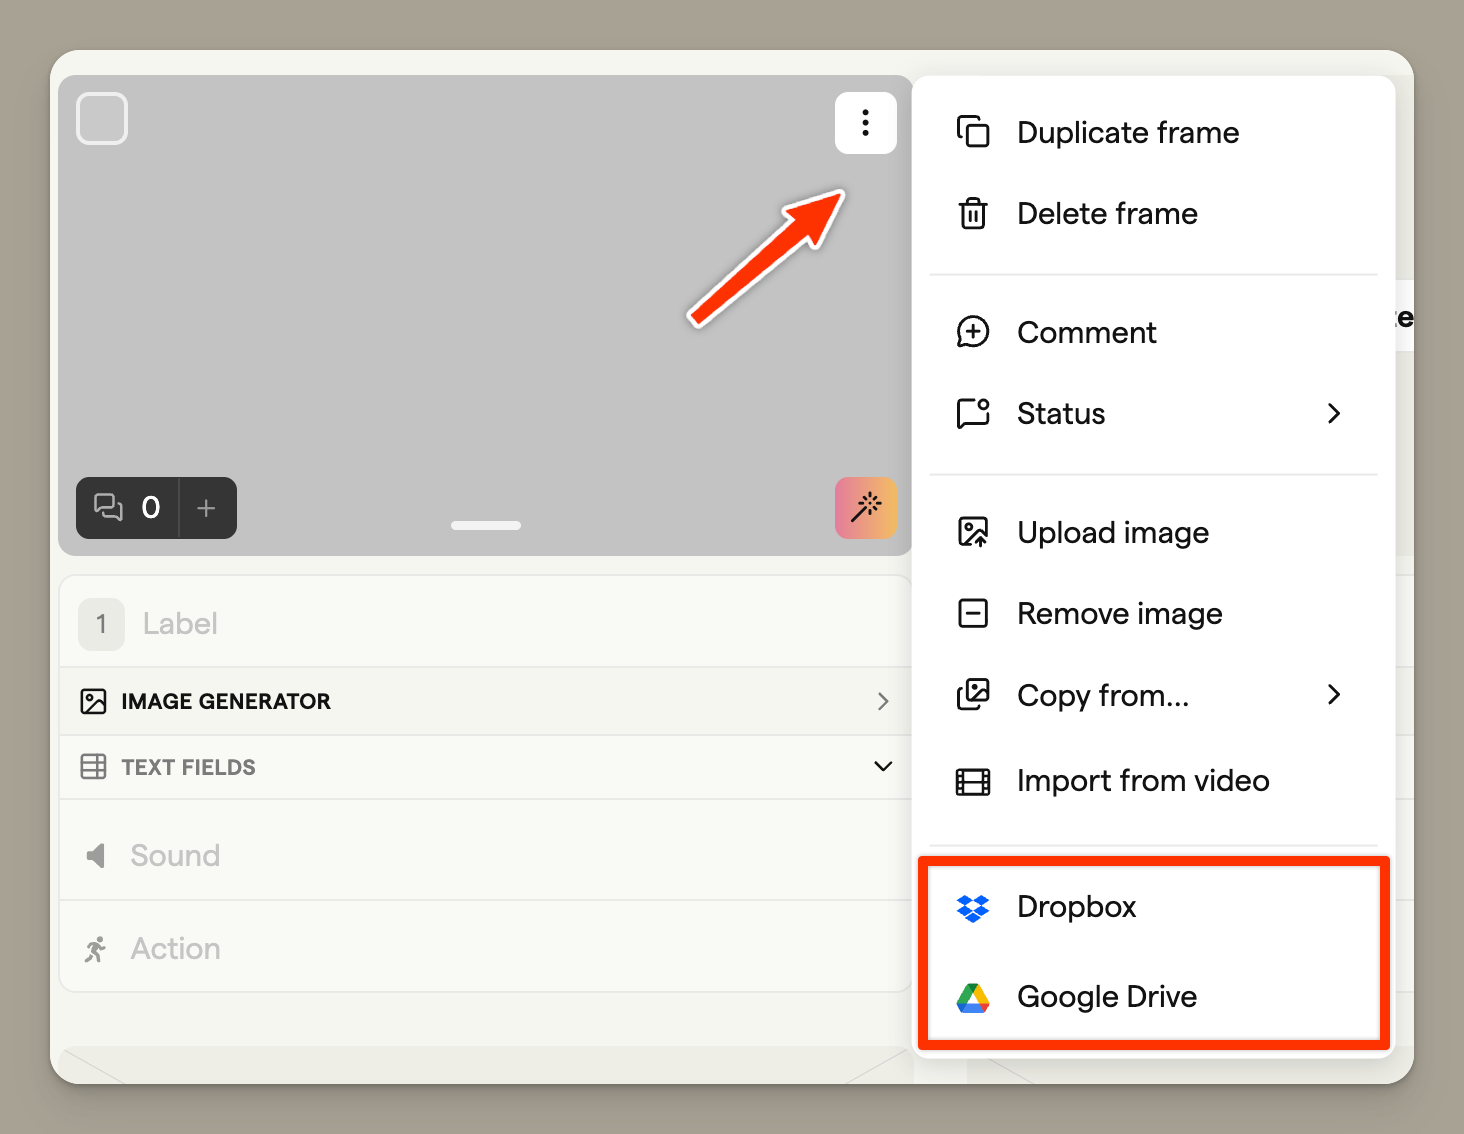
You can also import images directly from cloud storage:
- Dropbox — Select images from your Dropbox account
- Google Drive — Import from Google Drive
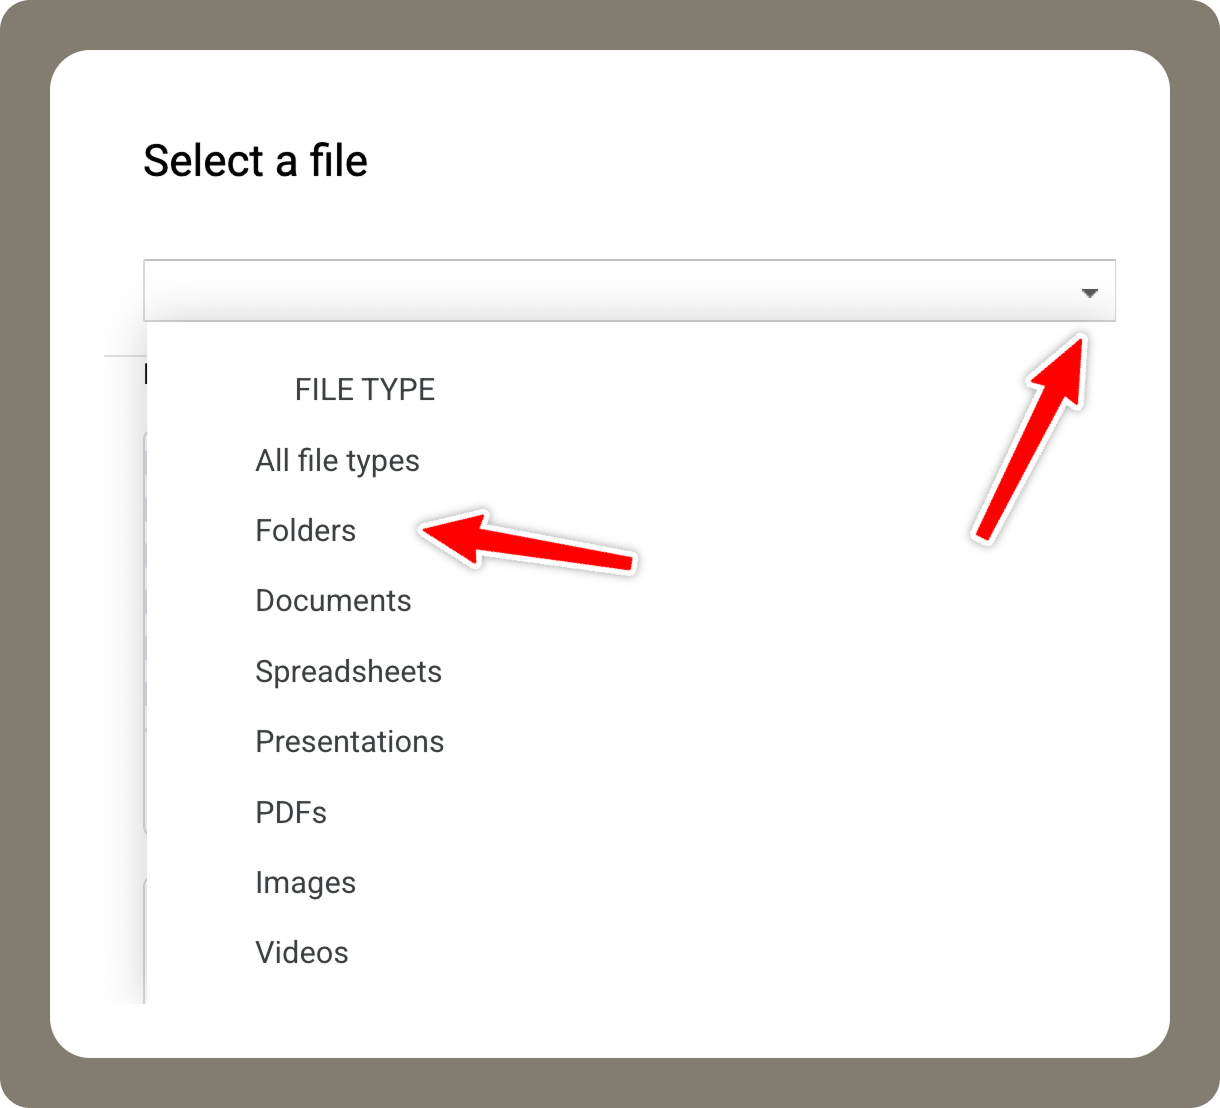
Navigating folders in Google Drive
The Google Drive file picker requires a few extra steps to browse folder contents.
- Open the Advanced search options dropdown and select Folders to display your folders
-
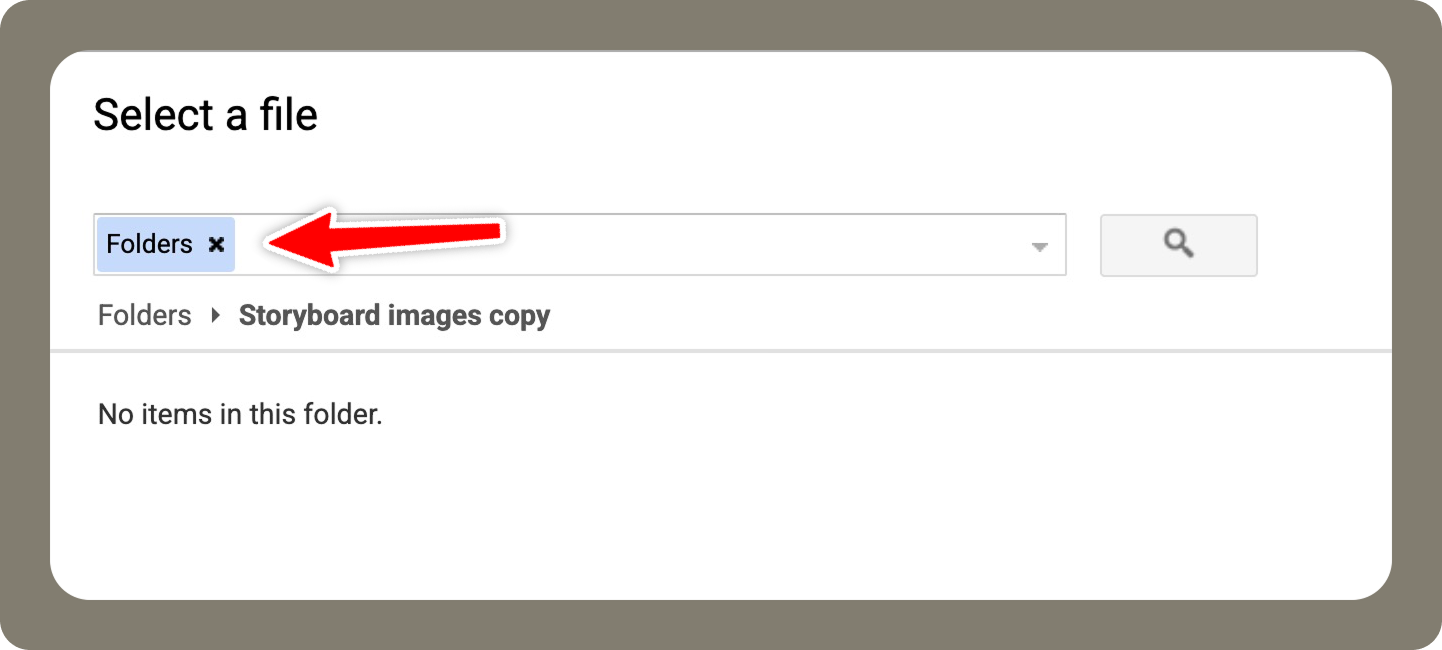
Double-click the folder you want to open
-
Remove the Folders filter from the search bar. Your images within the folder will then appear and can be uploaded to the storyboard
Using the Image Library
The Image Library lets you upload and manage a collection of images for your project. This is useful when working with recurring characters, locations, or props that appear across multiple frames.
Adding images to the library
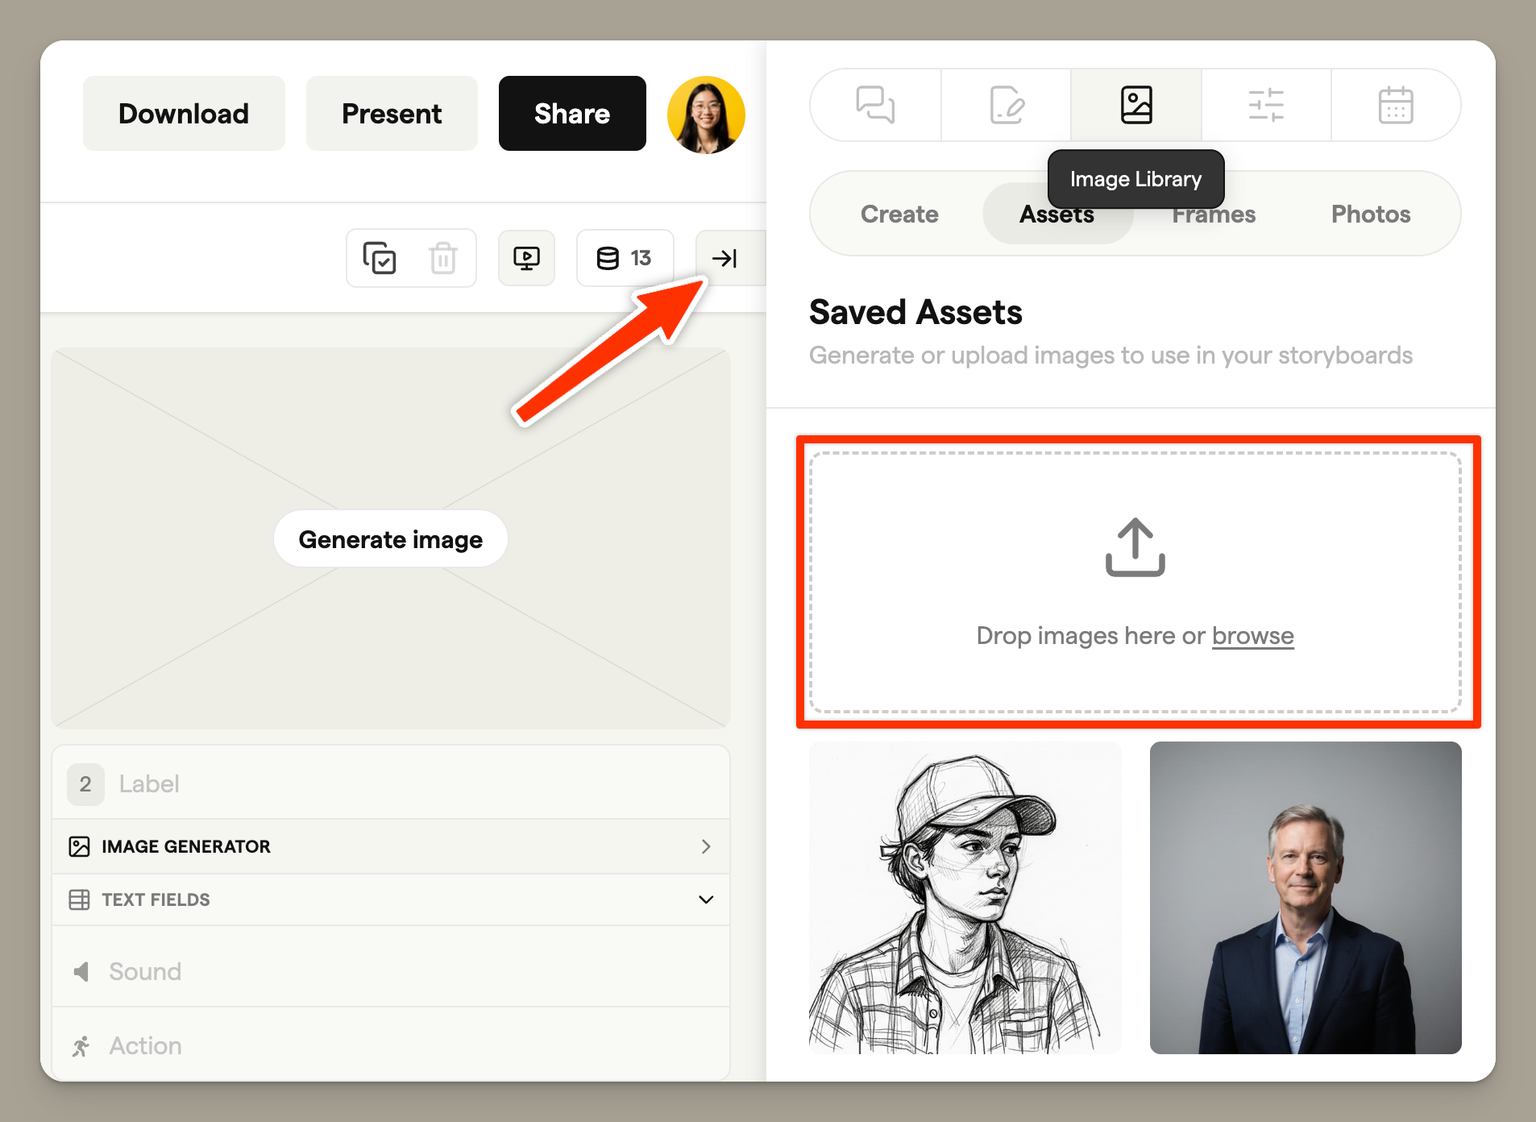
- Open the Images tab in the right sidebar
- Drag images into the upload area, or click browse to select files
- Your images are saved to the project for reuse
Applying library images to frames
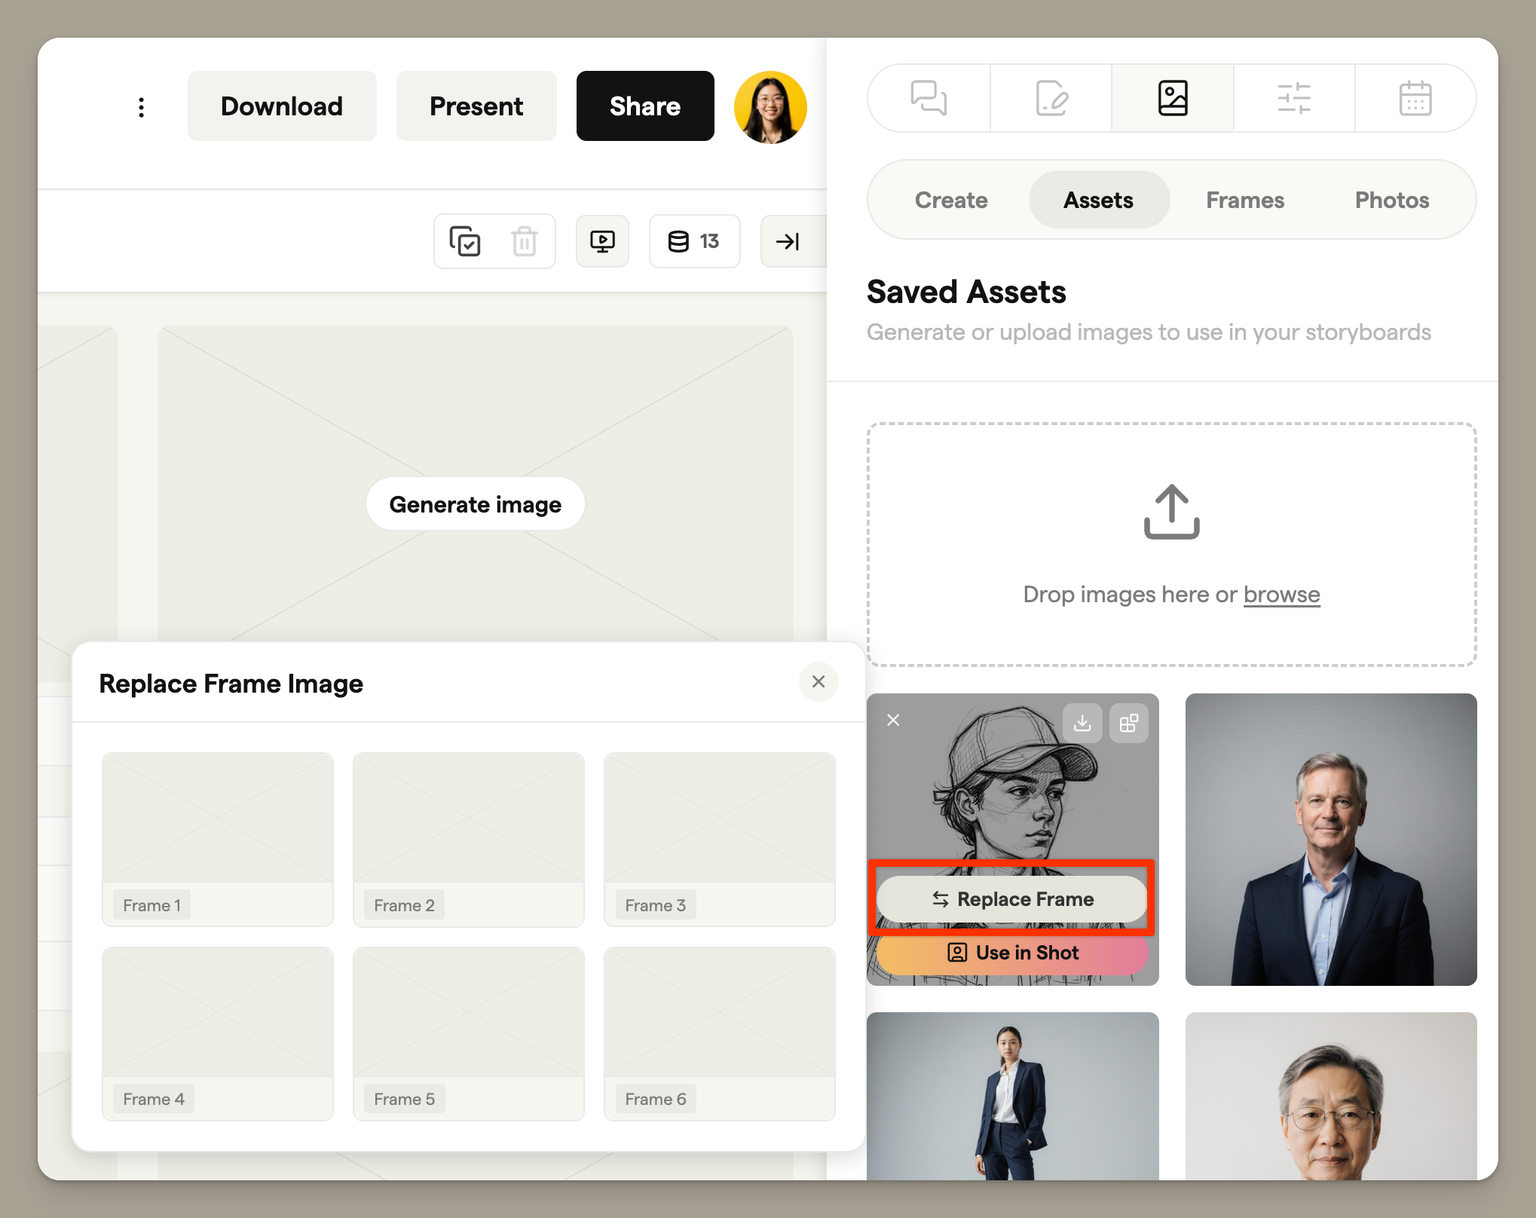
Once images are in your library, click Replace Frame to use that image in a storyboard frame.
Your uploaded images can also be used as references for AI image generation. Learn more in Generating images and Playground.
Video to GIF
You can extract animated GIFs from video files to use in your storyboard. GIFs can be up to 5 seconds in length.
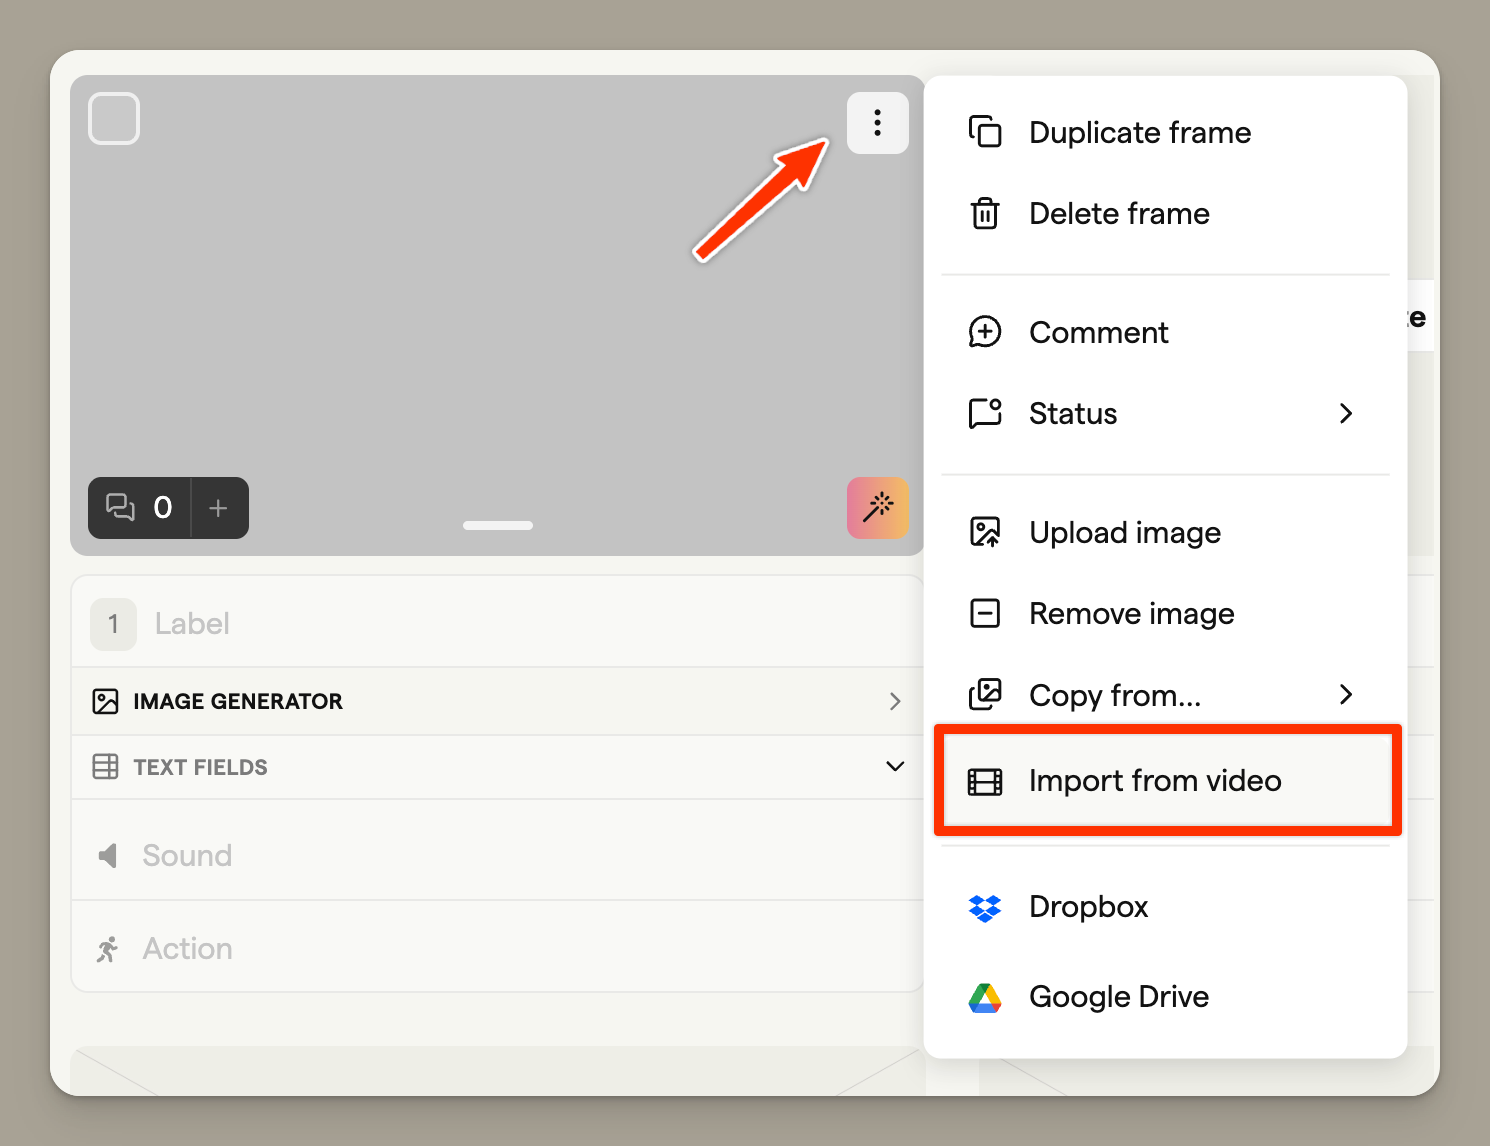
- Open the frame menu and select Import from video
- Drop a video file into the dialog, or click to browse
- Use the trimmer to select which portion of the video to capture
- Click Trim to generate a preview
- Click Upload to add the frame to your storyboard
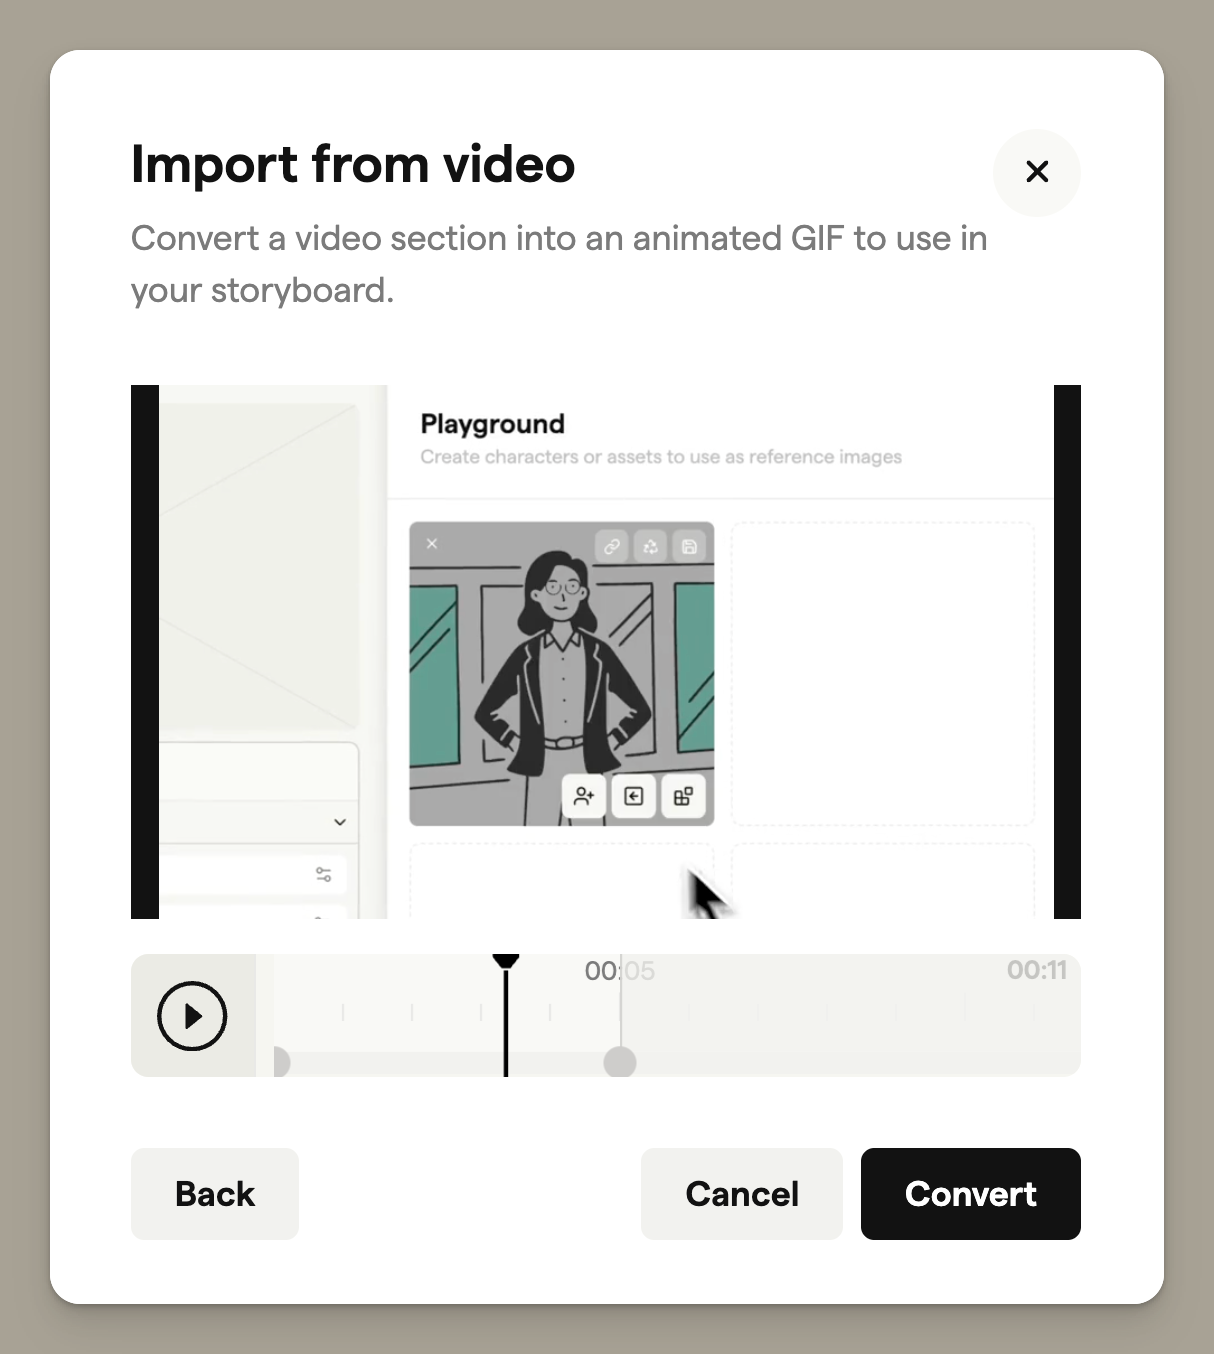
The video import tool converts your selected clip into an animated GIF, which displays in your frame. This is perfect for capturing motion or showing brief action sequences.
Supported file formats
Boords accepts JPG and PNG image files. For video import, most common video formats are supported including MP4, MOV, and WebM.
For best results, use images that match your storyboard's aspect ratio to avoid cropping.