
What are LUTs? The Ultimate Guide to Color Grading
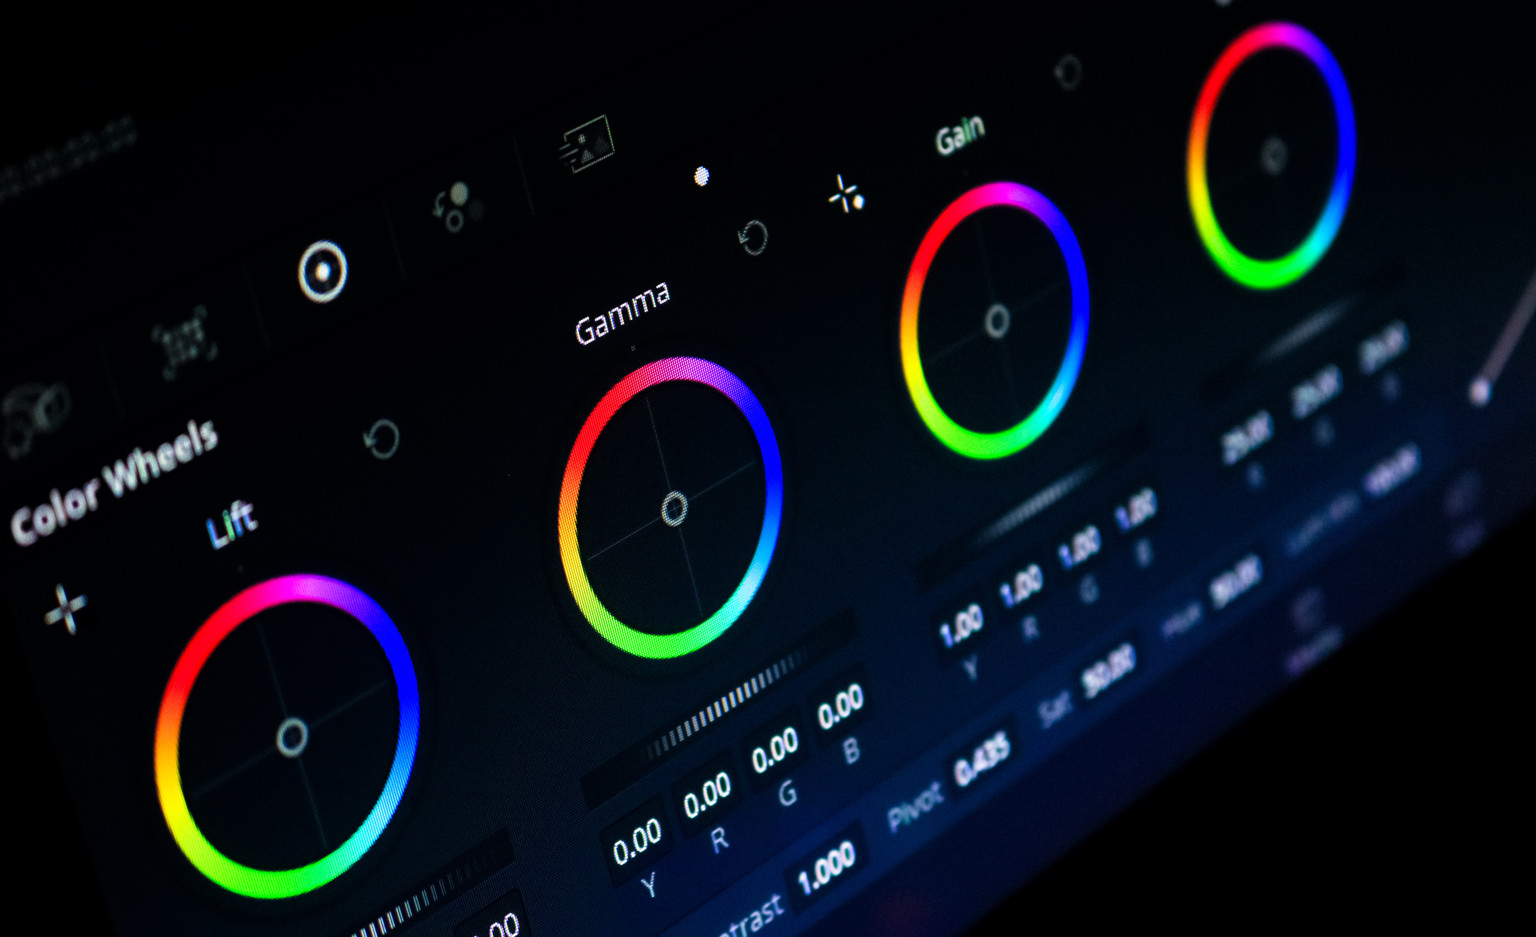
Color grading is a process of treating footage for technical or artistic reasons. In filmmaking, it is part of post-production and a filmmaker or colorist will color grade a film with a lookup table, or LUT for short. Color grading can stylize the color scheme to achieve the desired effect or look, or move from one color space to another.
In this guide to color grading, we’ll go into the details of color grading with LUTs and talk about how filmmakers use LUTs with examples, a workflow overview, and resources for your film projects.
What are LUTs in color grading?
Lookup tables are a way to speed up the process of color-grading footage. In layman’s terms, think of a LUT as a preset you can apply to alter the color palette and give your film a specific look, from emulating old footage or a certain show to a cinematic look.
Let’s say that whenever the specific color red appears in your film, you want it to be bright and stand out, and all the other colors should appear faded and muted in comparison. The LUT you would apply to your project would plug in all the color values of your footage and subdue them, but enhance the values for all defined shades of red. A preset solution like this saves you a lot of time in post-production: instead of having to do the changes manually, the Lookup table processes the colors for you.
Storyboard software for video agencies & brand teams
One workspace for storyboards, animatics, comments, and approvals. Spend time on the creative, not the back-and-forth.

To achieve a satisfying result, you’d first have to review your footage to make sure that all the colors appear as they should. You want the color red to appear where things are actually red, otherwise, everything with a red tinge will likewise undergo the LUT enhancement.
You’d also ensure that your color values stay consistent throughout your footage and don’t vary wildly between frames or scenes. This process of color correction, therefore, needs to come before you can effectively color grade using a LUT. As the name implies, all a lookup table does is find all instances of one color value and transform them into a predefined color space.
Filmmakers use color grading as part of the creative process, for example, to convey emotion, apply color psychology, achieve a style or atmosphere, and establish a carefully designed color palette. LUTs can also quickly treat footage when it is imported, to make it more viewable on a certain device, such as a control monitor.
Different types of LUTs
In digital post-production, color grading with lookup tables uses software. The filmmaker or colorist will import a LUT file and can then apply it like a preset or plugin to footage in editing. In basic color grading, different types of LUTs serve a range of purposes:
- 1D LUT: Such a lookup table only affects a single color value to set white point, color balance, and contrast, making it a simple form of color grading. A one-dimensional LUT file will typically have the extension ‘.lut’ to mark it as such.

- 3D LUT: This type of lookup table allows for more complex color grading as it controls color and luminance in a three-dimensional color space through hue, saturation, and brightness. The LUT files for 3D LUTs typically have the extension “.3dl” or ‘.cube’ to distinguish them from one-dimensional lookup tables.
- Calibration: As the name implies, this lookup table allows colorists to calibrate a device, such as a monitor or a projector. Calibration LUTs help ensure uniform colors during editing and color grading.
- Transformation: These lookup tables transform footage from one color space to another. The output color space can be standardized in a technical transformation, or custom in a stylized, artistic transformation.
- Normalization: Similar to a transformation LUT, the normalization LUT serves the purpose of mapping log footage to a standard color space, such as Rec709 or DCI-P3.
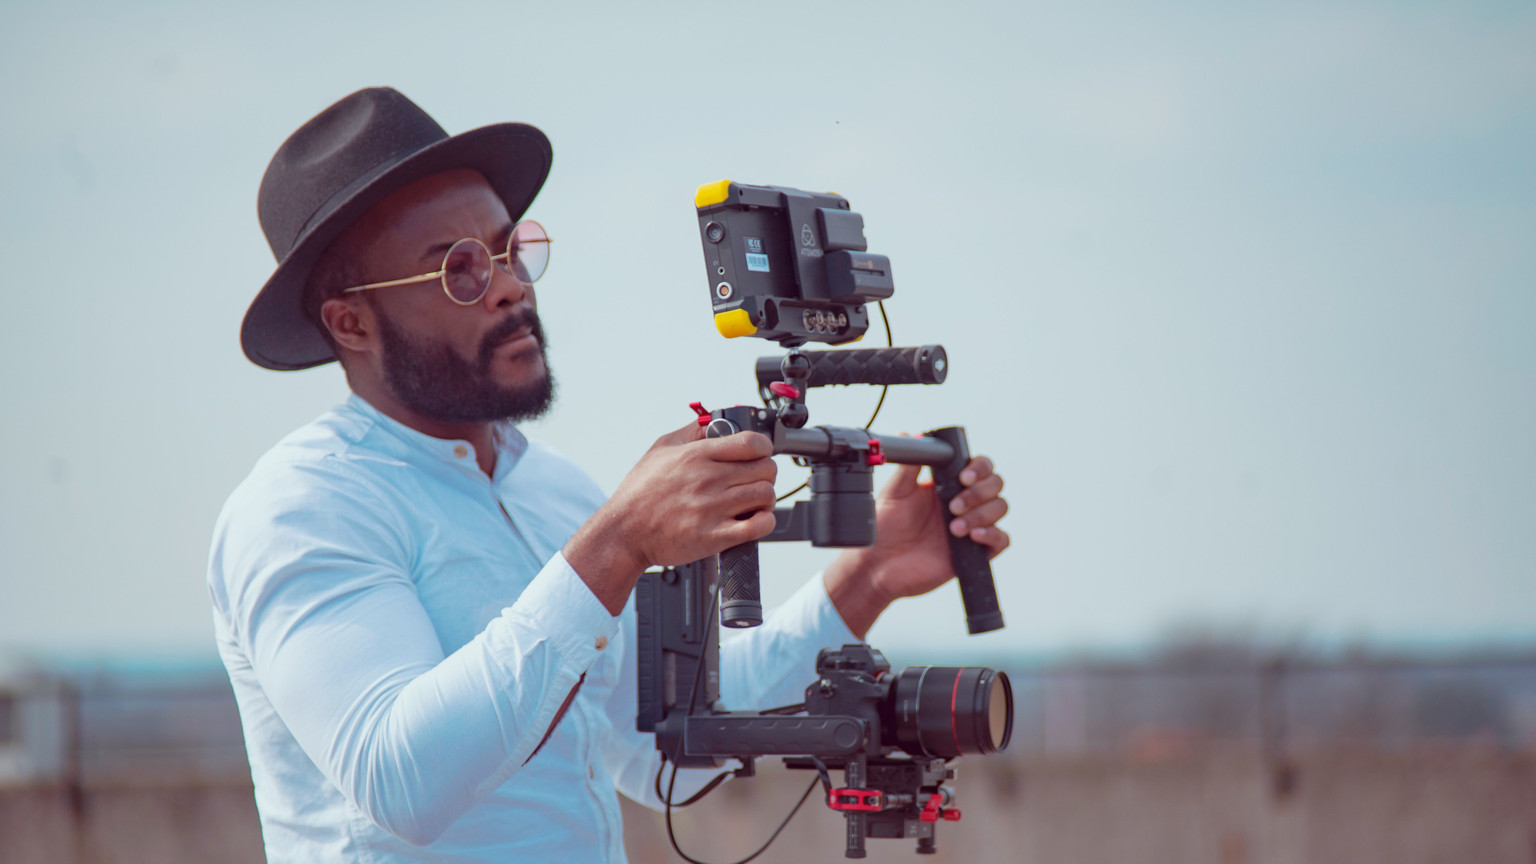
- Viewing: Camera footage can appear flat, depending on the device. These low-contrast images with muted colors result from a log footage color space, such as S-Log or Log C. When the camera crew reviews footage on set, they process it with a viewing LUT from a log color space to a standard color space such as Rec709 so its appearance on a viewing monitor will be closer to the post-editing footage.
A brief excursion into color spaces
The term color space describes a way of organizing colors. For example, in the RGB color space, each individual color is represented by a value for red, green, and blue. Regarding devices and digital files, their color space helps us understand the range of colors they can record, or reproduce. Identical or compatible color spaces enable accurate color reproduction across devices, but transforming from a larger to a smaller color space will always lose detail, which then becomes visible in highlights, shadows, or saturation, resulting in “flat” colors.
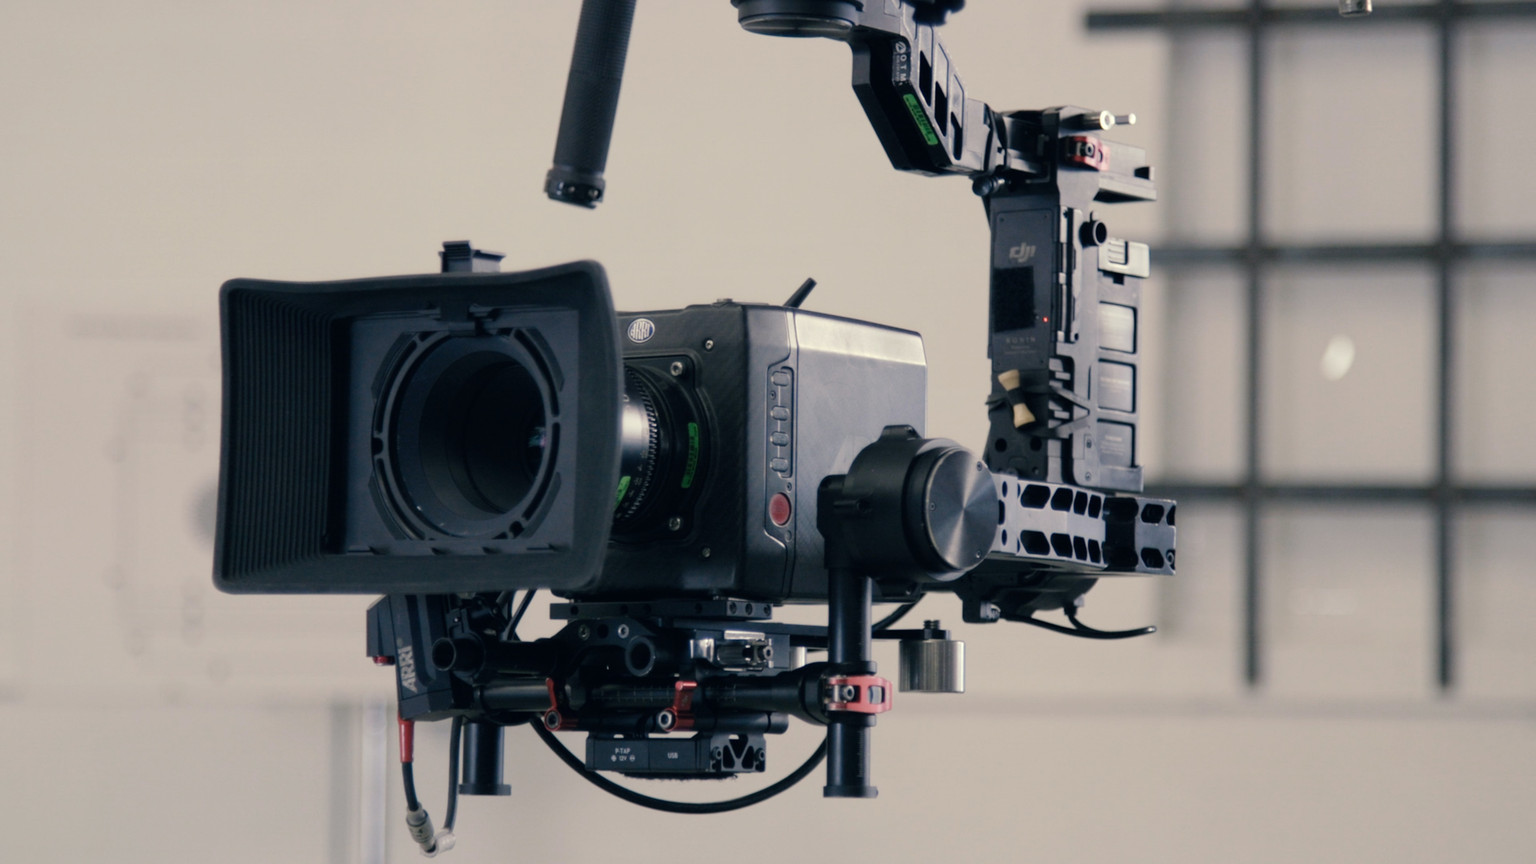
Modern digital camera technology uses sensors that capture more information than standardized color spaces can contain. The S-Log format by Sony, for example, is a gamma curve with a wide dynamic range and color gamut greater than the Rec709 color space. During color grading, the colorist, therefore, has greater artistic control to achieve the desired look.
When filmmakers don’t shoot in a standard color space but a device-specific one, the color grading lookup table needs to be specific to their log footage in the input section of the LUT. Camera makers such as Sony, Canon, Panasonic, DJI and GoPro provide 3D LUTs for color-grading footage.
Color grading and color correction: what’s the difference?
As we’ve outlined above, color grading with LUTs is a process that transforms preset input color values into other output values. To ensure the outcome is the specific look you want to achieve, you have to first check or adjust your footage. Color correction, therefore, precedes color grading in the post-production process.
A colorist will first use video editing to check for consistent colors and make necessary adjustments. Color correction aims to have ‘clear’ and ‘natural’ images with proper light and exposure, so the colorist will fine-tune and balance color values. Color correction is especially important when lighting conditions change for takes, but they need to look the same, or when different cameras deliver footage with disparate colors. Color grading can then shift the consistent and unified color scheme or palette and transform the color space or give the footage a specific look.
How filmmakers use LUTs
Color grading isn’t new, and filmmakers have treated their footage to alter colors as early as the era of black-and-white film. The term color timing describes a photochemical process to treat film negatives at film labs in the 20th century to manipulate color and therefore the look of film.
Filmmakers and production designers decide on a color scheme and palette for a project as early as during conceptualization and pre-production. Color grading matches the film footage to that specific look, and LUTs help color grade your footage conveniently after color correction. You can think of them as presets for converting color values to a specific color space.
Get your FREE Filmmaking Storyboard Template Bundle
Plan your film with 10 professionally designed storyboard templates as ready-to-use PDFs.

Color grading examples of that cinematic look
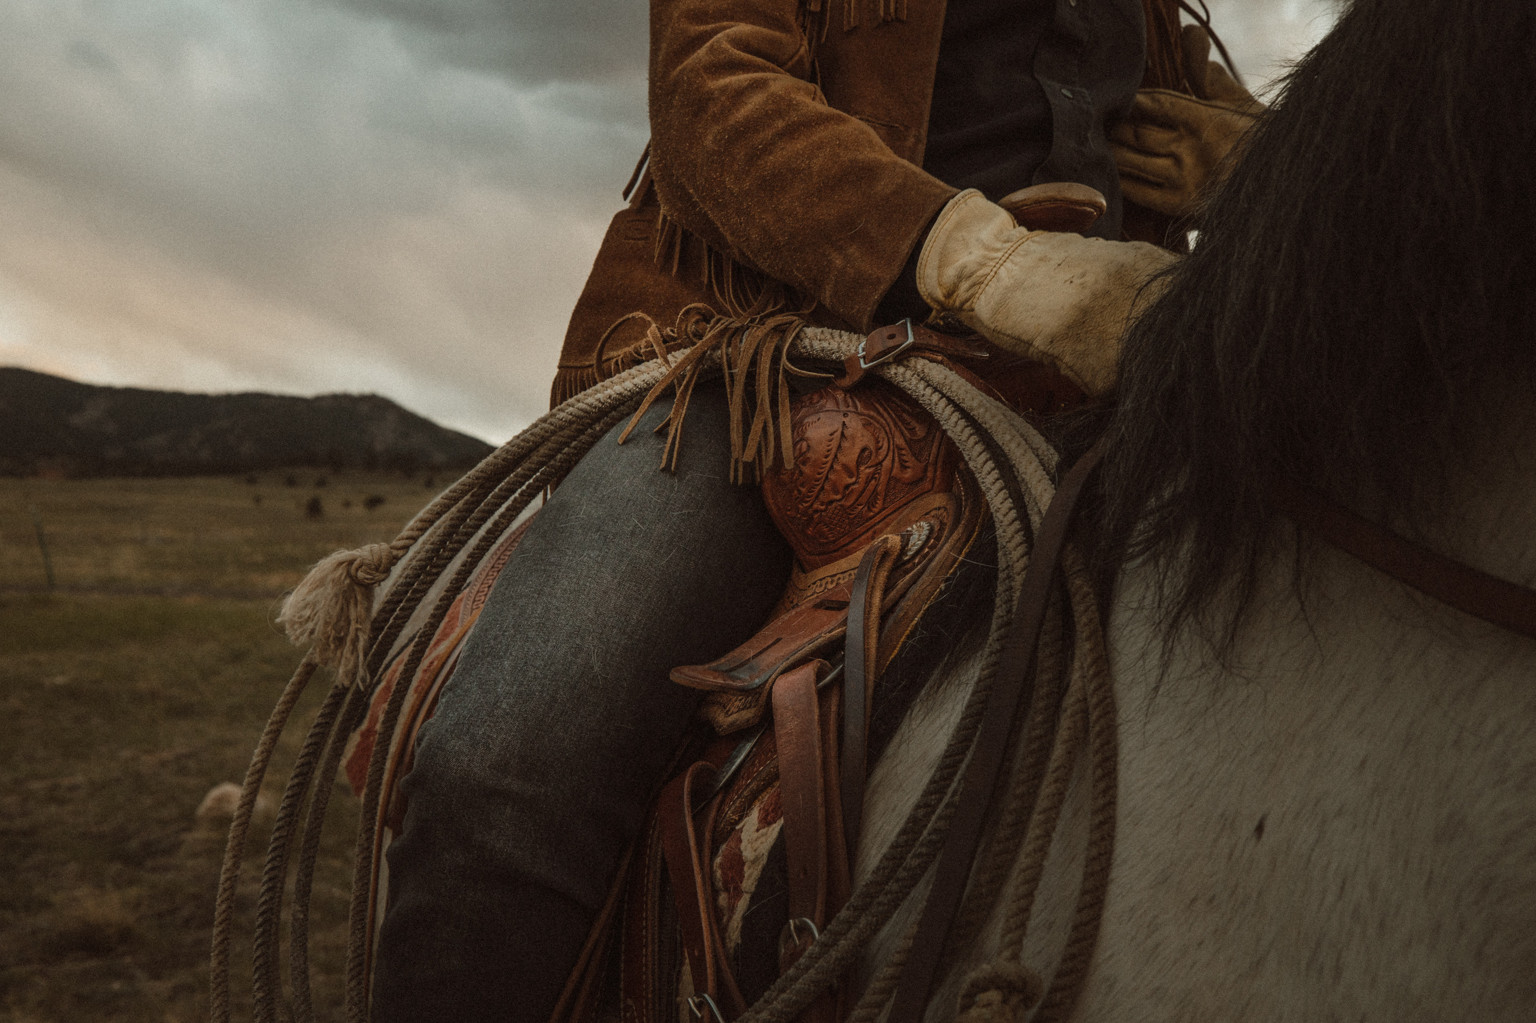
Famous films are often color graded to palettes that set the mood or fit the style and theme. David Fincher's films feature a color palette that brings out the dreary realism of modern-day urban settings in gray, dark blue, and brown. We see the dull tones reflect the monotonous life through the sleep-deprived eyes of Fight Club's narrator. Similarly, David Lynch can bring out darkness even in broad daylight, as his palettes appear tinged with film noir. Deep shadows offset surreal and soft colors. Wes Anderson fills his symmetrical shots with frames within the frame, and monochromatic palettes or cheerful pastel color grades. Read our guide to color theory in film and see how filmmakers use color for storytelling in the video below.
Workflow for LUTs
You can use LUTs in non-linear editing software such as Adobe Premiere Pro, Final Cut Pro, or Avid editing software, as well as coloring software like DaVinci Resolve or Color Finale. Before color grading with Look LUTs, you’ll transfer your footage to your NLE video editing software and complete all necessary color correction measures. In this process, you’ll establish color consistency and adjust shadows, mid-tones, and highlights for clear pictures. Color correction also matches footage to a primary color scheme, shots with each other, and skin tones from shot to shot.
Color grading your footage using LUTs itself is a relatively straightforward workflow following these steps:
- Experiment: There is nothing wrong with playing around. Import the LUT packs you want to try out into your editing software, apply them to test footage and judge the results. See what fits your vision, the theme of your project and your existing color choices.
- Color palette: What is the color palette of your film project? The way you use and apply color should serve the storytelling. Choose your Look LUT to bring out a cinematic look or adjust your footage to fall within the framework of your story. An off-color look, however, will distract or irritate the audience.
- Setting and mood: It’s time to turn to artistic choices. Your color grading can bring out the setting and mood in each scene, and throughout the entire movie. What emotions do you want to convey and elicit? You can use the Look LUTs from famous filmmakers where they fit, but also let your artistic vision guide you.
- Final adjustments: During the last step, review your color-graded footage and compare it against your color palette. Sometimes you’ll want to scale back your earlier choices a bit as, during the beginning of the color grading process, filmmakers can make enthusiastic changes and later on strike a balance. Keep in mind also that color grading can only enhance what is already there and not add completely additional elements to your shots.
Resources
In conclusion, we’ll give you an overview of color grading resources so you can get to work on processing the footage for your film project. Color grading functionality using LUTs is part of popular NLE video editing software, such as Adobe Premiere Pro and Final Cut Pro X, as well as After Effects and of course special coloring software and apps such as DaVinci Resolve or Gamut. You can apply LUTs to still photography in Adobe Photoshop and Lightroom.
Free LUTs are the best way to get started with color grading. Check the website of your camera manufacturer for a free LUT pack for your specific brand or model for viewing, normalizing, and importing your log footage, which is especially important when you’re shooting in a log color space instead of a standard color space such as Rec709.
You can download LUTs from Color Grading Central to achieve the same look as famous Hollywood films through cinematic LUTs or imitate the look of celluloid stock film with stock lookup tables. Other free LUT packs with cinematic LUTs are available from Lutify, Reverse Tree Media, or Editing Corp to try out. Alternatively, you can search for LUTs for a specific look you want to emulate. Watch the LUT tutorial from Color Grading Central below for more color grading tips.
More from the blog
Storyboard software for video agencies & brand teams
One workspace for storyboards, animatics, comments, and approvals.
Spend time on the creative, not the back-and-forth.