Step 1: Fill in the Title and Page Number

In the "TITLE:" field at the top of the template, provide a clear and concise name for your eLearning project. This title should reflect the main topic or purpose of the course. If your storyboard spans multiple pages, indicate the current page number in the "PAGE:" field. This helps keep your storyboard organized and maintains a logical order.
Step 2: Label the Scenes
In the "SCENE:" column, enter a brief, descriptive label for each distinct section or topic covered in your eLearning course. Scenes should represent the main learning points or modules.
Step 3: Break Down the Steps
Under the "STEP:" column, break down each scene into smaller, sequential steps. These steps outline the progression of content within each scene, guiding the learner through the material.
Step 4: Define the Objectives
In the "OBJECTIVE:" field, clearly state the learning objective or goal for each scene. This defines what the learner should know or be able to do after completing that section.
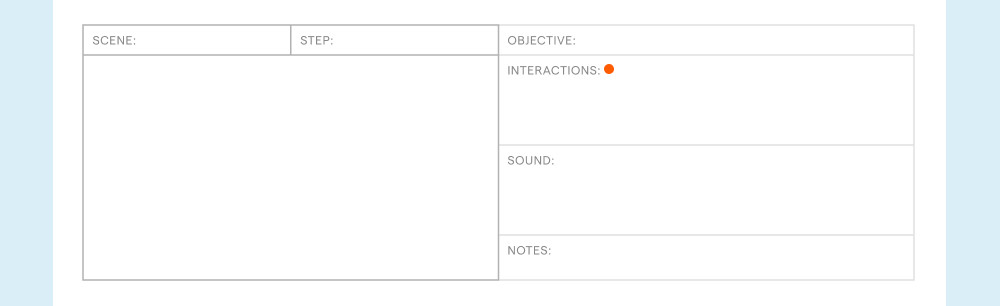
Step 5: Describe the Interactions

Use the "INTERACTIONS:" section to describe any interactive elements, such as quizzes, simulations, or activities, that will be included in each step to engage the learner and reinforce the content.
Step 6: List the Touchpoints
In the "TOUCHPOINTS:" field, list any additional resources, references, or external links that will be provided to the learner at each step to supplement their understanding of the topic.
Step 7: Add Notes and Comments
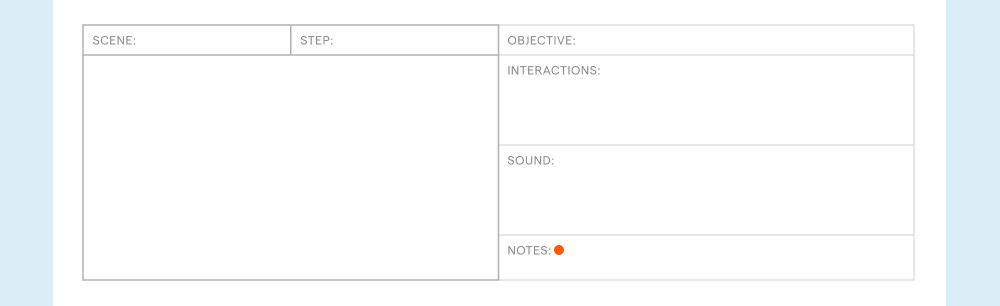
The "NOTES:" section allows you to include any additional comments, reminders, or ideas related to each scene or step. This is a useful space for collaboration and communication with your team.