
Creating storyboards
Import scripts or start from scratch
There are three ways to create a new storyboard in Boords: import an existing script, write with AI, or start from a blank canvas. This guide walks you through each method so you can choose the best approach for your project.
Opening the new storyboard dialog
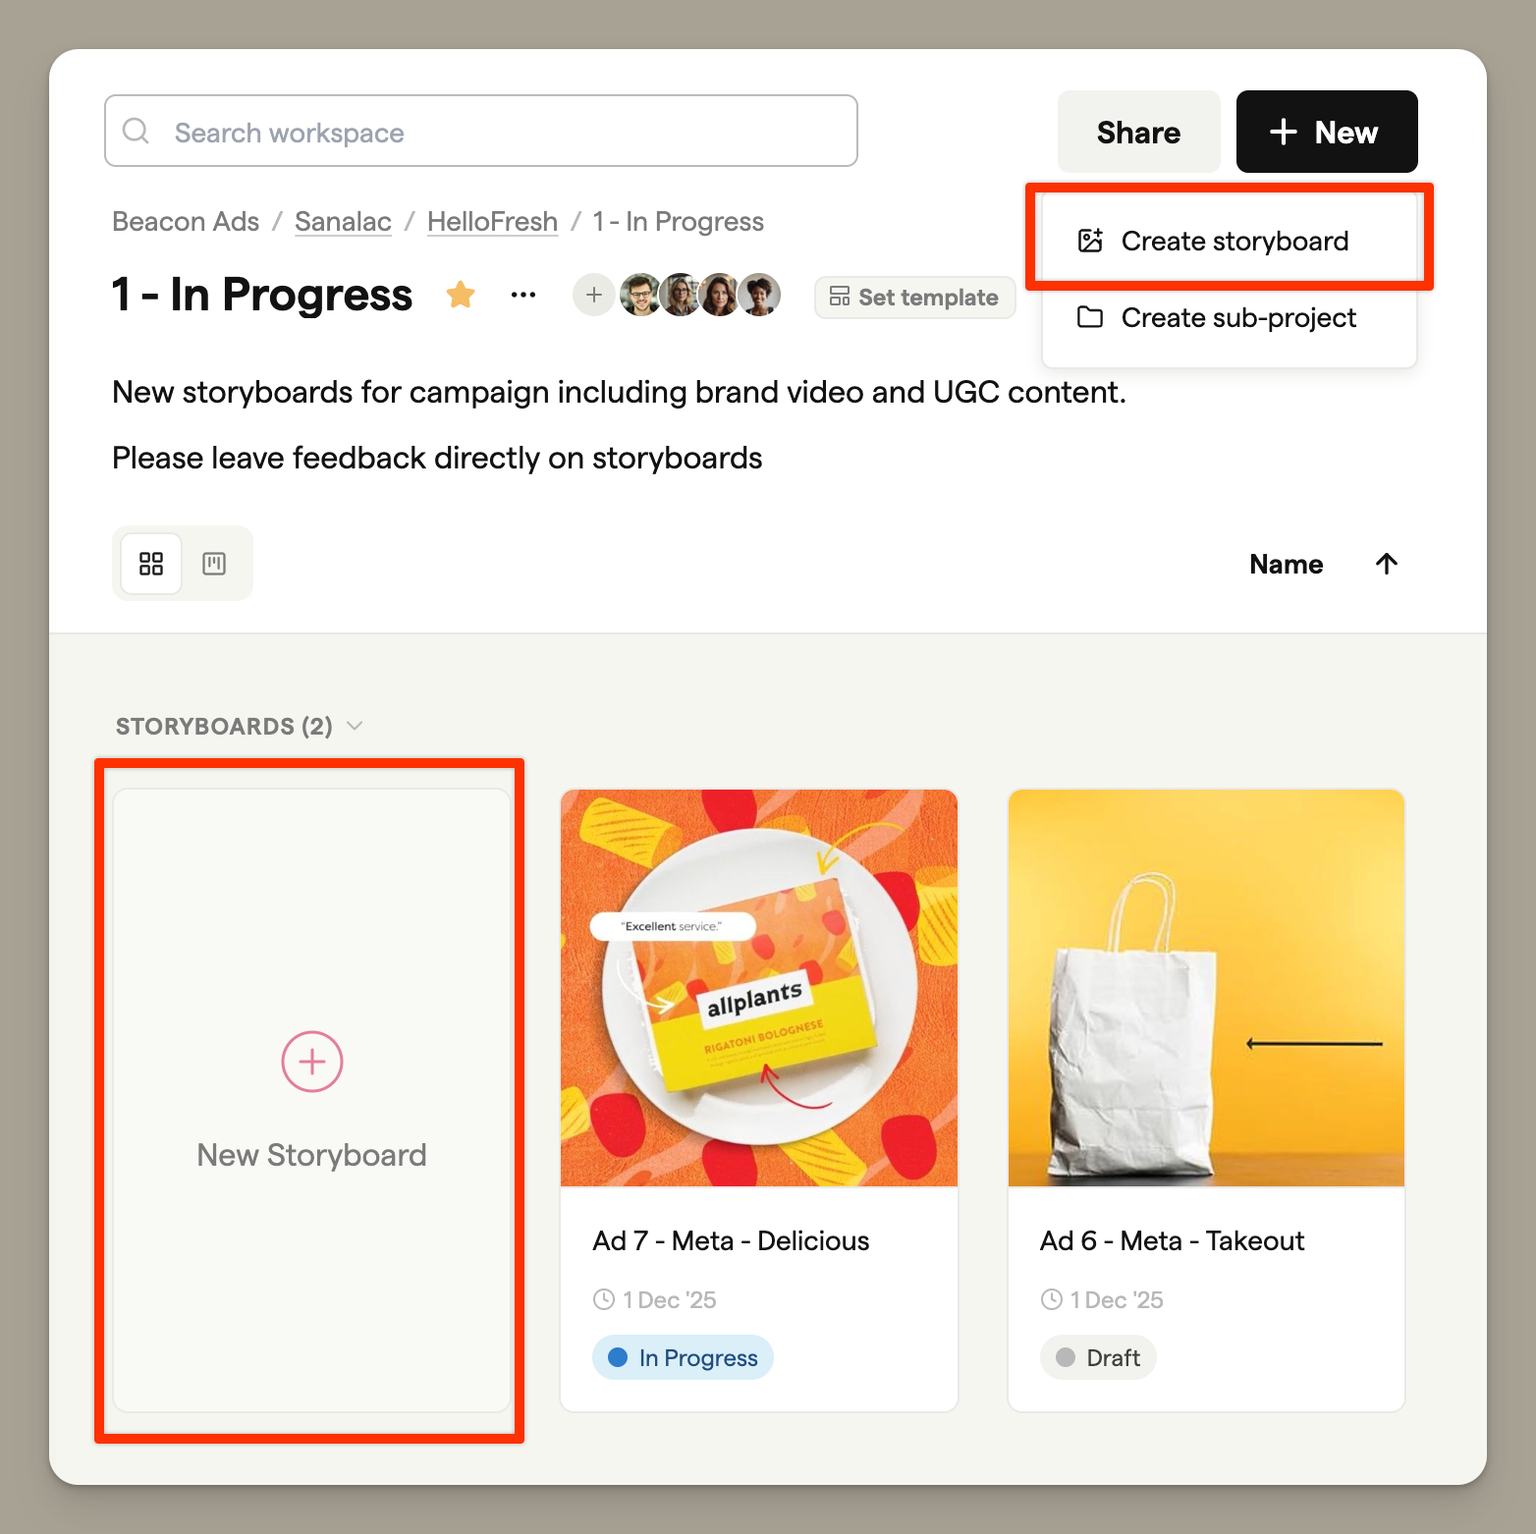
To create a new storyboard, click New Storyboard from within any project.
You'll see three tabs at the top of the dialog:
| Tab | Best for |
|---|---|
| Import Script | Converting existing screenplays, scripts, or shot lists into storyboards |
| Write with AI | Generating a complete storyboard from a brief description |
| Blank | Starting from scratch with manual control over every frame |
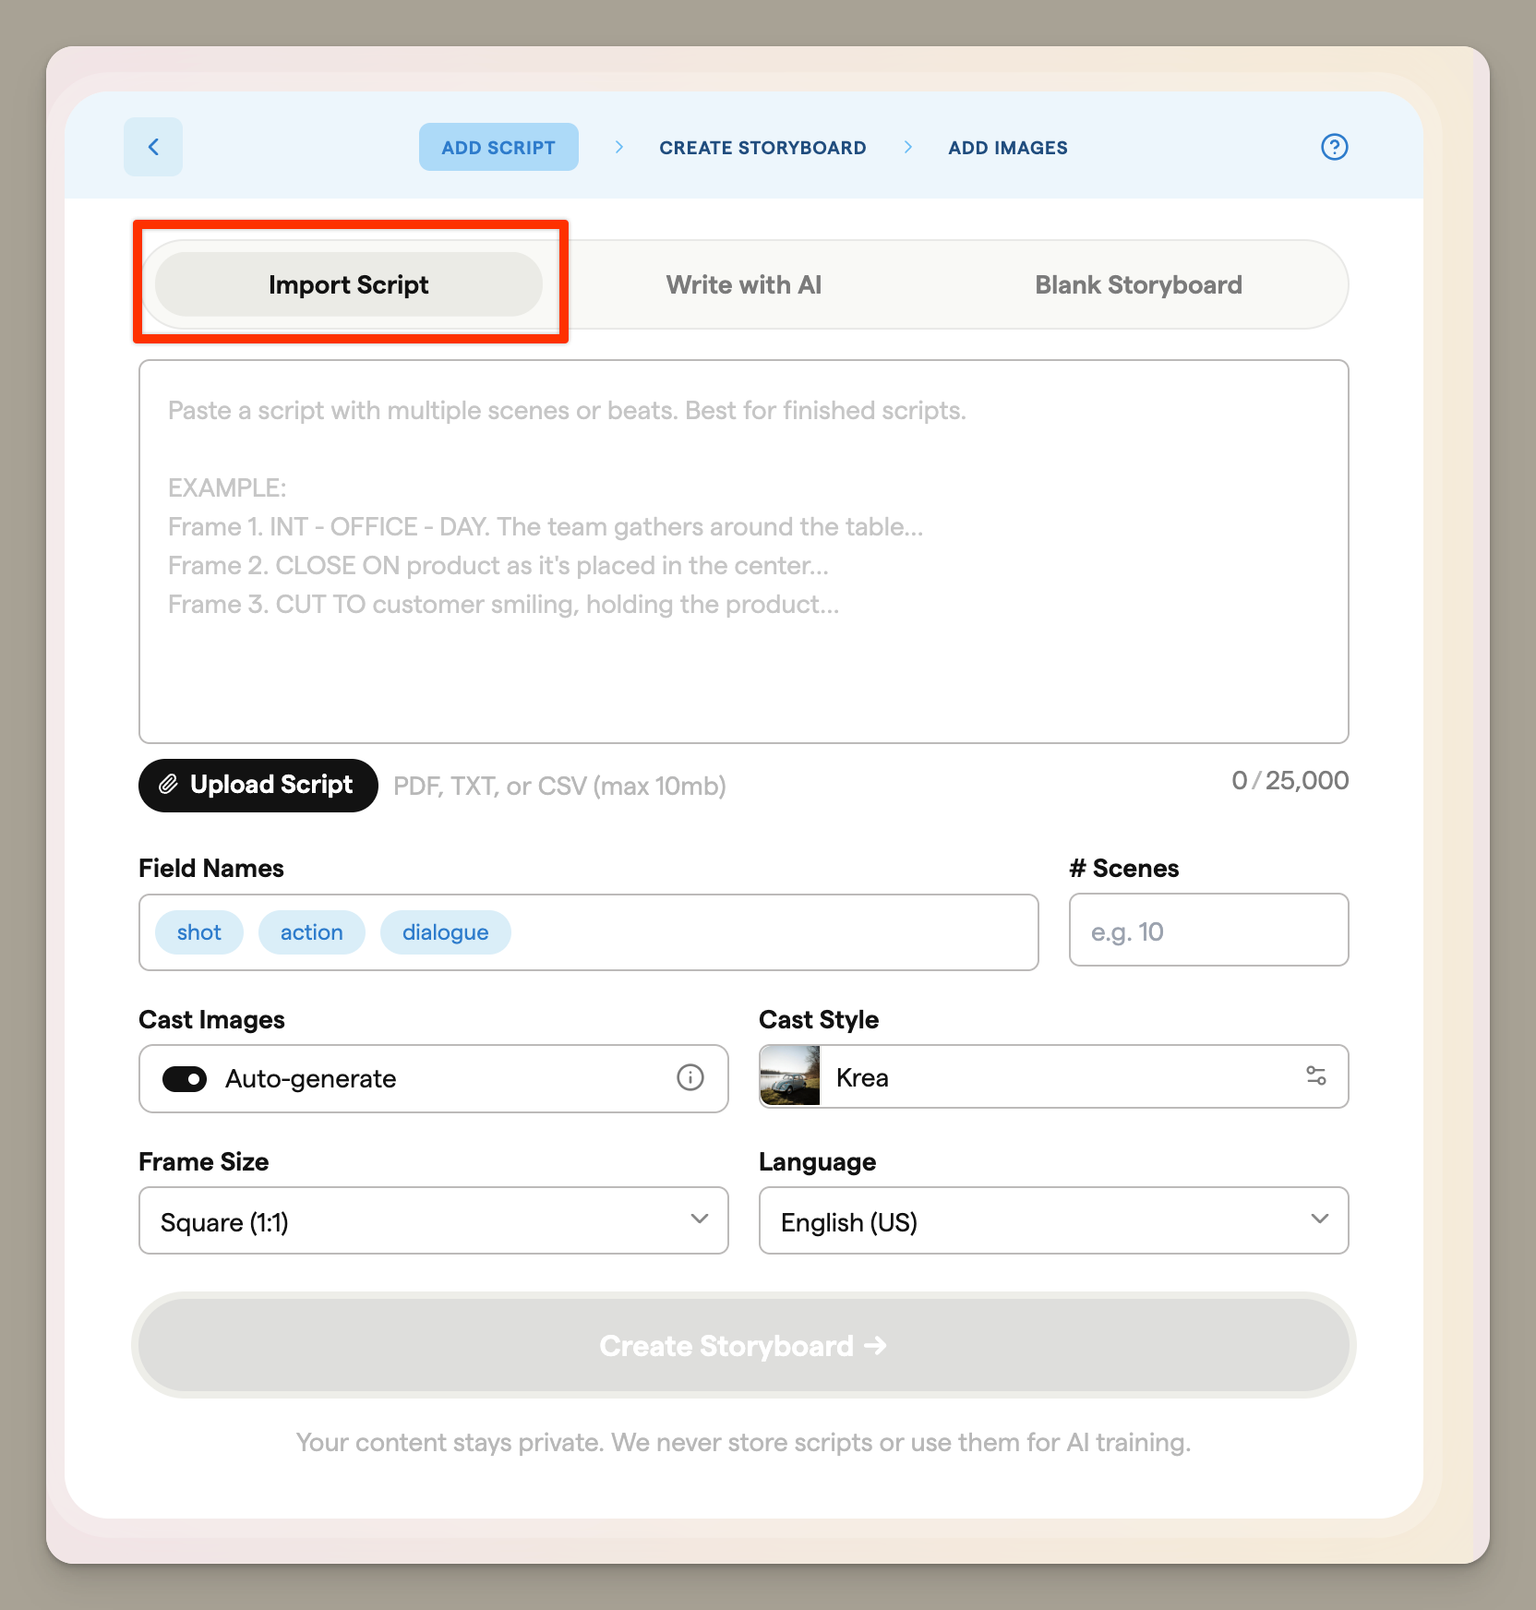
Import Script
Import Script uses AI to convert your screenplay or script into a structured storyboard. This is ideal when you have existing production documents and want to quickly visualise them.
Supported file formats
You can upload scripts in the following formats:
- PDF (.pdf)
- Plain text (.txt)
- Markdown (.md)
- CSV (.csv)
- HTML (.html, .htm)
Files must not exceed 2 MB, 250 pages, or 60,000 words.
Alternatively, paste your script text directly into the text area.
Configuring your import
Before importing, configure these settings:
Language: Select the language of your script content. The AI will generate frame text in this language.
Aspect Ratio: Choose the frame dimensions for your storyboard. This cannot be changed after creation, so choose carefully.
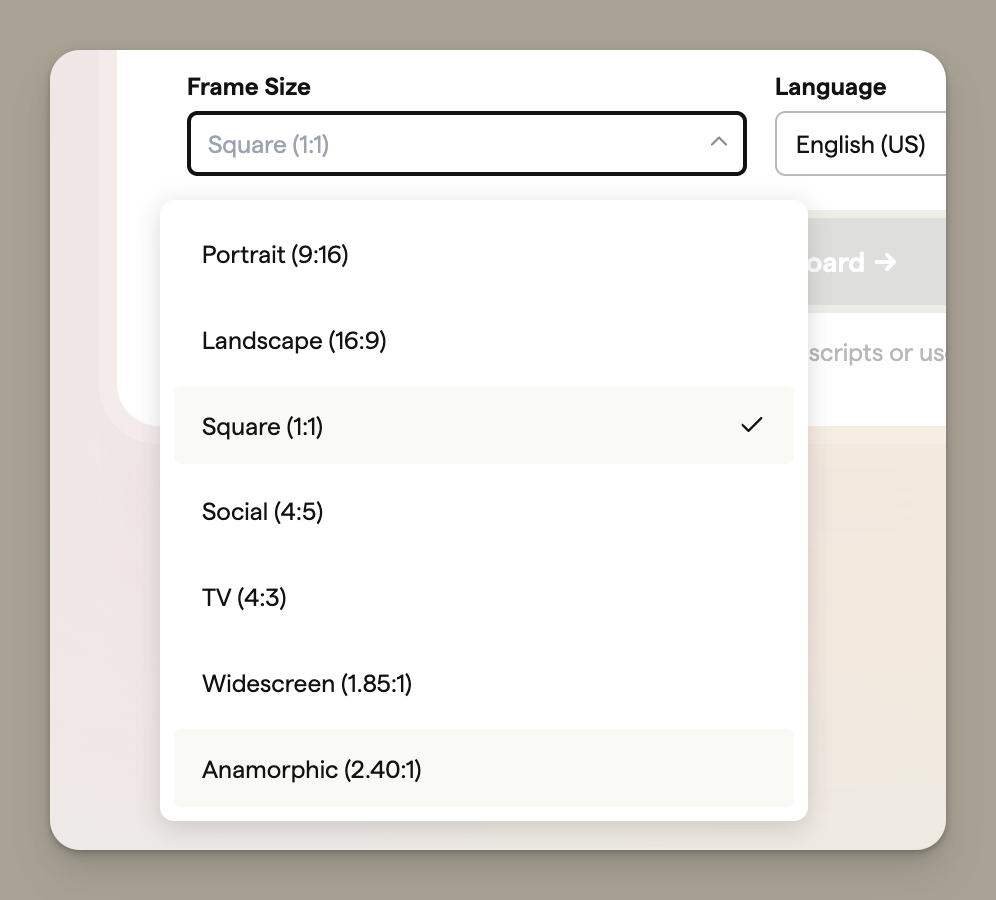
| Aspect Ratio | Use case |
|---|---|
| Portrait (9:16) | Social media stories, vertical video |
| Landscape (16:9) | Standard HD video, YouTube |
| Square (1:1) | Social media posts |
| Social (4:5) | Instagram posts |
| TV (4:3) | Traditional broadcast |
| Widescreen (1.85:1) | Cinema |
| Anamorphic (2.4:1) | Widescreen cinema |
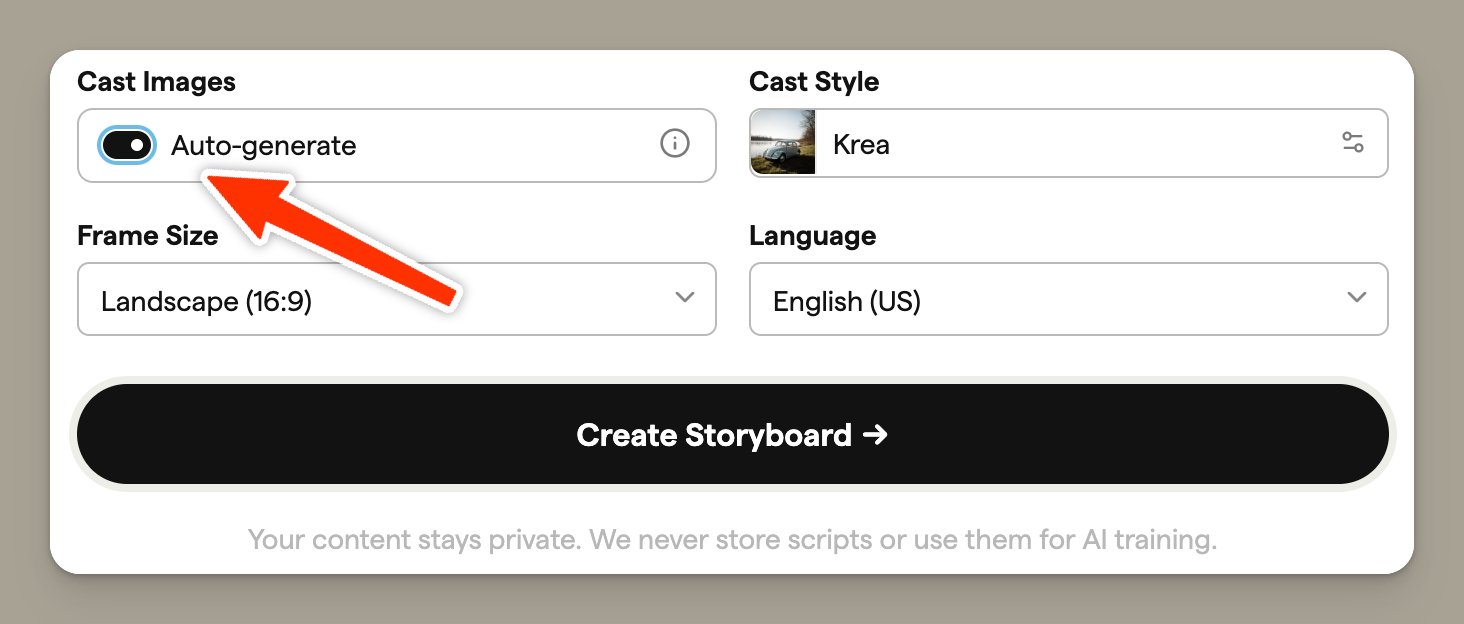
Cast Images: Use the Auto-generate toggle to control whether Boords automatically detects characters from your script and creates reference images for them.
When enabled, you'll be guided through creating consistent character designs after the import processes. When disabled, the import skips straight to creating your storyboard.
Starting the import
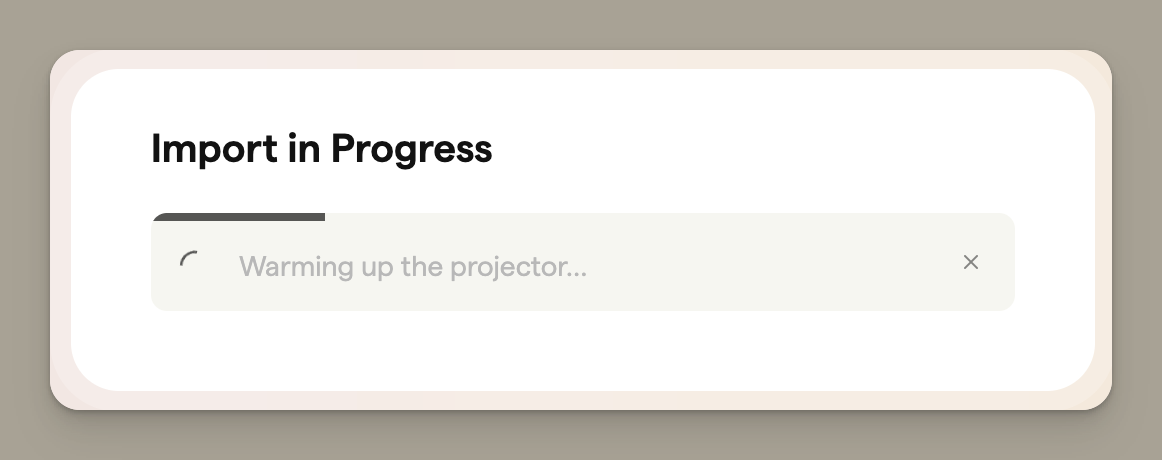
Click Import Script to begin processing. The AI will analyse your script and extract:
- Scene breakdowns
- Dialogue and voiceover
- Action descriptions
- Shot suggestions
- Image prompts for AI generation
Importing long scripts
For scripts with 100 or more scenes, Boords automatically breaks the script into smaller, manageable groups so you can import a section at a time.

How it works
After you paste or upload a long script, Boords analyses the structure and divides it into contiguous scene groups of up to 80 scenes each. Each group is given a label and a short summary so you can identify the section you want.
- Paste or upload your script as normal
- Boords detects the scene count and automatically triggers the breakdown
- A picker appears showing the available scene groups with labels and summaries
- Select the group you want to import
- The scene count is automatically set to match your selected group
- Click Import Script to process just that section
You can repeat this process to import additional sections of the same script into separate storyboards.
Creating a cast for character consistency
If you enabled Cast Images, Boords will identify the main characters from your script and guide you through creating reference images for each one. This ensures your characters look consistent across all frames when you generate AI images.
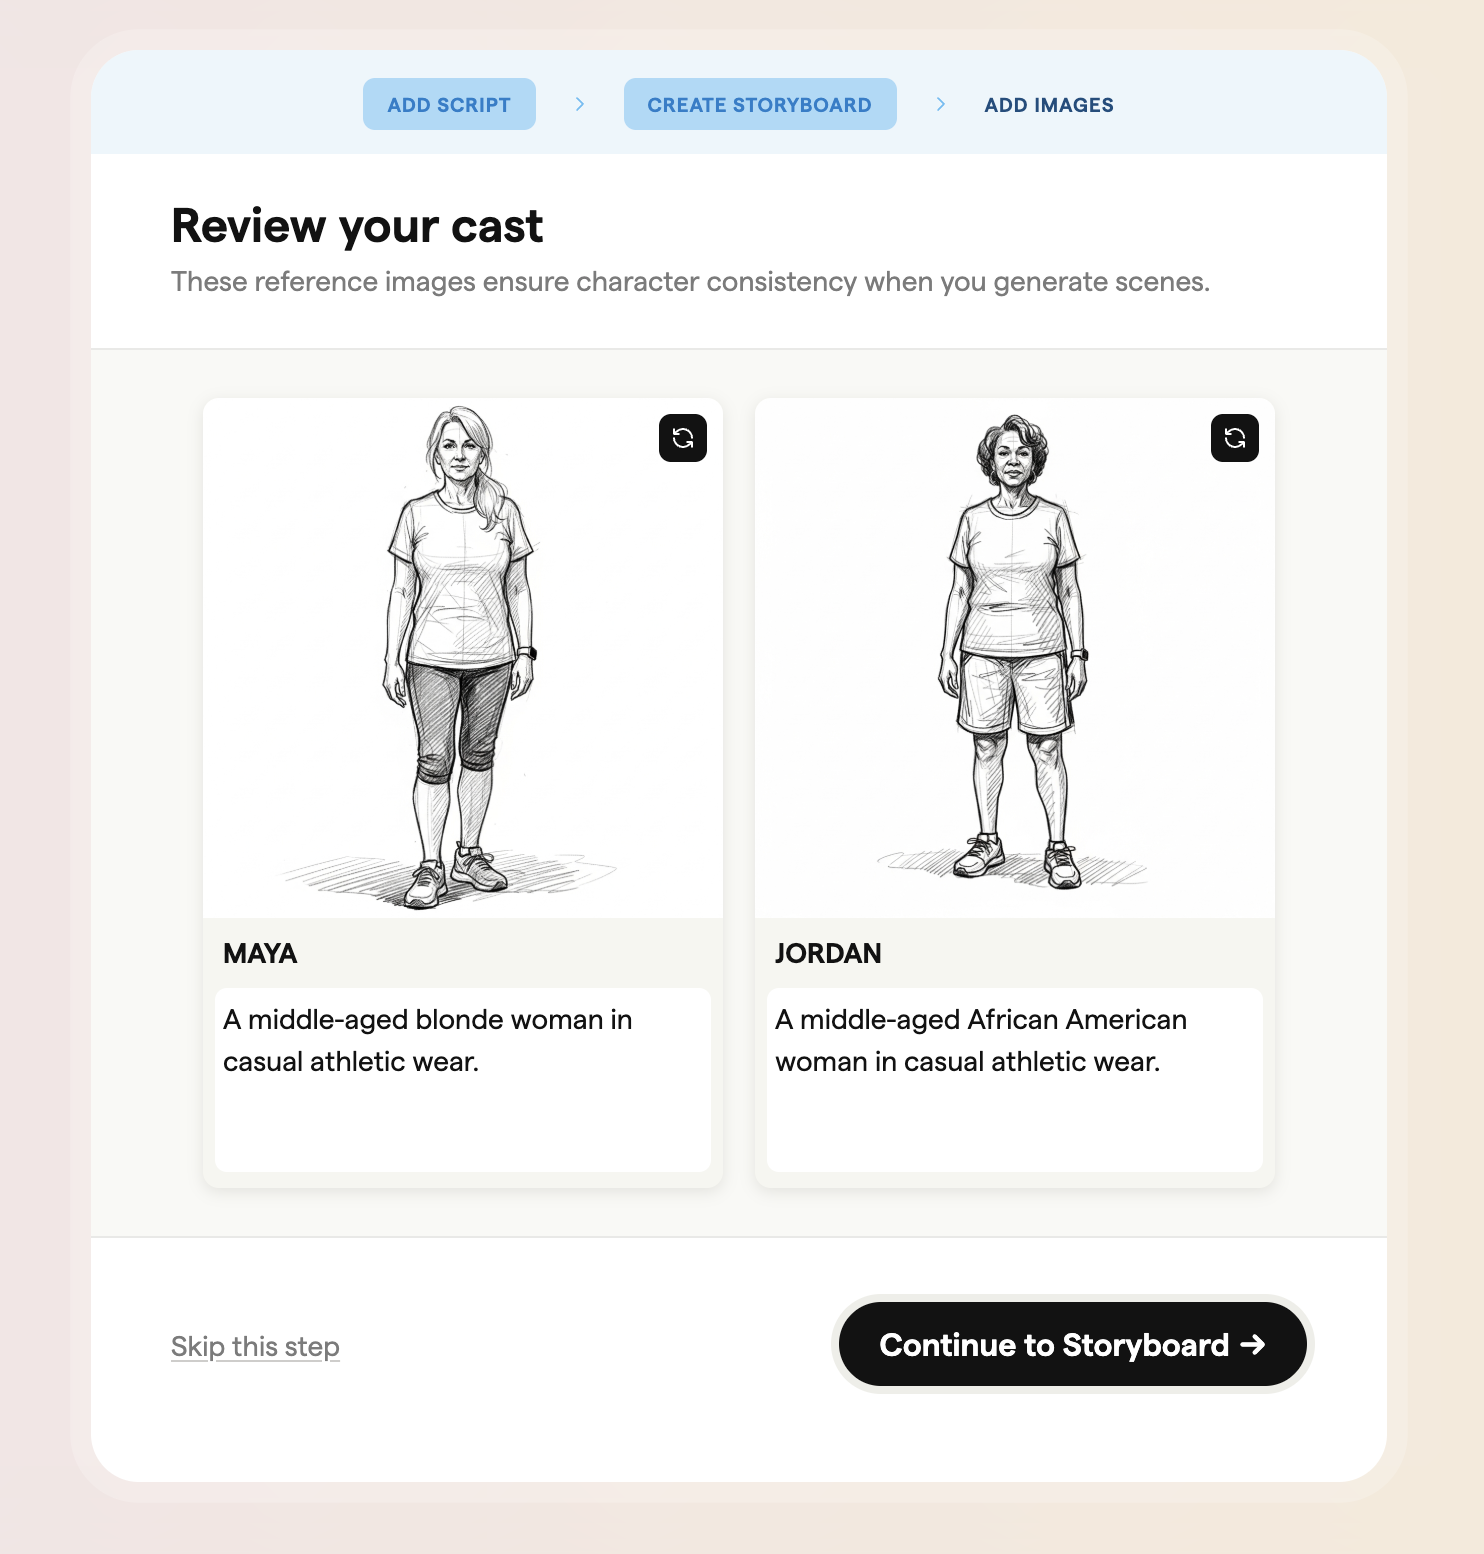
How cast detection works
The AI analyses your script and identifies characters who appear in multiple scenes. For each character, it creates:
- A character name/identifier
- A visual description based on context clues in your script
- A list of which frames the character appears in
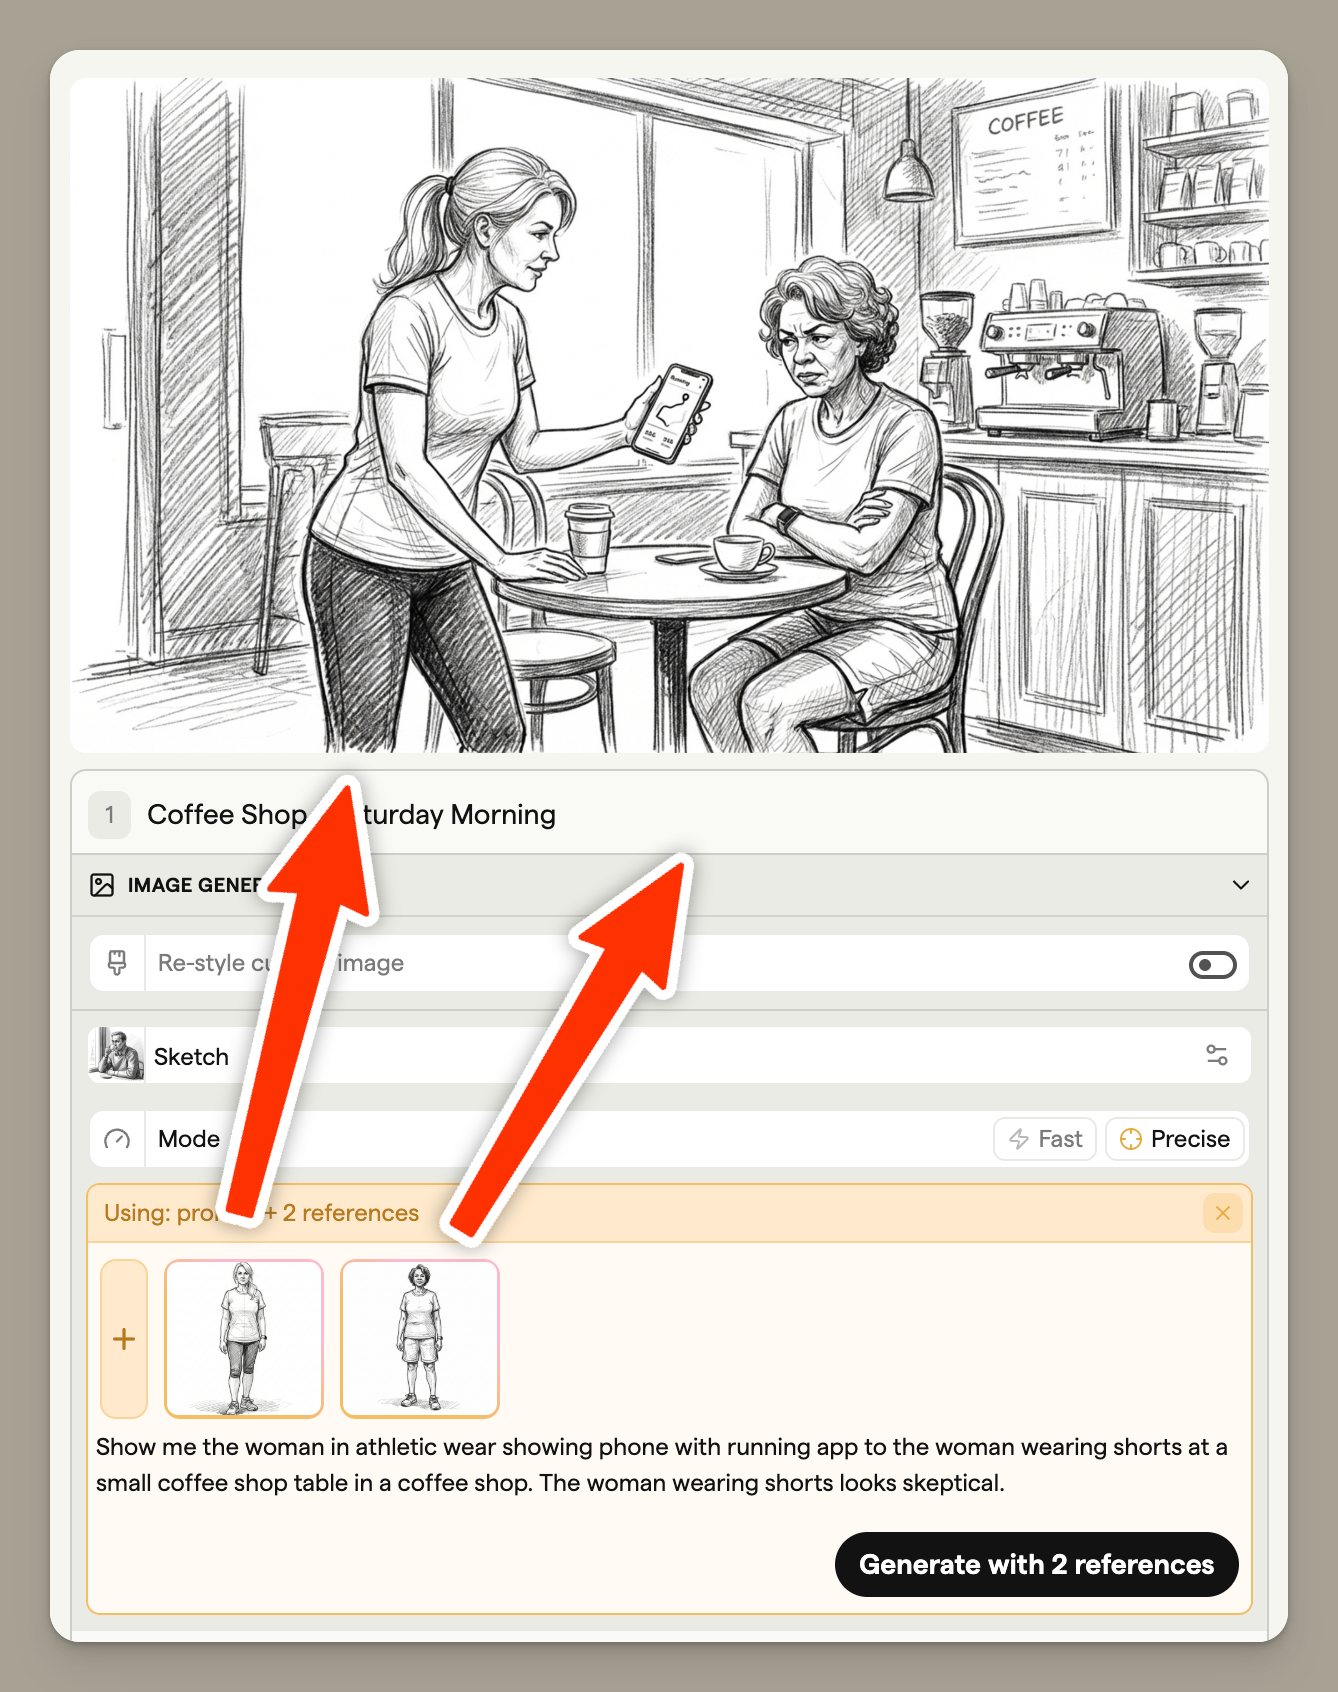
Generating character reference images
For each detected character, click the generate button to create a reference image based on their description.
The AI creates a full-body reference image that will be used to maintain consistency when generating frame images later.
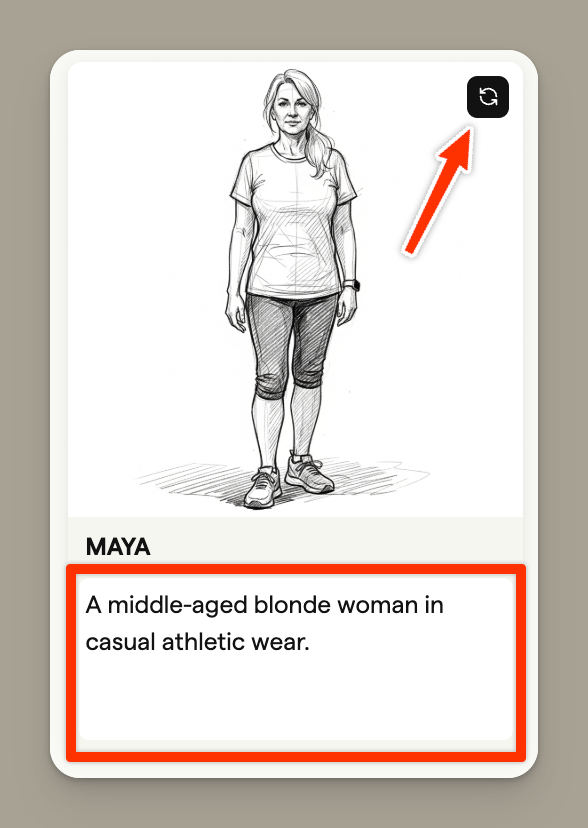
Refining character images
If you're not happy with a generated character image, you can:
- Regenerate: Click generate again to create a new variation
- Edit the description: Modify the character description to guide the AI differently
Completing cast setup
Once all characters have reference images, click Continue with Cast to finalise the import.
If you'd prefer to skip cast creation and add character references manually later, click Skip to proceed without cast integration.
If you want to use your own images, you can disable cast generation by turning off the "auto-generate" toggle when you import your script.
Using your imported storyboard
After the import completes, you'll be taken to your new storyboard with:
- Frames created for each scene in your script
- Text fields populated with dialogue, action, and descriptions
- Image prompts ready for AI generation
- Character references automatically linked to relevant frames (if you created a cast)
When you generate images for frames that include characters from your cast, those reference images are automatically used to maintain visual consistency throughout your storyboard.
For more details on generating images, see Generating images.
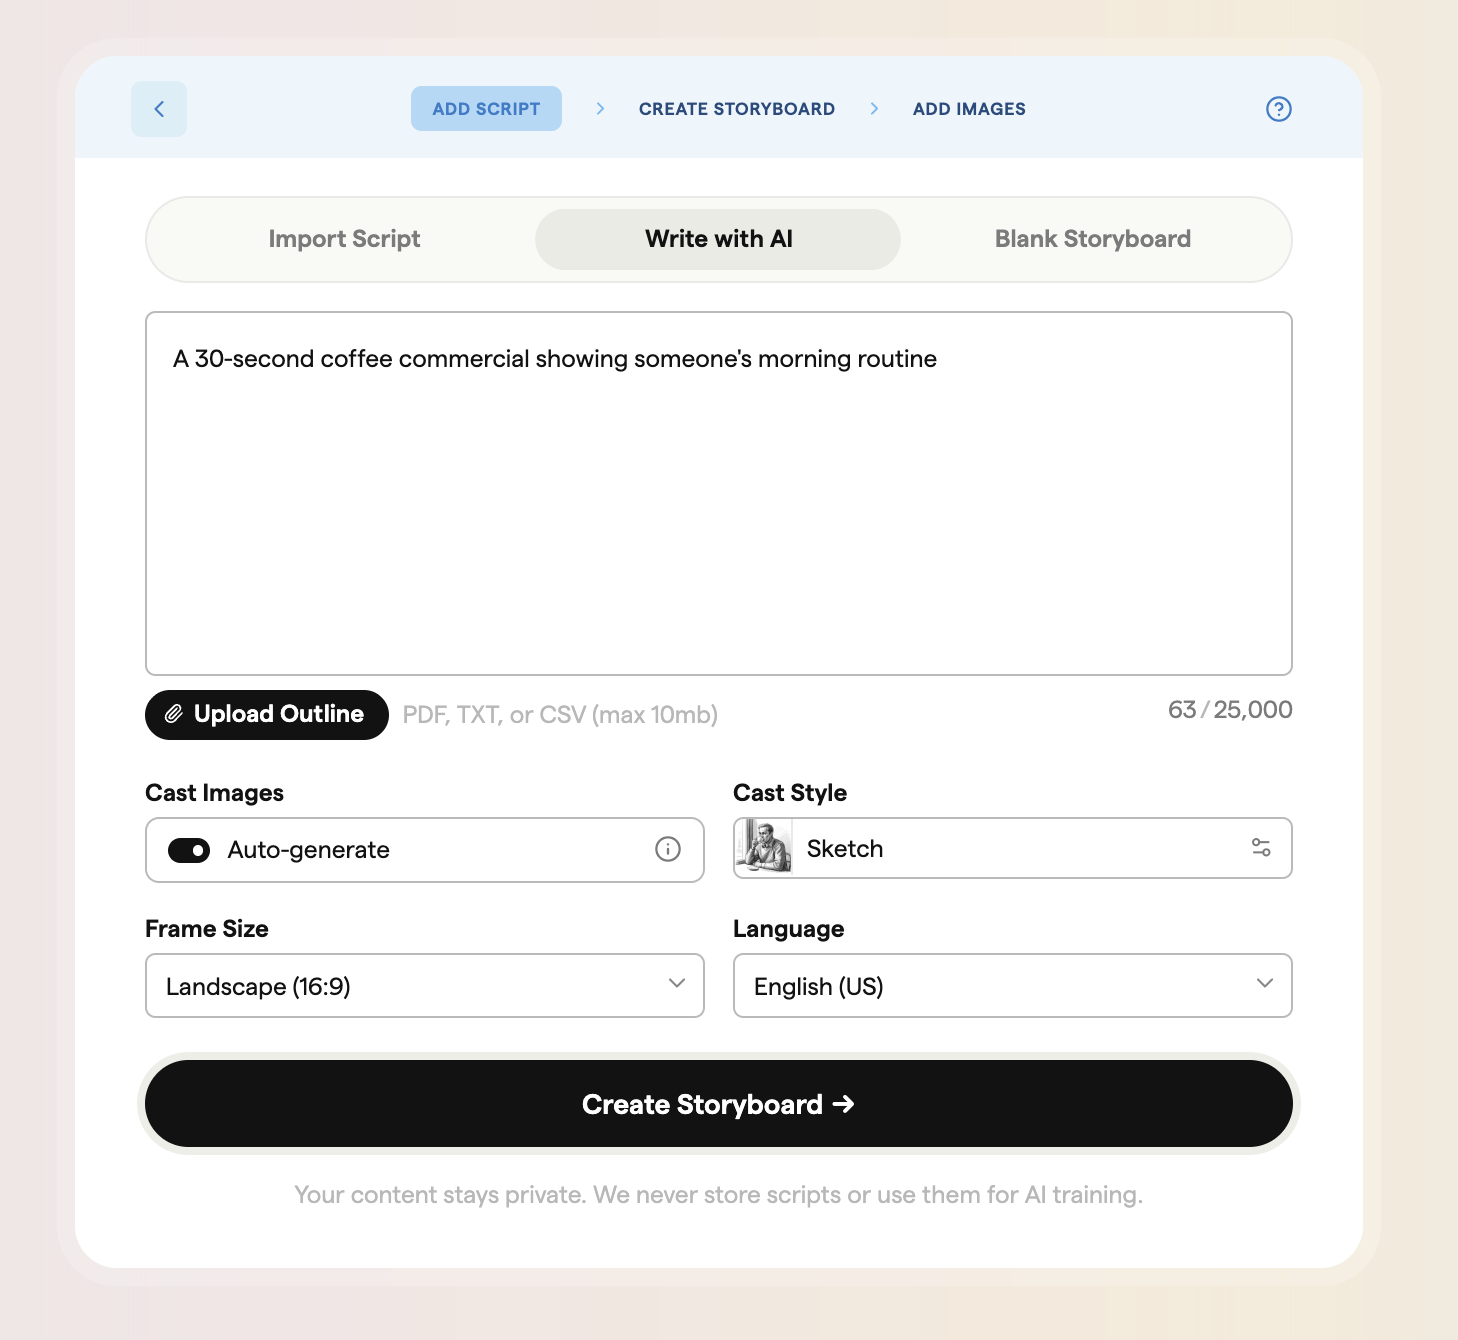
Write with AI
Write with AI generates a complete storyboard from a text description. This is perfect for brainstorming, creating initial concepts, or when you want AI to handle the creative heavy lifting.
Enter a description of what you want your storyboard to contain. Be as specific or general as you like—for example:
- "A 30-second coffee commercial showing someone's morning routine"
- "An explainer video about how solar panels work"
- "A dramatic scene where two detectives discover a clue"
You'll also configure the same settings as Import Script: Language, Aspect Ratio, and Cast Images. See Configuring your import above for details on each option.
Once you click Write with AI, the process follows the same flow as Import Script—including cast detection and character generation if you have Cast Images enabled.
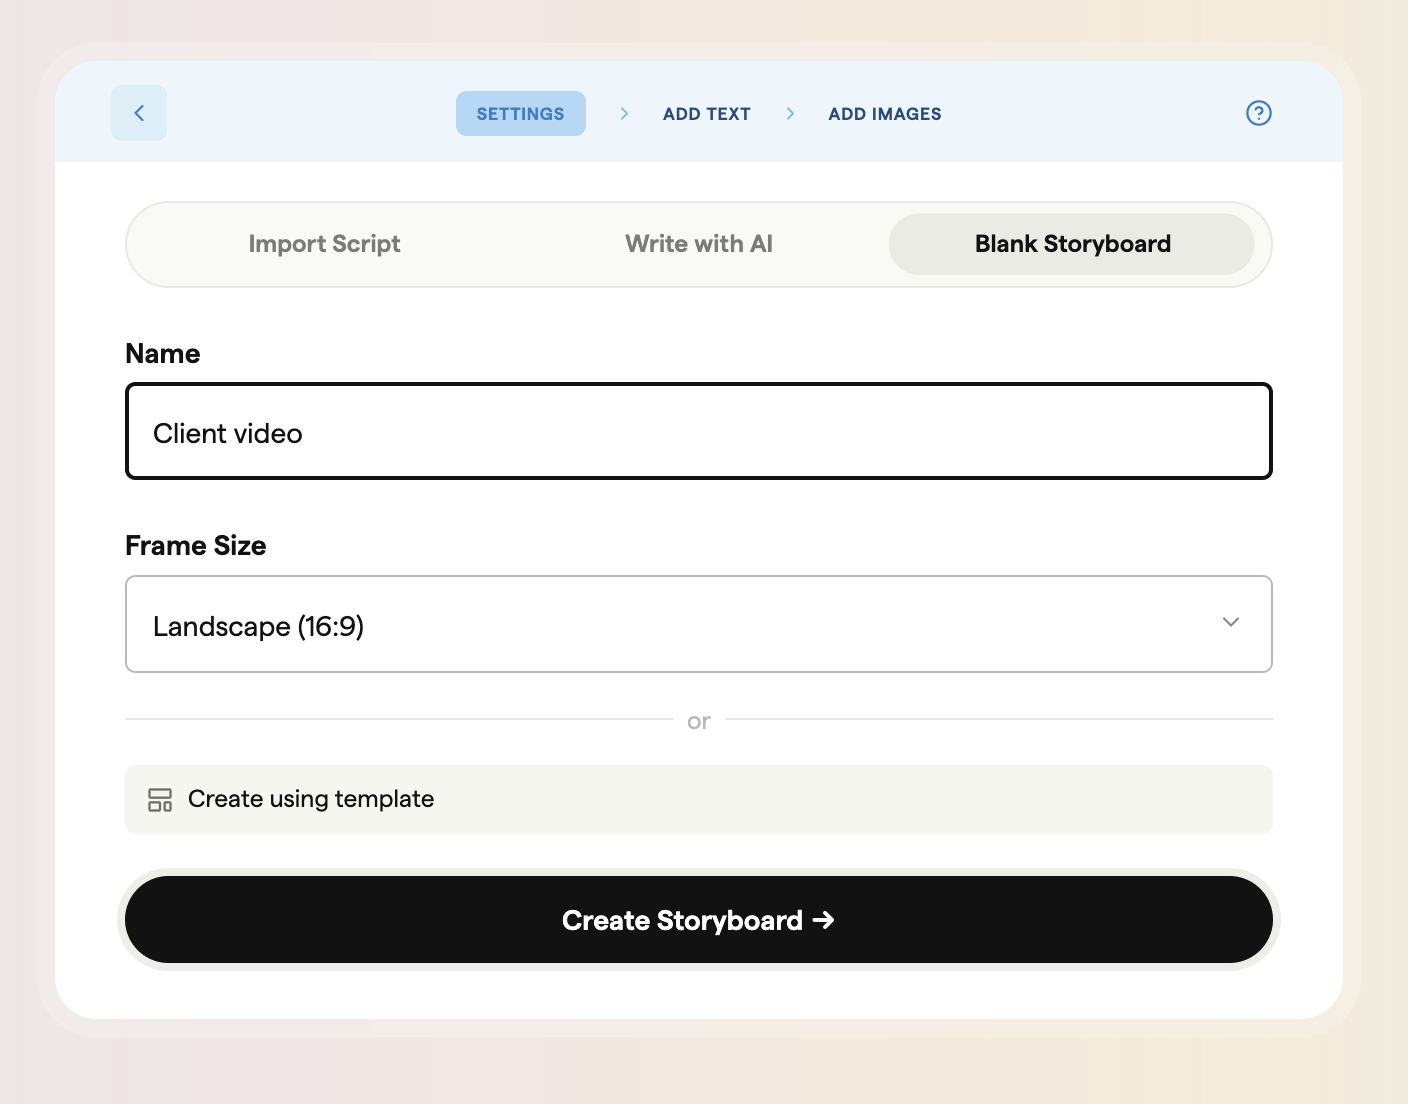
Blank storyboard
Creating a blank storyboard gives you complete manual control. This is ideal when you have a clear vision and want to build your storyboard frame by frame.
Setting up your storyboard
Storyboard Name: Enter a name for your storyboard. This helps you identify it in your project.
Aspect Ratio: Choose your frame dimensions. This cannot be changed after creation. If your project has an assigned template, the aspect ratio may be pre-selected.
Using templates
If your team has templates set up, you can apply one to your new storyboard. Templates pre-configure:
- Aspect ratio
- Default frame count
- Custom text fields
- Sharing settings
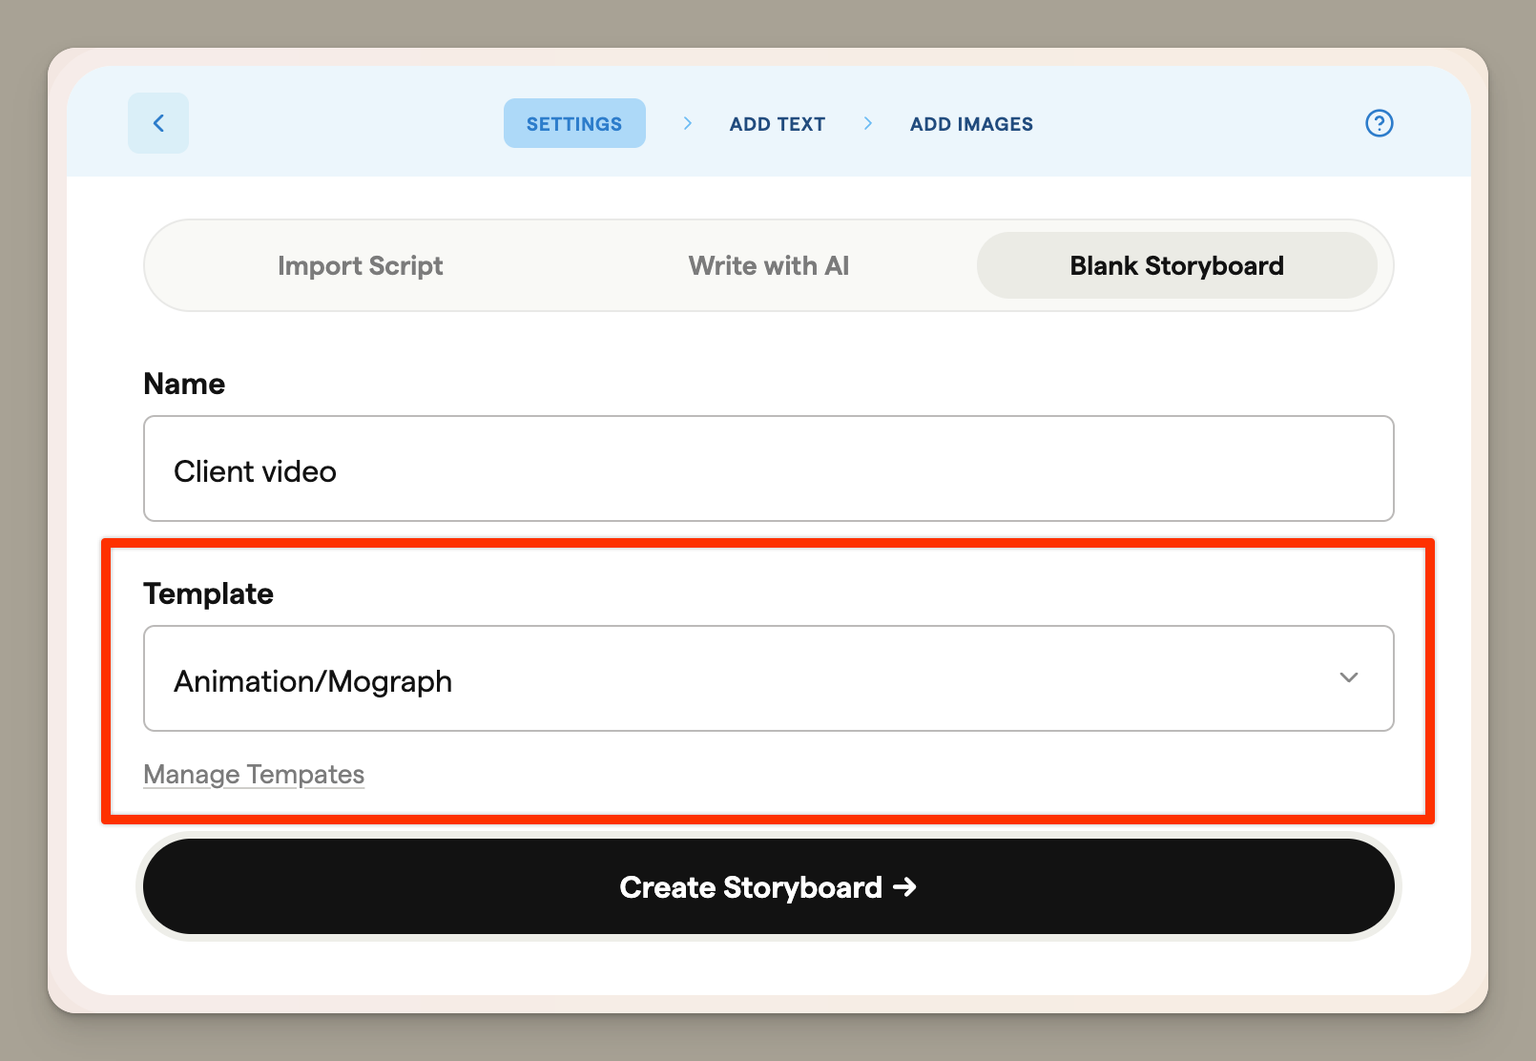
To use a different template or create one without a template, click the template selector.
Templates are available on the Team and Agency plans. Learn more about Templates.
Custom note fields
In addition to templates, you can customise the text fields that appear on each frame. These fields let you add notes about each frame and provide context for your team or clients.
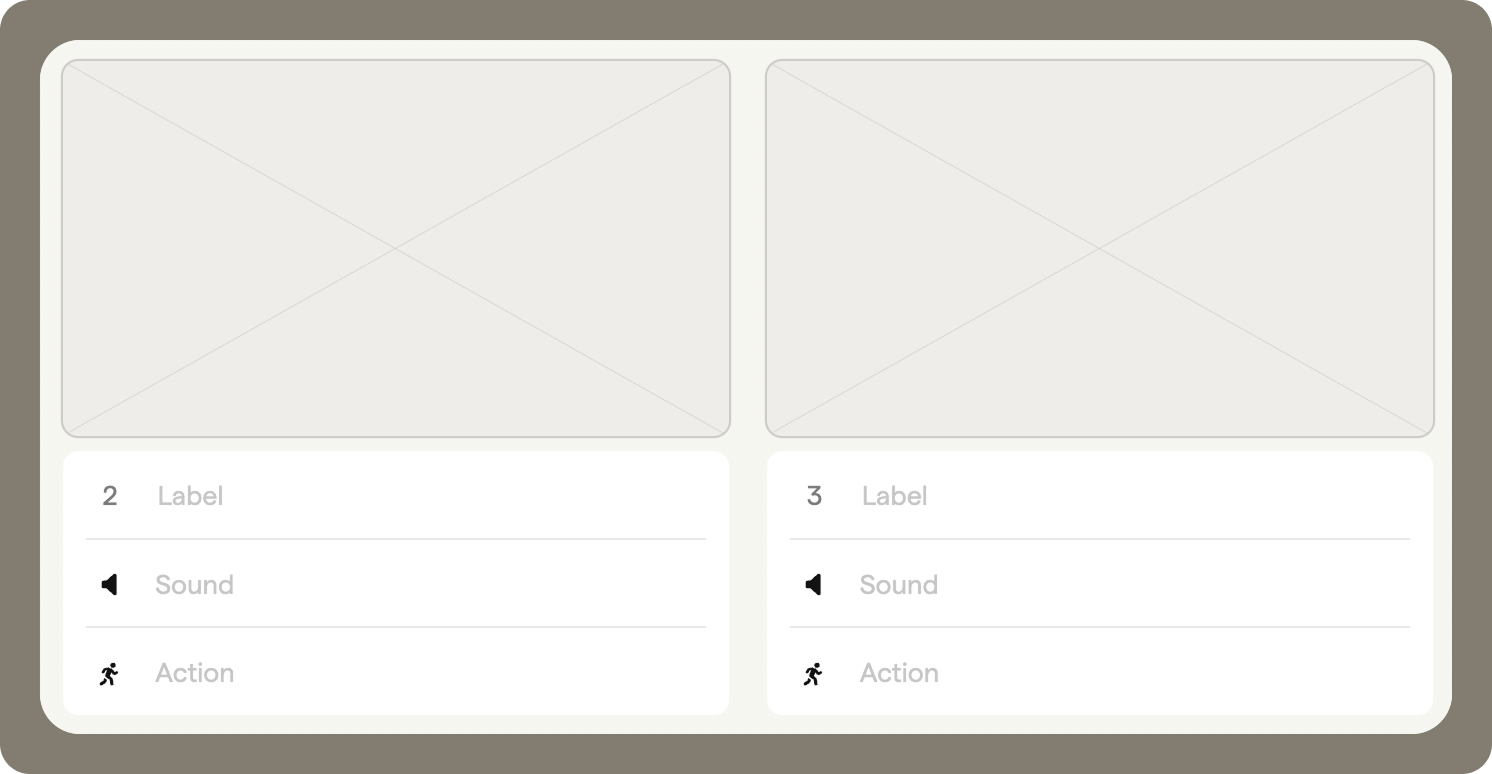
Default fields
By default, every frame has:
- Label - use it to identify or name the frame (e.g. "Scene 1")
- Sound - for voiceover or dialogue notes
- Action - for describing what's happening in the scene
These fields can be enabled or disabled depending on the information you need to include.
Adding and editing fields
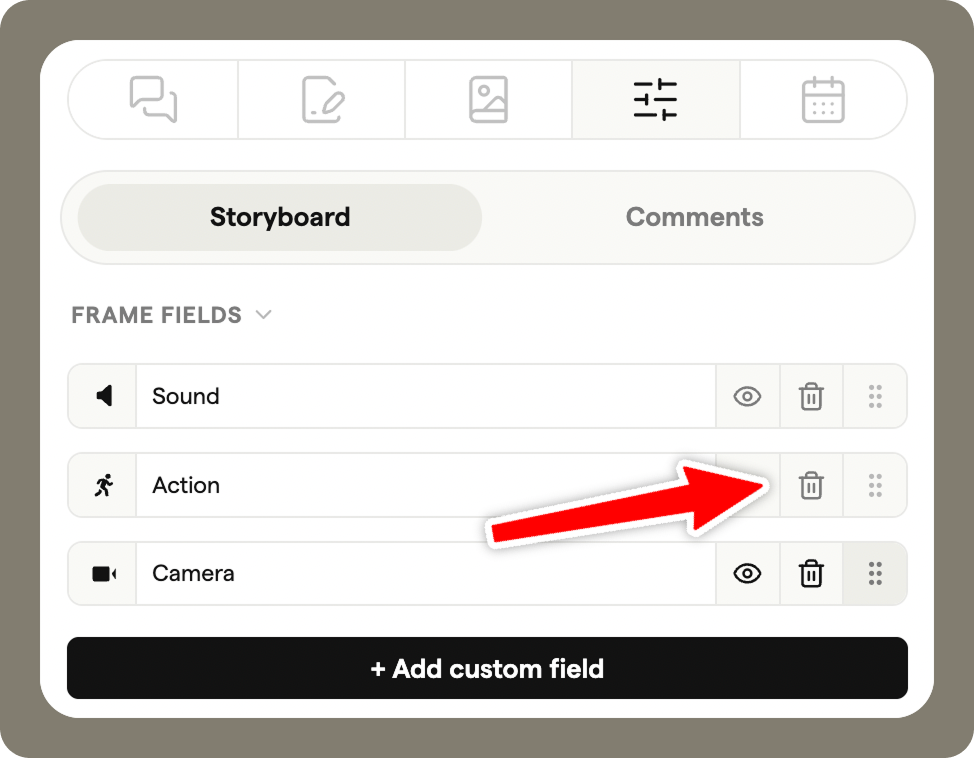
To change the fields that appear:
Open the sidebar and go to Settings → Storyboard.
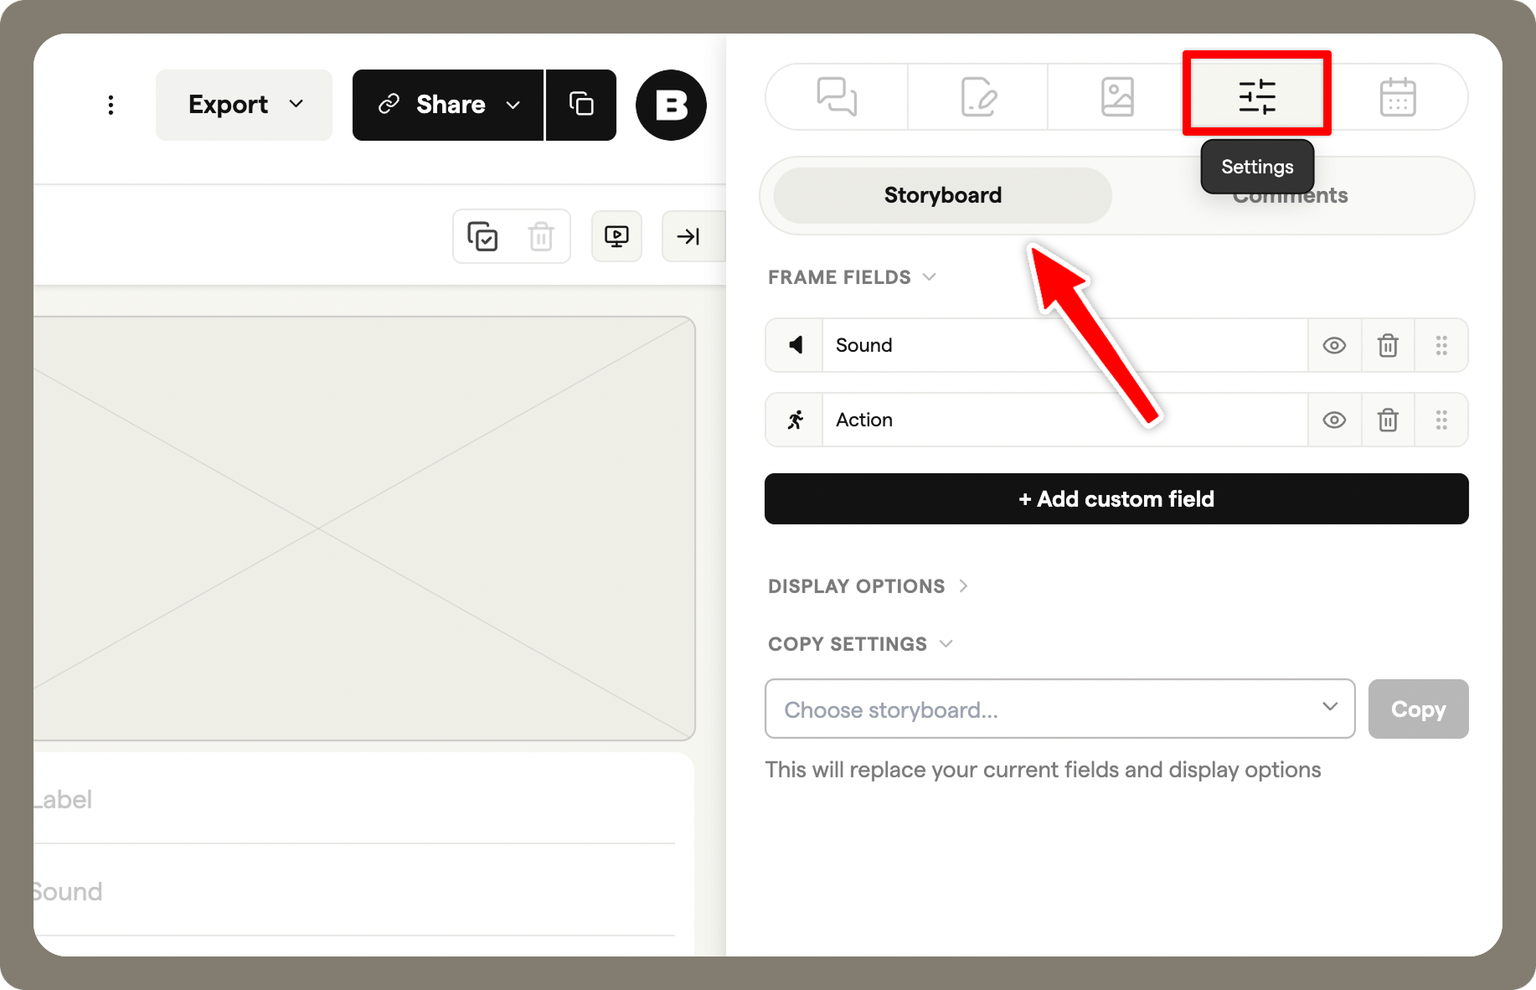
Select +Add custom fields to add more note fields.
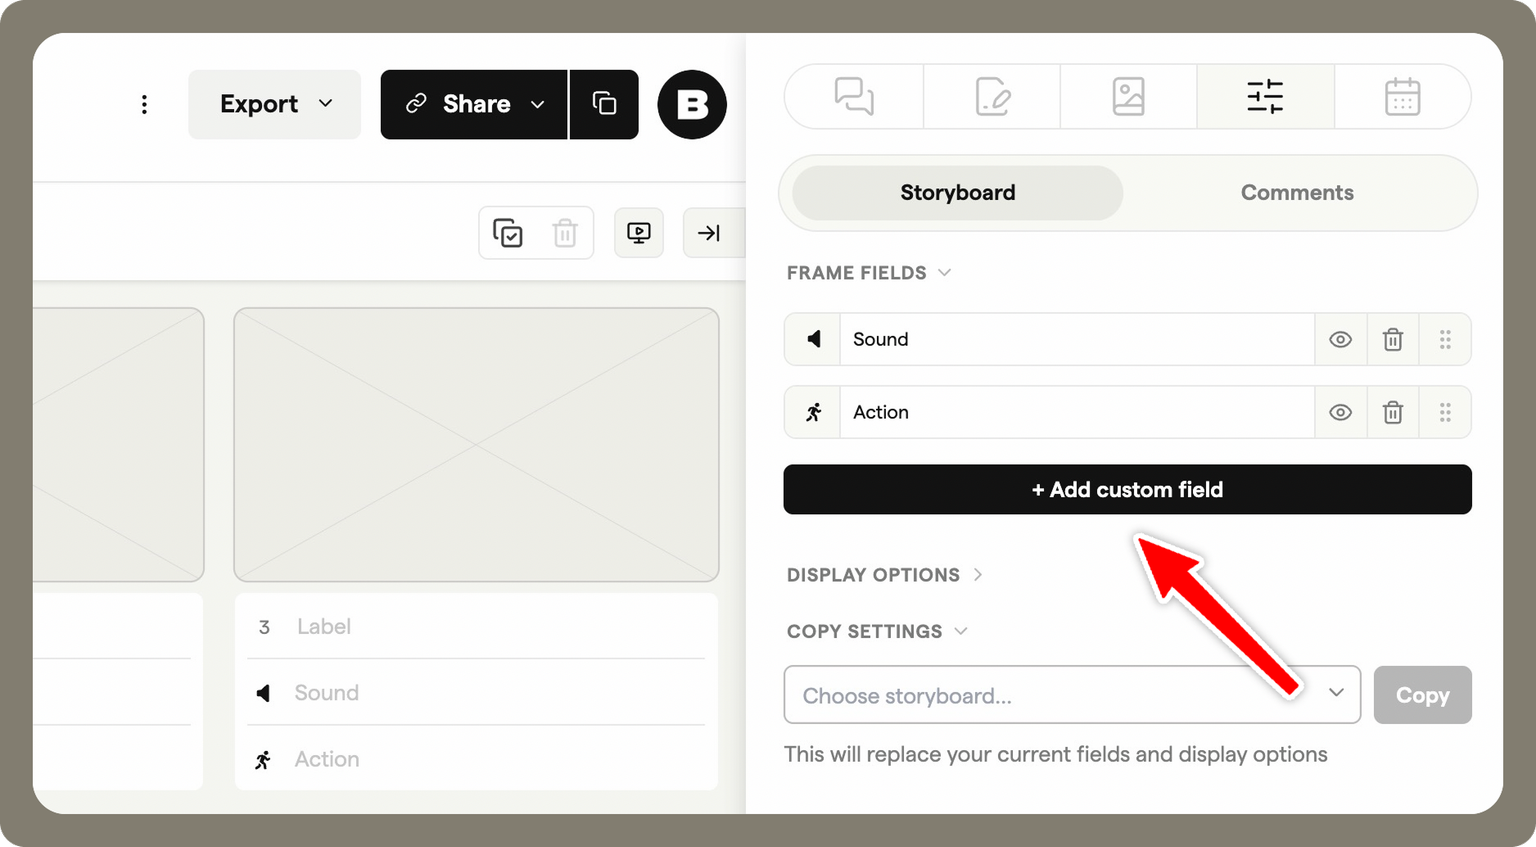
Rename fields and assign different icons.

Drag fields to reorder them, or remove them entirely.
Adding notes
Once your fields are set up, you can add and edit notes:
- Storyboard edit view - type directly into the fields under each frame. Use Tab to move between fields quickly
- Script editor - add or edit text across multiple frames. Changes sync automatically with the frame fields
- Sidebar - notes can also be viewed and edited while using the Editor or Animatic Tool
Creating your storyboard
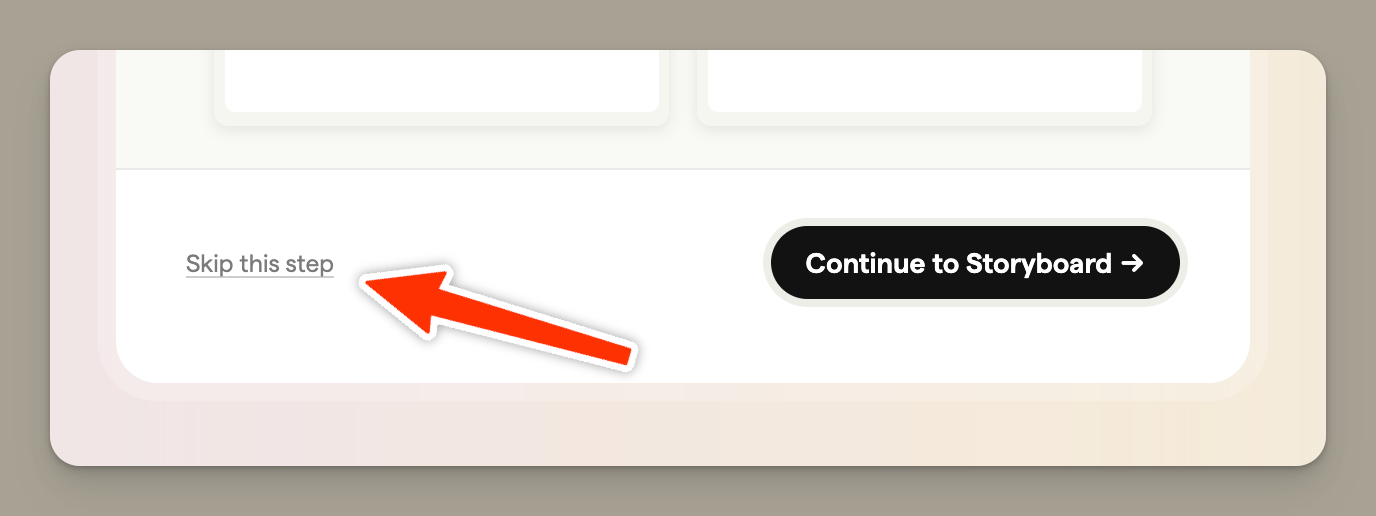
Click Create Storyboard to create your blank storyboard. You'll be taken to the editor where you can:
- Add frames manually
- Upload images or generate them with AI
- Fill in text fields for each frame