
Free Storyboard Templates
Download free storyboard templates for videos, animations, and more. Our ready-to-use templates help you visualize your story step by step — just download, print, and start creating. No signup required.


Browse Storyboard Templates

What is a storyboard template?
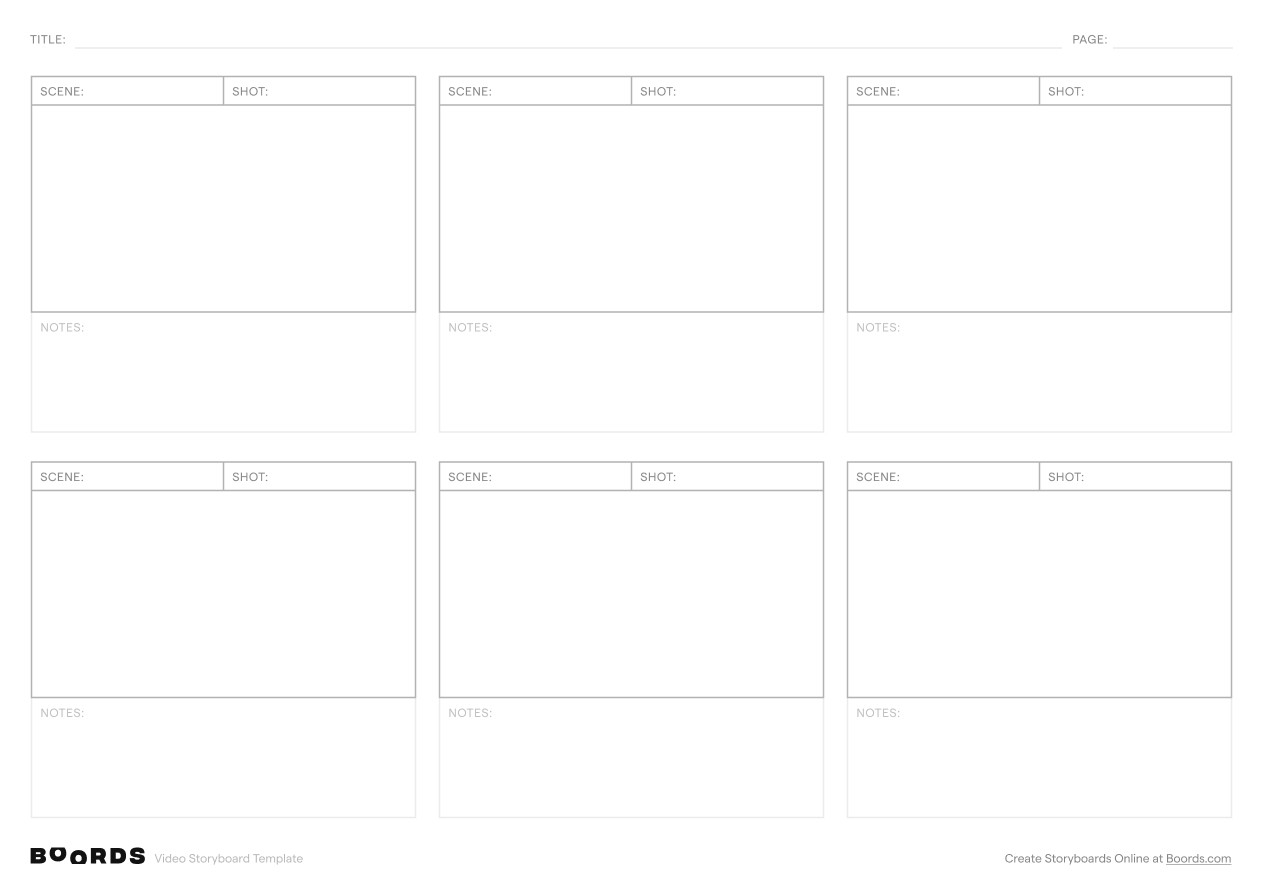
A storyboard template is a pre-formatted document with blank panels arranged in sequence. Each panel represents a scene or shot in your project. You sketch the visuals, write dialogue, and note camera directions. The template handles the layout so you don't start from scratch.
Why use a storyboard template?
Templates save time and bring consistency to your pre-production workflow. Instead of drawing panel grids by hand or struggling with general-purpose tools, a storyboard template gives you:
- A ready-to-use format. Download, print, or open in your editor and start working.

- Consistent panel sizes and spacing so your team can focus on the creative work.
- Built-in fields for notes, dialogue, and timing that keep production details in one place.
- A professional output you can share with clients and stakeholders.
Solo filmmaker or large production team, the benefit is the same: less time on setup, more time on the story.
What makes a good storyboard template?
The best templates have three things: clear, well-sized panels with enough room to sketch or place images; dedicated space for action notes, dialogue, and voiceover scripts; and a layout that matches your project's aspect ratio. A good template should also be easy to print, share digitally, and adapt to your workflow.
Choosing the right storyboard template
Three things matter: aspect ratio, panel count, and whether you want a printable PDF or an online tool.
Aspect ratio
Your storyboard should match the aspect ratio of your final output.
| Aspect Ratio | Best For | Template Style |
|---|---|---|
| 16:9 (Widescreen) | YouTube, corporate video, TV, presentations | Horizontal panels. The most common layout. |
| 2.39:1 (Cinemascope) | Feature films, cinematic shorts | Wide horizontal panels with extra room for camera notes. |
| 9:16 (Vertical) | TikTok, Instagram Reels, YouTube Shorts | Tall vertical panels for portrait-format content. |
| 1:1 (Square) | Instagram posts, social media ads | Square panels. Compact and easy to print. |
Panel count
The number of panels per page affects how much detail you can include:
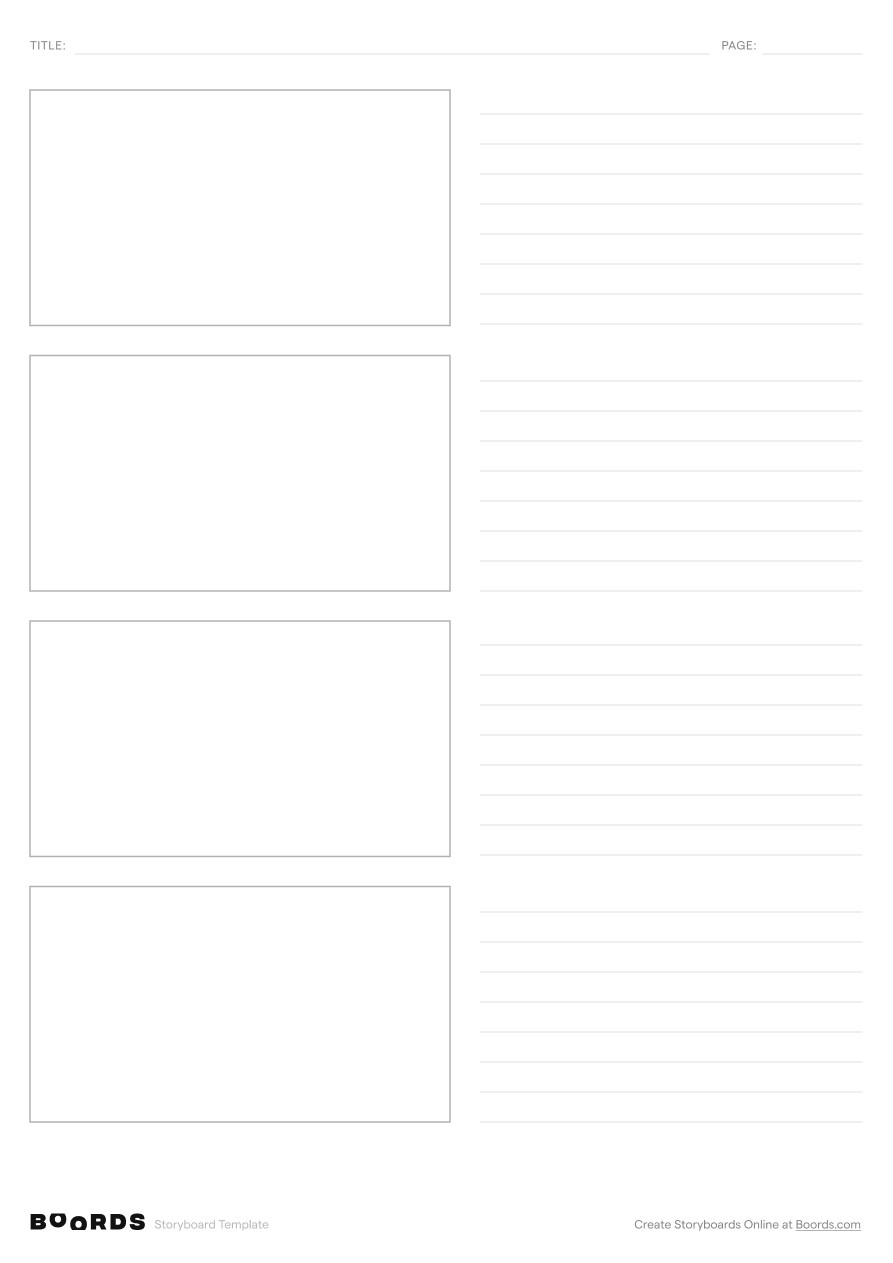
- 4 panels. Best for quick overviews and simple sequences. Large panels give you plenty of room to sketch and add notes.
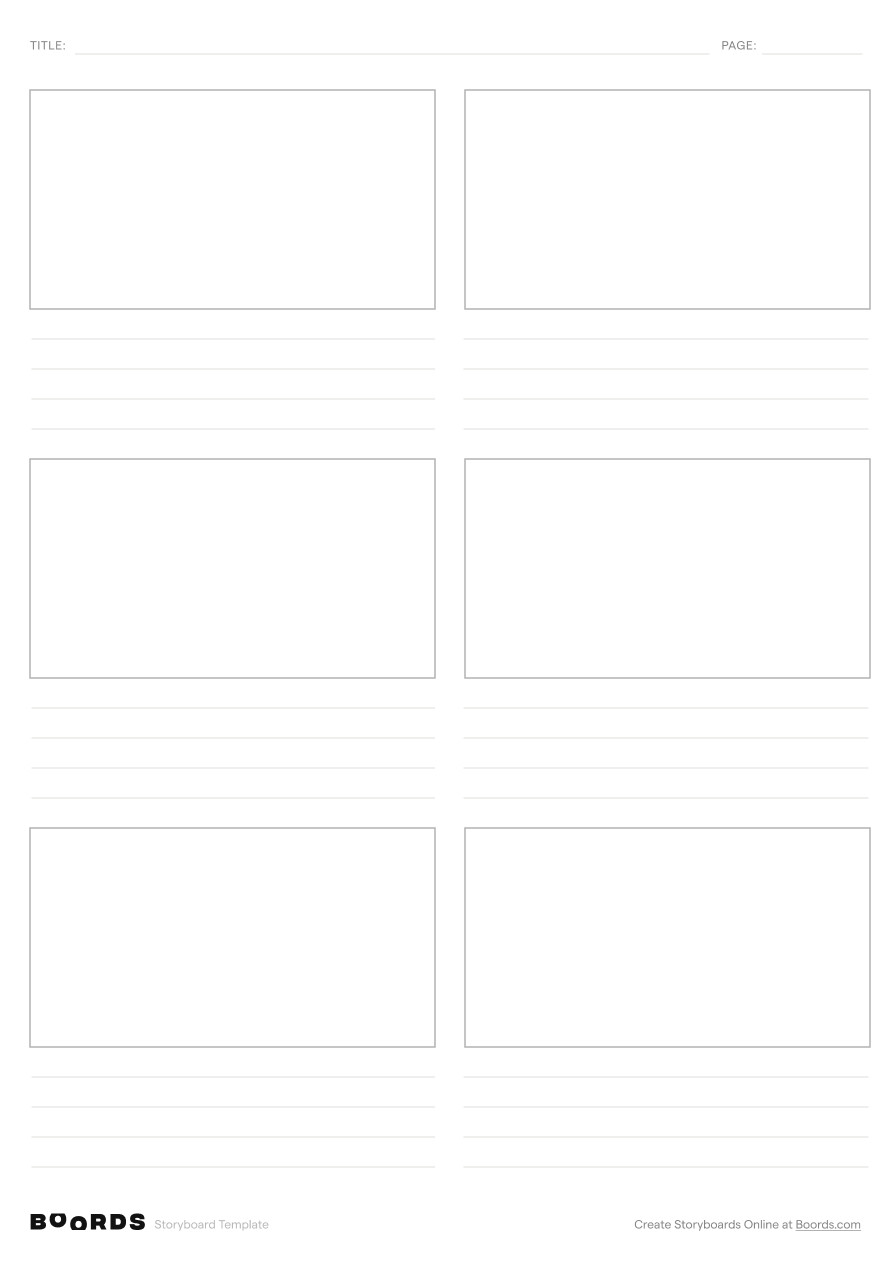
- 6 panels. The standard choice for most projects. Balances detail with page efficiency.
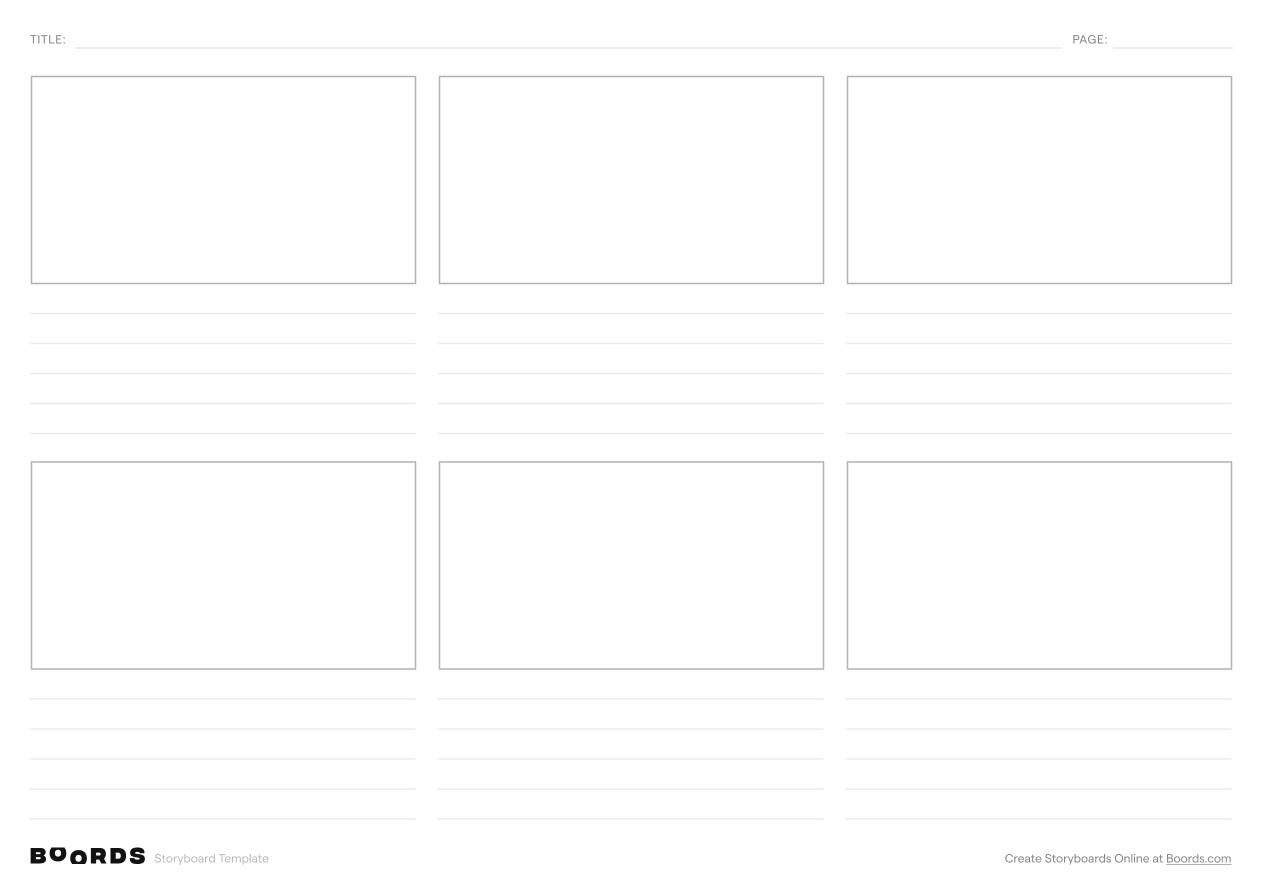
- 8–12 panels. Ideal for detailed sequences, animation, or rapid cuts. Smaller panels, but you can fit an entire scene on one page.
Start with 4 or 6 panels if you're new to storyboarding. Move to 8–12 once you're comfortable working smaller. Use Boords as an online storyboard creator to build and iterate digitally.
Printable PDF vs online storyboarding
A printable storyboard template in PDF format works well if you prefer sketching by hand. Download, print, and start drawing. PDFs are especially useful for on-set reference and quick brainstorming.
For longer projects or team collaboration, an online storyboard tool lets you drag and drop images, leave comments, and share a live link with your team. No printing or scanning required.
How to use a storyboard template
Storyboard templates give you a ready-made framework to visualise your story, panel by panel.
Start with your story concept
Clarify your concept before filling in any panels. What's the story? Who are the stakeholders? Write a brief outline or script first. This saves time and ensures every panel serves your objectives.
Build your storyboard panel by panel
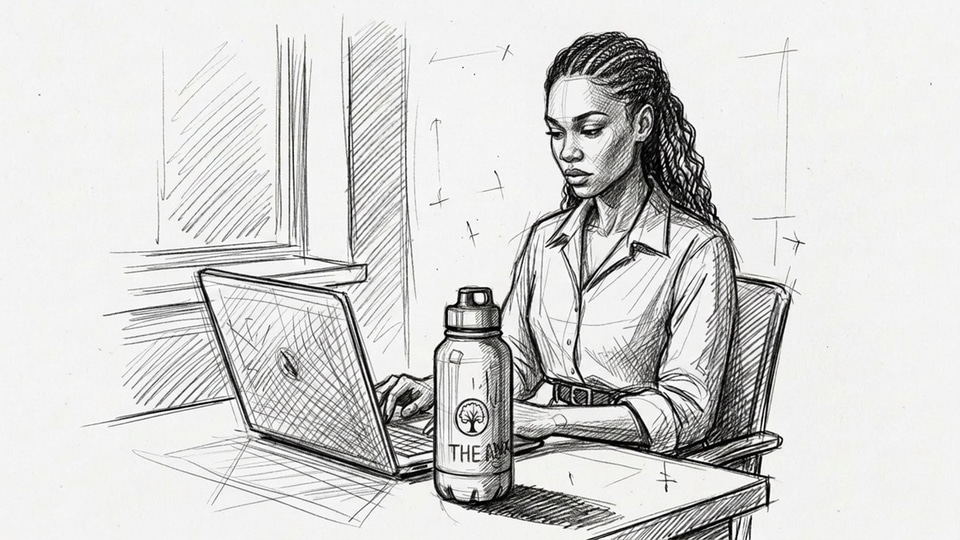
Work through the template in sequence. For each panel, sketch or place images that represent the key visuals. Add notes for dialogue, action, and camera direction. The sketches don't need to be polished. Focus on communicating the idea clearly.
Add notes, voiceovers, and timing
Good storyboard templates include fields for more than visuals. Use the notes section for voiceover scripts, sound design cues, and timing information. This detail helps your team understand exactly what each scene requires during production.
Share, collaborate, and iterate
A storyboard is a living document. Share it with your team for feedback, make revisions, and confirm everyone is aligned before production begins. With Boords' storyboard maker, you can collaborate in real time, leave comments, and track changes.
Ready to start?
Download a free storyboard template above, or sign up for Boords to create editable storyboards with built-in collaboration and animatics. For a deeper look at the process, see our free storyboarding guide.
Film storyboard templates
Film storyboard templates are built for projects where shot composition and camera direction are central. They use wider aspect ratios, typically 2.39:1 for cinemascope or 16:9 for standard widescreen, to match the frame you'll see on screen.
Film storyboards need room for detailed shot descriptions, camera movement annotations, and transition notes. Directors and cinematographers use them to communicate visual intent before anything is filmed. This saves time and budget on set. If you're evaluating storyboard software for a film project, look for tools that support wide-format panels and shot-level annotations.
Our free film storyboard templates include space for:
- Shot type and framing (wide, medium, close-up, POV)
- Camera movement notes (pan, tilt, dolly, tracking)
- Dialogue and action descriptions for each scene
- Scene and shot numbering to match your shooting script
Download a printable film storyboard template to sketch by hand, or use Boords' online storyboard tool to build your film storyboard digitally. For a step-by-step walkthrough, see our guide on how to storyboard.
Video storyboard templates
Video storyboard templates are built for shorter, faster production cycles: YouTube content, corporate videos, social media ads, and explainer videos.
The key difference from film templates is aspect ratio flexibility. Film almost always uses widescreen. Video storyboards need to work across formats: 16:9 for YouTube and presentations, 9:16 for TikTok and Instagram Reels, and 1:1 for social media posts. Our video storyboard templates cover all of these.
A good video storyboard helps you:
- Plan shots before shooting to reduce wasted footage and re-shoots
- Align your team on visual direction before production begins
- Get client approval on the creative concept with a clear, shareable document
- Map out on-screen text and graphics alongside live-action or B-roll footage
Pair your video storyboard template with a video script template to plan both visual and written elements. Or use a dedicated storyboarding app to build your video storyboard online with drag-and-drop images, client sharing, and version history.
Animation storyboard templates
Animation storyboards need more detail than live-action. Every frame is drawn or rendered, so there's no camera to point at a scene and capture what's there. Each panel needs to communicate character positioning, motion paths, expression changes, and timing cues.
An animation storyboard template gives you a structured framework to plan:
- Key poses and in-between frames that define character movement
- Timing and frame counts for each shot or action
- Motion direction arrows for how elements move across the frame
- Expression and gesture notes for animators
- Background and environment details for each scene
This applies to 2D animation, 3D rendering, and motion graphics. A dedicated template gives your team a clear visual blueprint before production begins. For a deeper look at the process, see our guide on how to storyboard.
Download a printable animation storyboard template to sketch by hand, or use Boords' online storyboard tool to build your animation storyboard digitally with AI image generation, frame-by-frame sequencing, and team sharing. Boords is one of the best apps for storyboarding if your workflow spans multiple projects and requires close team collaboration.
Frequently asked questions
Ask AI about Boords.
Pick your favorite AI and ask what it thinks about Boords. No filter, no spin.
“I'm evaluating Boords (boords.com), storyboarding software with animatics and client sign-off for video preproduction teams. What does it do, what are its strengths and weaknesses, and who is it best for?”
Storyboard software for video agencies & brand teams
One workspace for storyboards, animatics, comments, and approvals.
Spend time on the creative, not the back-and-forth.


Storyboard Activity
Sarah changed the status of Explainer Video v3 to Approved
8 JulSarah viewed Explainer Video v3
8 JulTom shared Explainer Video v3 with sarah@beacon.co, dev@beacon.co
7 JulTom changed the status of Explainer Video v3 to Review Needed
7 JulTom created Explainer Video v3, a new version of Explainer Video v2
7 JulAmara marked a comment on Explainer Video v2 as complete
7 JulDev commented on Explainer Video v2 - Frame 4
6 JulStoryboard Activity
Sarah changed the status of Explainer Video v3 to Approved
8 JulSarah viewed Explainer Video v3
8 JulTom shared Explainer Video v3 with sarah@beacon.co, dev@beacon.co
7 JulTom changed the status of Explainer Video v3 to Review Needed
7 JulTom created Explainer Video v3, a new version of Explainer Video v2
7 JulAmara marked a comment on Explainer Video v2 as complete
7 JulDev commented on Explainer Video v2 - Frame 4
6 Jul