Boords Logo

Video Storyboard Templates

Jumpstart your video project with our free, professionally designed video storyboard templates. Spend less time formatting templates and more time telling your story.
video-storyboard-template-a4-6-panel-vertical
Video Storyboard Template – 6 Panels
A4
Portrait
PDF
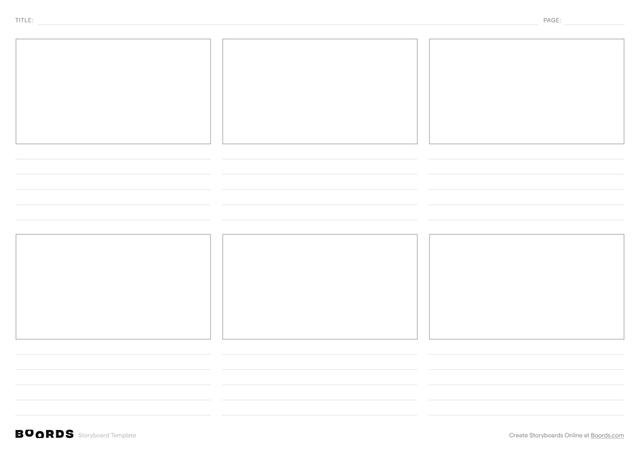
video-storyboard-template-a4-6-panel-horizontal
Video Storyboard Template – 6 Panels
A4
Landscape
PDF
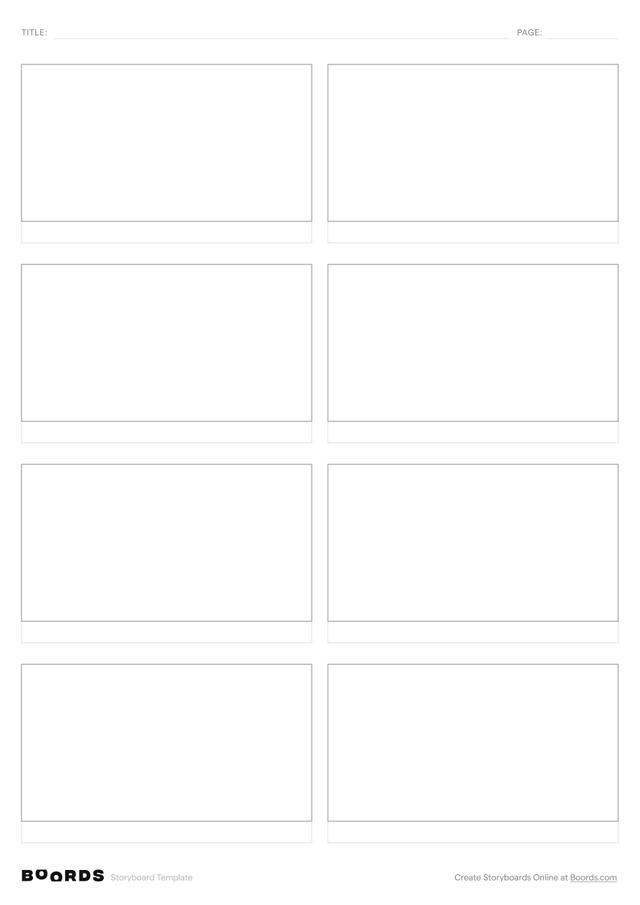
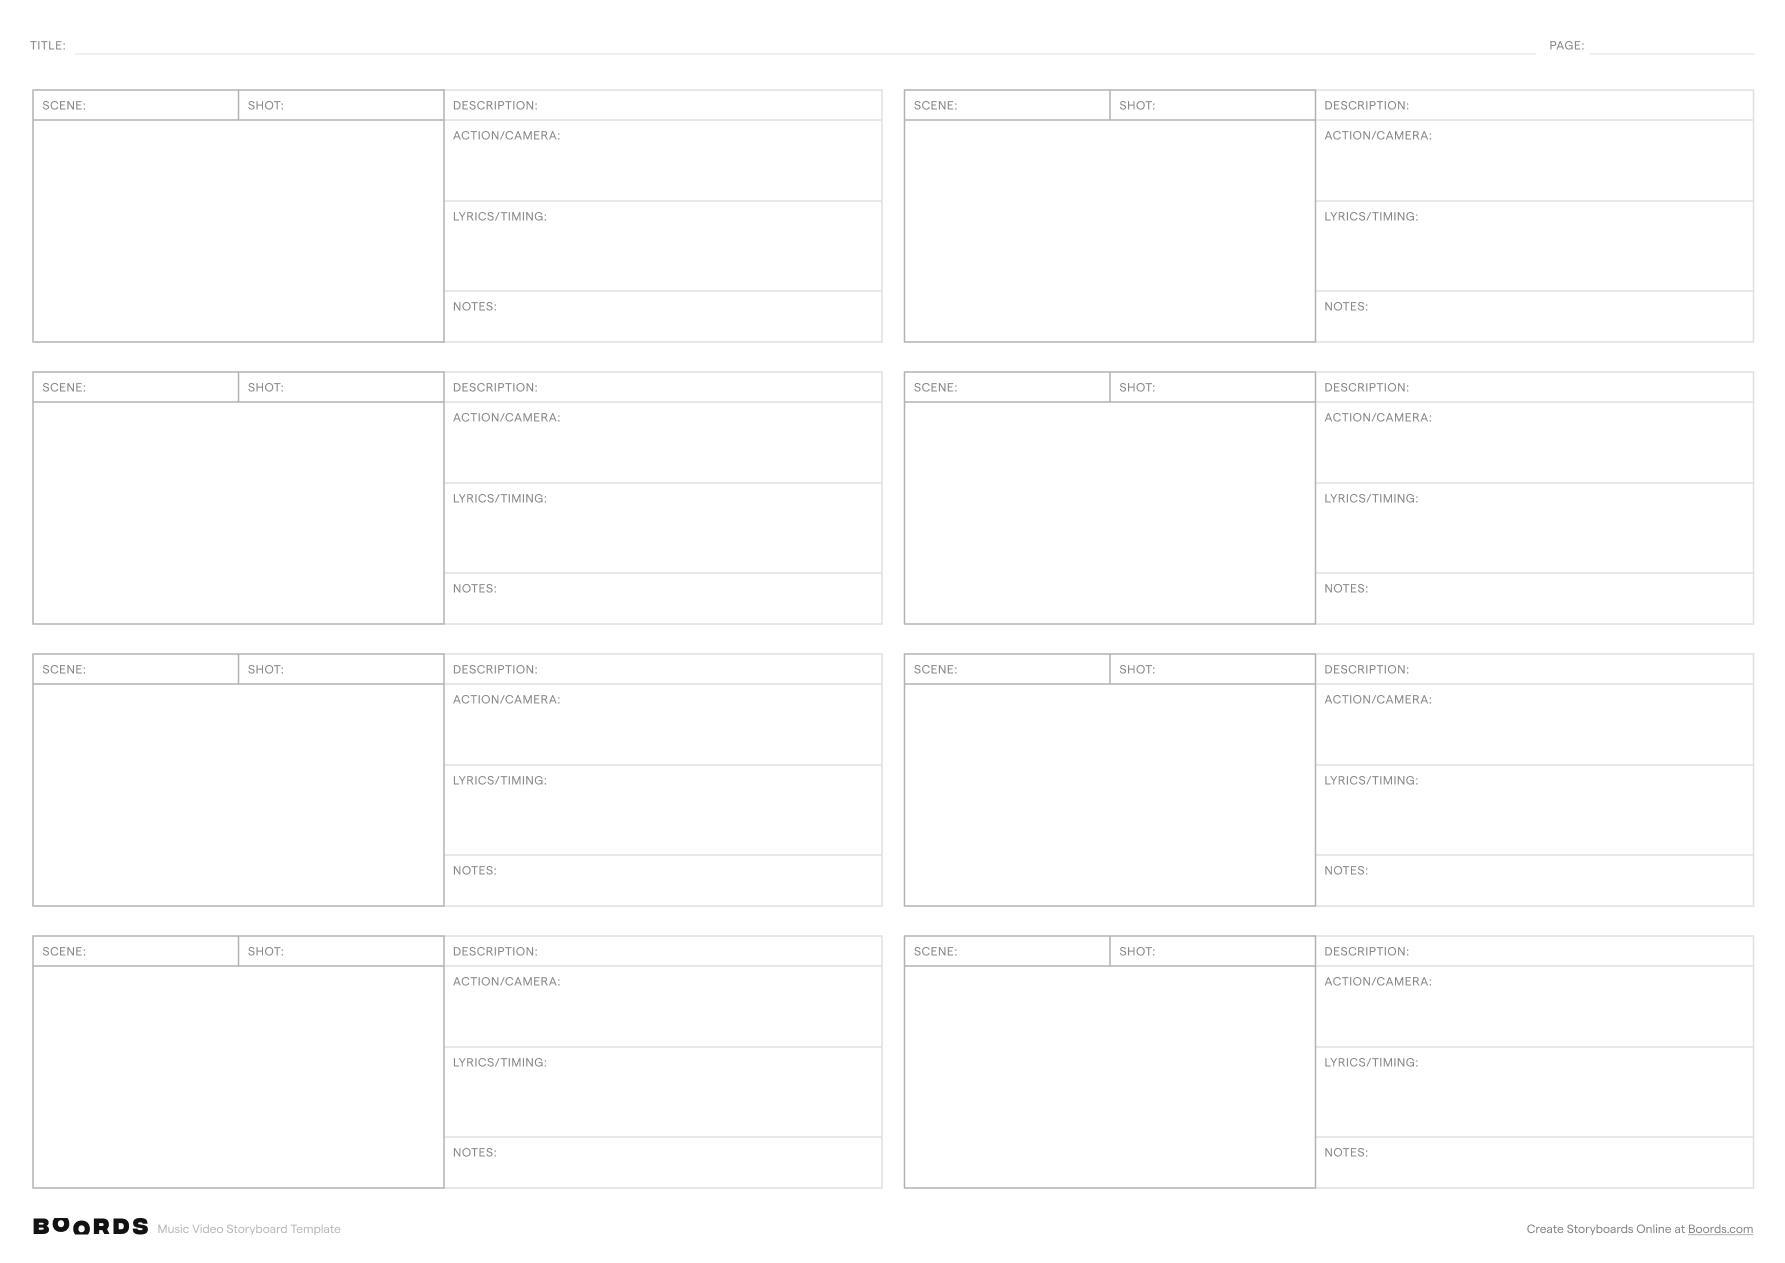
video-storyboard-template-a4-8-panel-vertical
Video Storyboard Template – 8 Panels
A4
Portrait
PDF
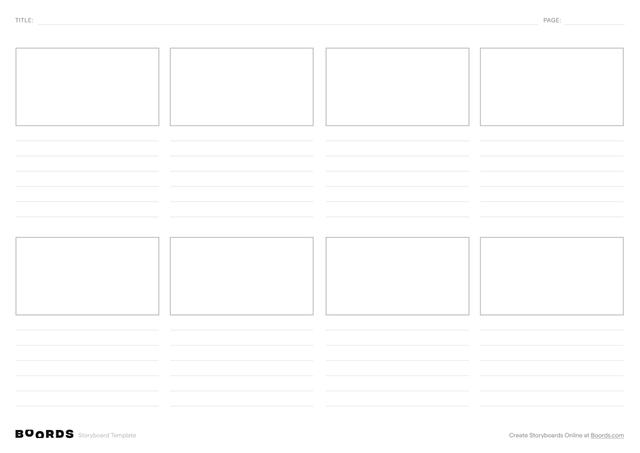
video-storyboard-template-a4-8-panel-horizontal
Video Storyboard Template – 8 Panels
A4
Landscape
PDF
video-storyboard-template-a4-4-panel-vertical
Video Storyboard Template – 4 Panels
A4
Portrait
PDF
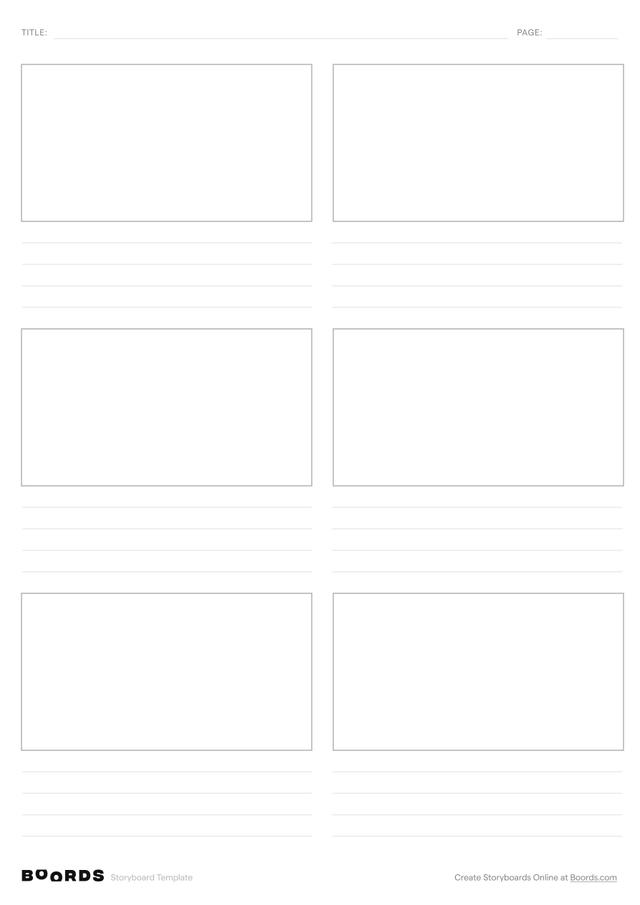
video-storyboard-template-a4-4-panel-horizontal
Video Storyboard Template – 4 Panels
A4
Landscape
PDF
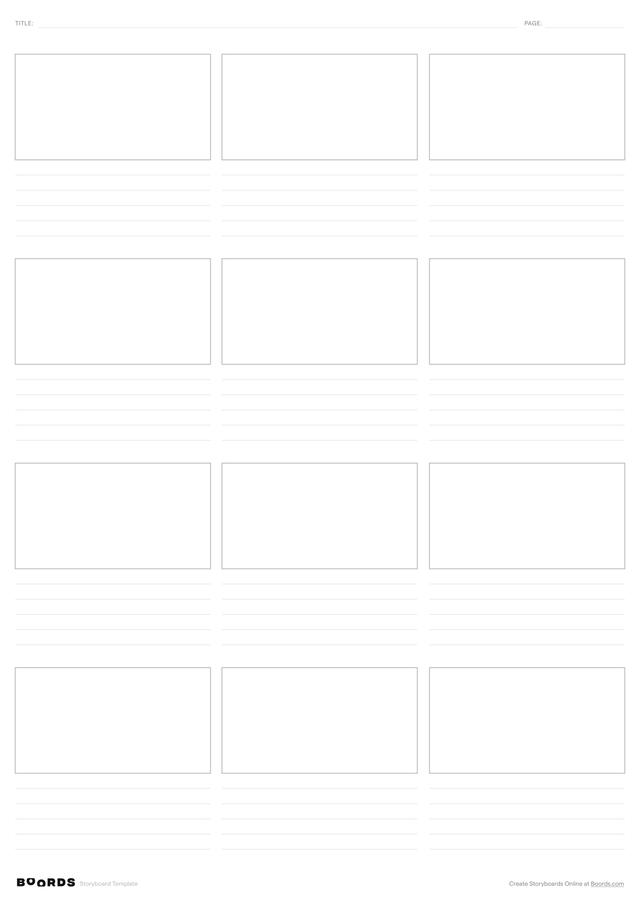
video-storyboard-template-a3-12-panel-vertical
Video Storyboard Template – 12 Panels
A3
Portrait
PDF
video-storyboard-template-a3-12-panel-horizontal
Video Storyboard Template – 12 Panels
A3
Landscape
PDF
How To Use Your Video Storyboard Template

A Step-By-Step Guide

Step 1: Fill in the Title

video-title

In the "TITLE:" field at the top, provide a descriptive working title for your video project. Keep it concise yet informative. The title helps organize your project but can be revised later.

Step 2: Name the Scenes

video-title-1

In the "SCENE:" column, enter a short name or description for each scene in your video. A scene is a section of the video that takes place at a specific location or covers a particular event or topic. If a scene spans multiple shots, you can repeat the scene name across those frames. Keep the scene names brief and clear.

Step 3: Number the Shots

video-shot

In the "SHOT:" column, assign a simple shot number (1, 2, 3...) to each frame of the storyboard, following the chronological order of the video. Each new shot within a scene should receive the next number in the sequence. Numbering the shots will help keep the storyboard organized and clarify the order when it comes time to film and edit.

Step 4: Add Explanatory Notes

video-notes

Below each scene/shot pair is an empty box labeled "NOTES:". Use this space to write any additional context, ideas, or reminders pertaining to that particular frame. This could include camera angles or movement, dialogue, action descriptions, music cues, graphics, or effects needed. The notes provide important details to guide the filming and production process.

Step 5: Review and Refine

After filling in the template, carefully review the entire storyboard from beginning to end. Check that the scenes are in logical order, the shot numbers are sequential, and the notes are thorough and clear. Look for opportunities to refine and clarify the content. The completed storyboard will serve as a roadmap during filming and post-production, so it's important that it is polished and easy to follow.

Boords storyboard creator

Online storyboarding software

The Shortcut to Effective Storyboards

Boords is the top-rated online storyboarding software that makes planning video projects a joy, not a job.

Get Started for Free
5,014creativesjoined this week

Browse More Storyboard Templates

Download free specialist storyboard templates for your next project.