How to Storyboard: Our 4-Step Guide to the Storyboarding Process
A storyboard is a visual representation of how a story will play out, scene by scene. It's made up of a chronological series of images, with accompanying notes. It's similar to a roadmap, guiding the journey of storytelling from the beginning to the end.
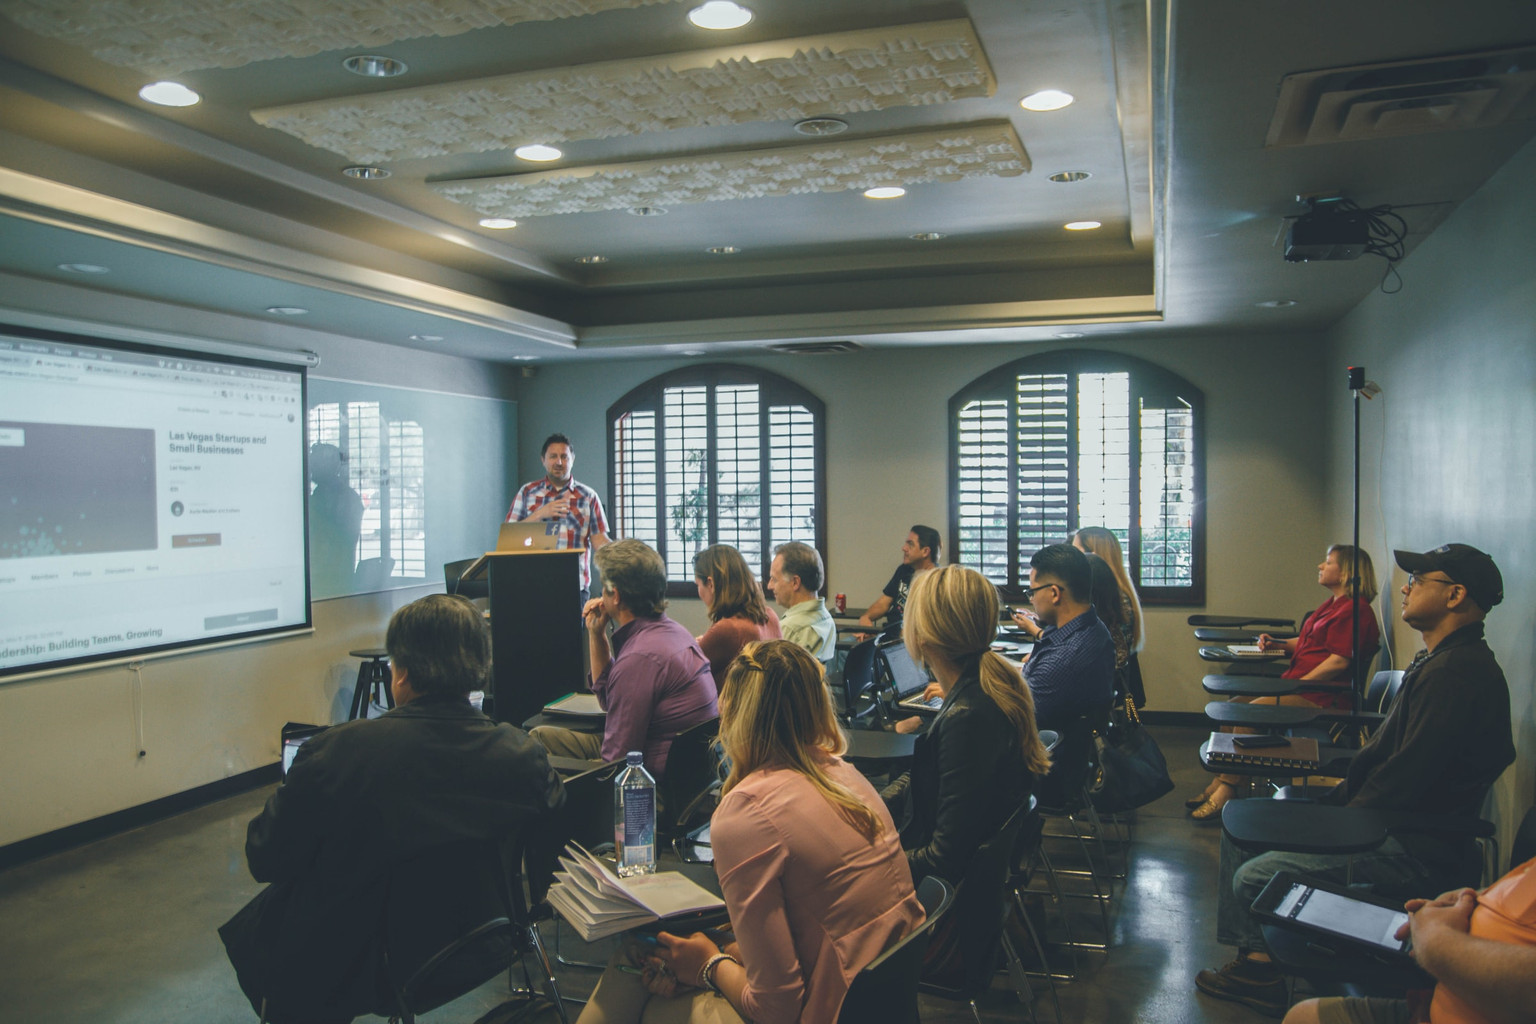
A storyboard communicates a filmmaker's vision. It sets out how you want the final piece to flow - whether it's a feature film, a novel, presentation, short film, or marketing video - and simplifies the entire creative process. Storyboarding does more than summarize your plot's most relevant details.
It's a process that gives you and your team members a project's tangible, visual flow when it's time to collaborate and make key creative decisions in the pre-production process. A well-crafted storyboard allows the space to identify potential issues or gaps in the narrative, giving creators a chance to troubleshoot before diving deep into production. Creating storyboards can take time, however, using software like an AI storyboard generator can quickly do this for you.
How to make a storyboard in 4 steps
- Make a storyboard template online using specialized storyboarding software. Or, you can even start the old-fashioned way with a pen and paper.

- Draw your storyboard frames, but keep it rough, simple and leave out intricate visual details.
- Edit your storyboard to flesh out your film's most important visual cues such as time of day for a scene, lighting, composition, and layering.
- Note camera movements for shots such as zooms, pans, tilts, dollies, trucks, and pedestals.
Read on for more details about each step in the process.
Step 1: Online vs Paper
 Re-ordering frames in Boords. Tricky to do on paper.
There are two schools of thought on how to storyboard. The first is to grab a piece of paper or a storyboard template and start sketching as is the case with traditional storyboards. The second is to use a specialist storyboard creator or storyboarding software.
Both methods have their place. The advantage of a paper template is that it's easily accessible, cheap and doesn't require a computer. The main downside is it's tricky to make revisions. Moving frames around is nigh-on impossible, as is any kind of collaboration or sign-off.
Needless to say, a good storyboard app makes the process a whole lot simpler. With a digital storyboarding tool, you can effortlessly edit, rearrange, and resize images. Collaborative features encourage teams to work together in real-time and add comments, allowing for instant feedback and adjustments.
Step 2: Draw your storyboard frames
In brief, keep it rough. This isn't a work of art.
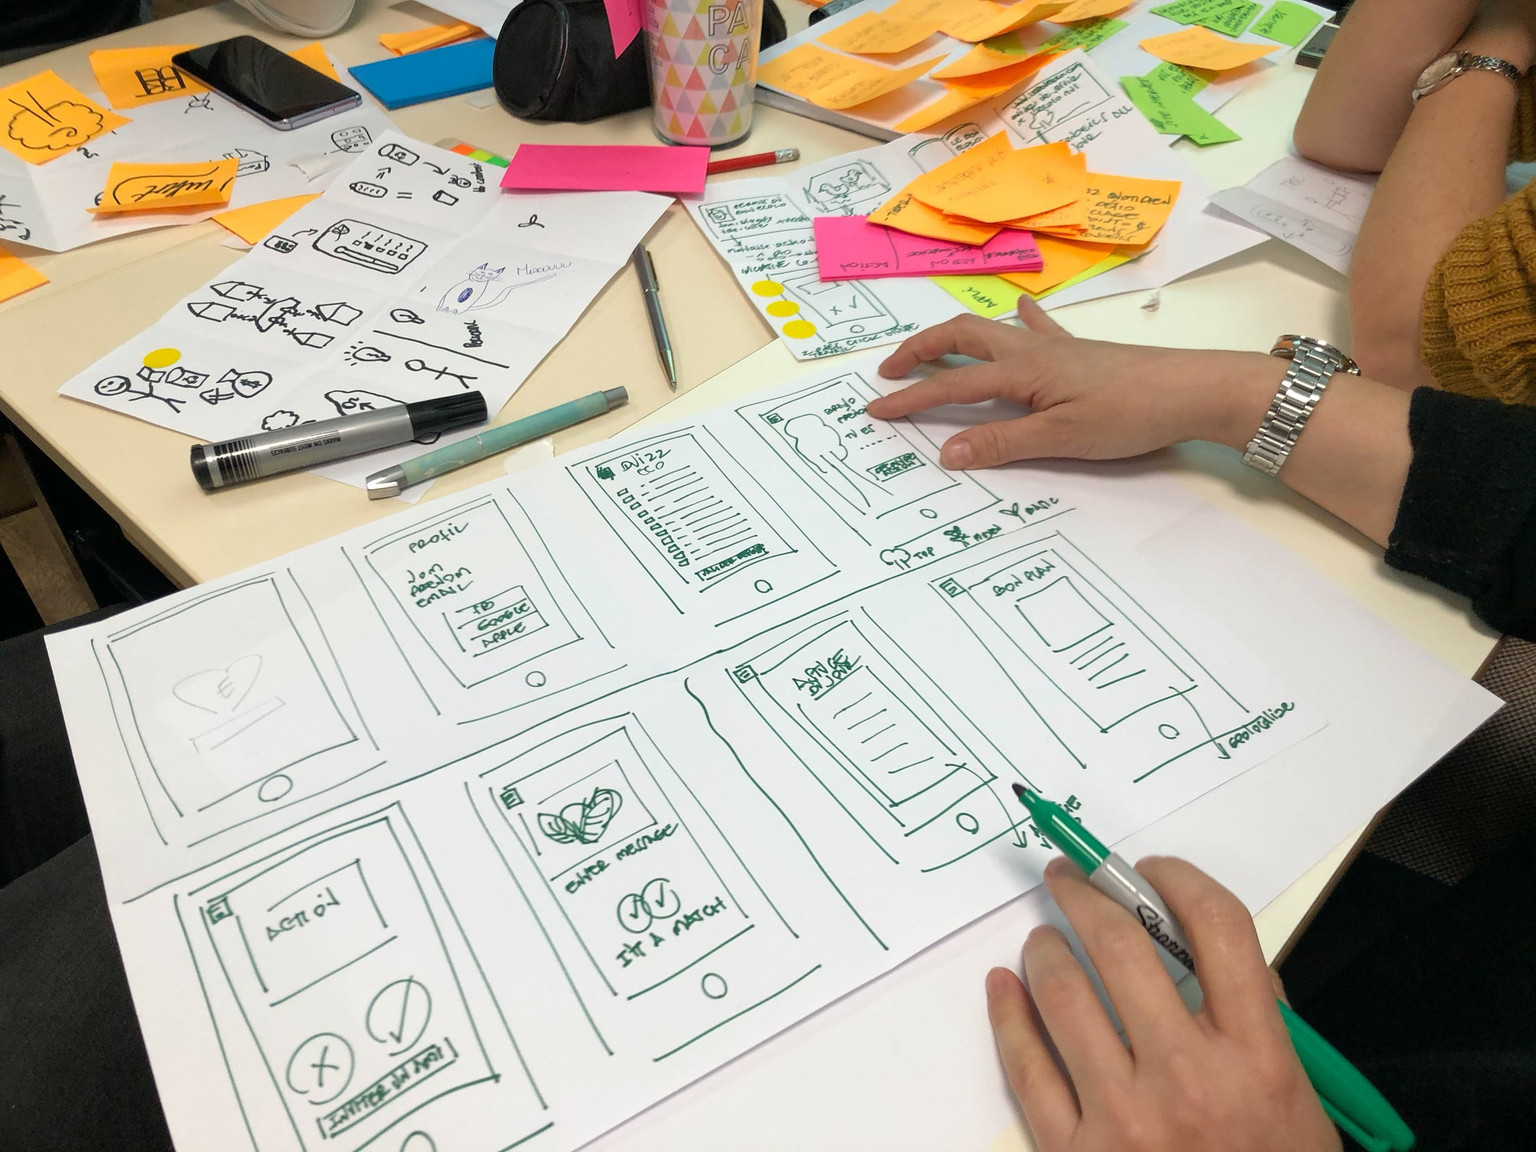
Sketching out your frames - a process known as 'scamping' - is where you turn a script from something written into something visual. It's no place for fancy special effects or a deeply specific level of detail. Scamping is rough, messy and raw – a storyboard in its essential form.
 An example scamped storyboard frame
Scamping is rough, messy and raw – a storyboard in its essential form.
A scamped storyboard's primary function is to help with visual storytelling, ensuring that you can make sense of the narrative. It helps you quickly come up with ideas and make changes, without being overly concerned about visual style. You don't need to be storyboard artist - stick figures or rough sketches will do the trick. Your goal is to get the key points across.
The scamping process is a powerful thinking tool. Here are a few guidelines to bear in mind:
- Choose your aspect ratio. What will your storyboard be used for? Films are often shot in 16:9, whereas social media videos are often square or even 9:16 (i.e. Instagram stories). The aspect ratio will dictate how you frame your images, so get this nailed down early.
- Keep it rough. Scamps are, by definition, rough. They're for you, not the world to see. Don't get too precious, your storyboard doesn't need to be a work of art.
- Keep it moving. Do parts of your script feel slow? Are there leaps in time or logic? Can some sections be removed entirely? Feed these ideas back into your script, making sure that your narrative is cohesive.
- Consider continuity. If your character is trudging through a muddy river in one shot, they'll need to have dirty trousers in the next. Consider the chronological order of what you're writing to make sure it flows.
Step 3: Edit your storyboard
Now that you've finalised your storyboard, it's the perfect time to consider subtler visual cues. What mood do you want your piece to have, and how can you communicate it? Framing, color, and video transition effects are all great ways to amplify emotion that might be missing from the script. Here are a few things to consider:
Choose a time of day
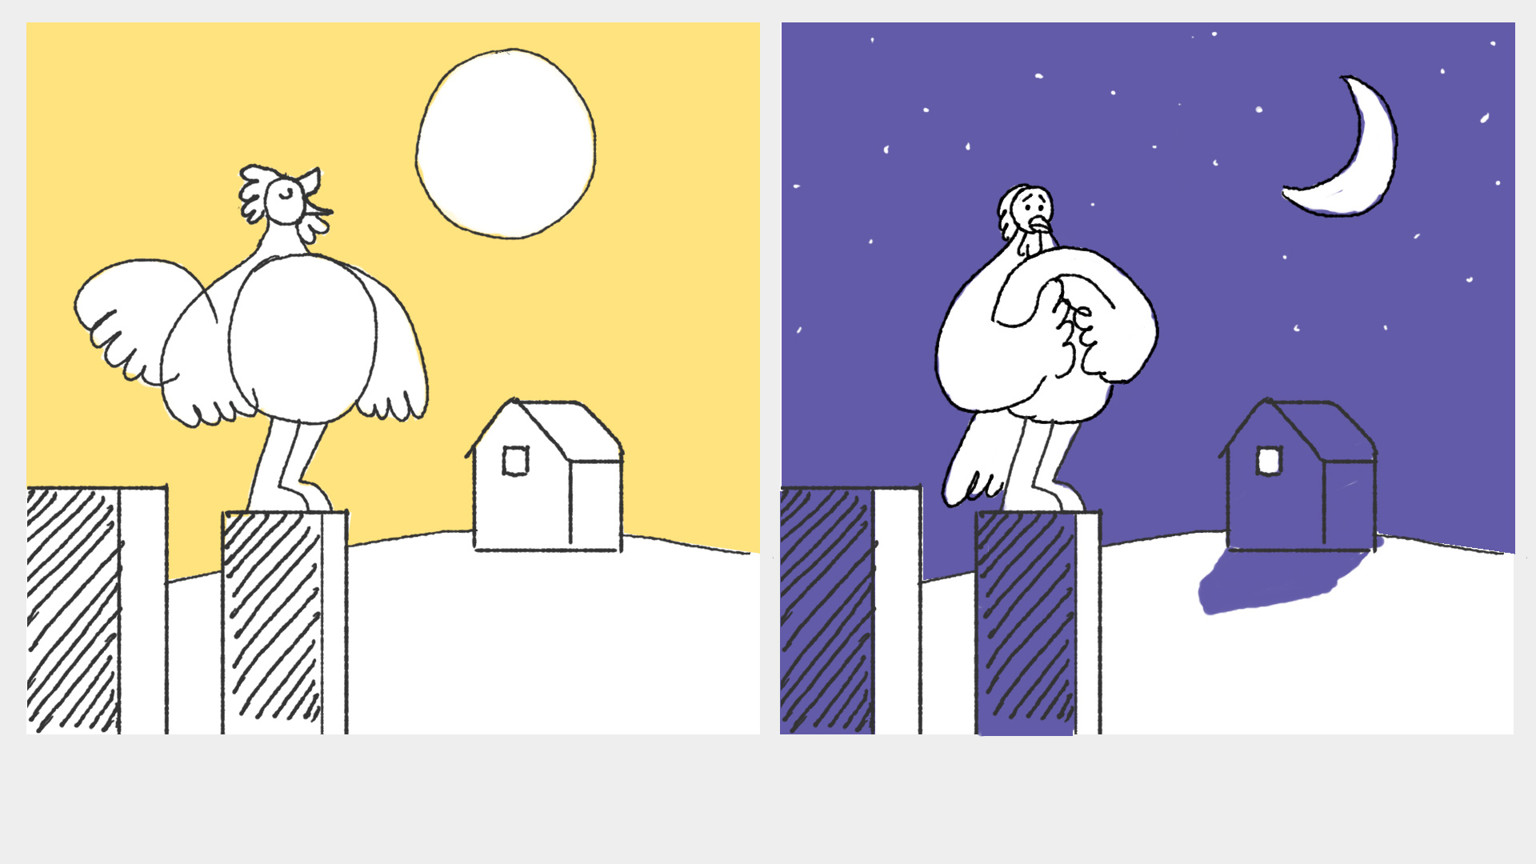
Setting a scene during a particular time of day will evoke a feeling in your audience. Morning is more optimistic, whereas late evening can suggest urgency or suspense. Choose wisely.
Do a silhouette check
Silhouetting a character can be a helpful way to see if your shots make sense. Look at your scenes without any detailed linework, and you'll quickly discover whether or not your action is understandable.
Don't upstage your character
Adding in staging elements and color helps convey the mood you're after, but shouldn't distract from the story. Character is king.
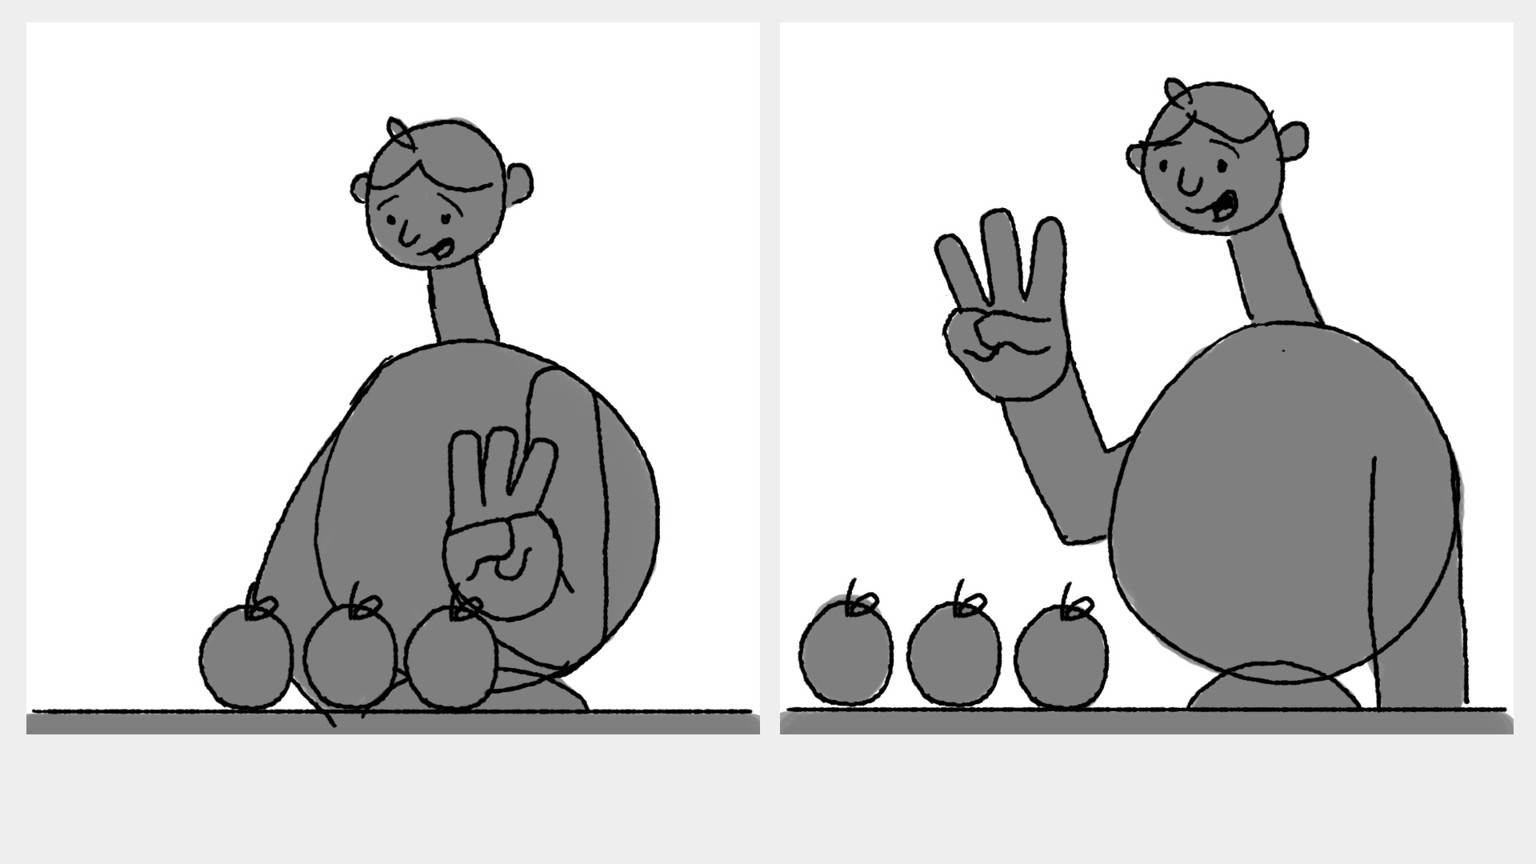
Ensure enough variety
Vary your shot types and camera angles. Too much of the same thing will quickly become dull and repetitive. The image on the left shows a long shot, with the image on the right showing a close-up.
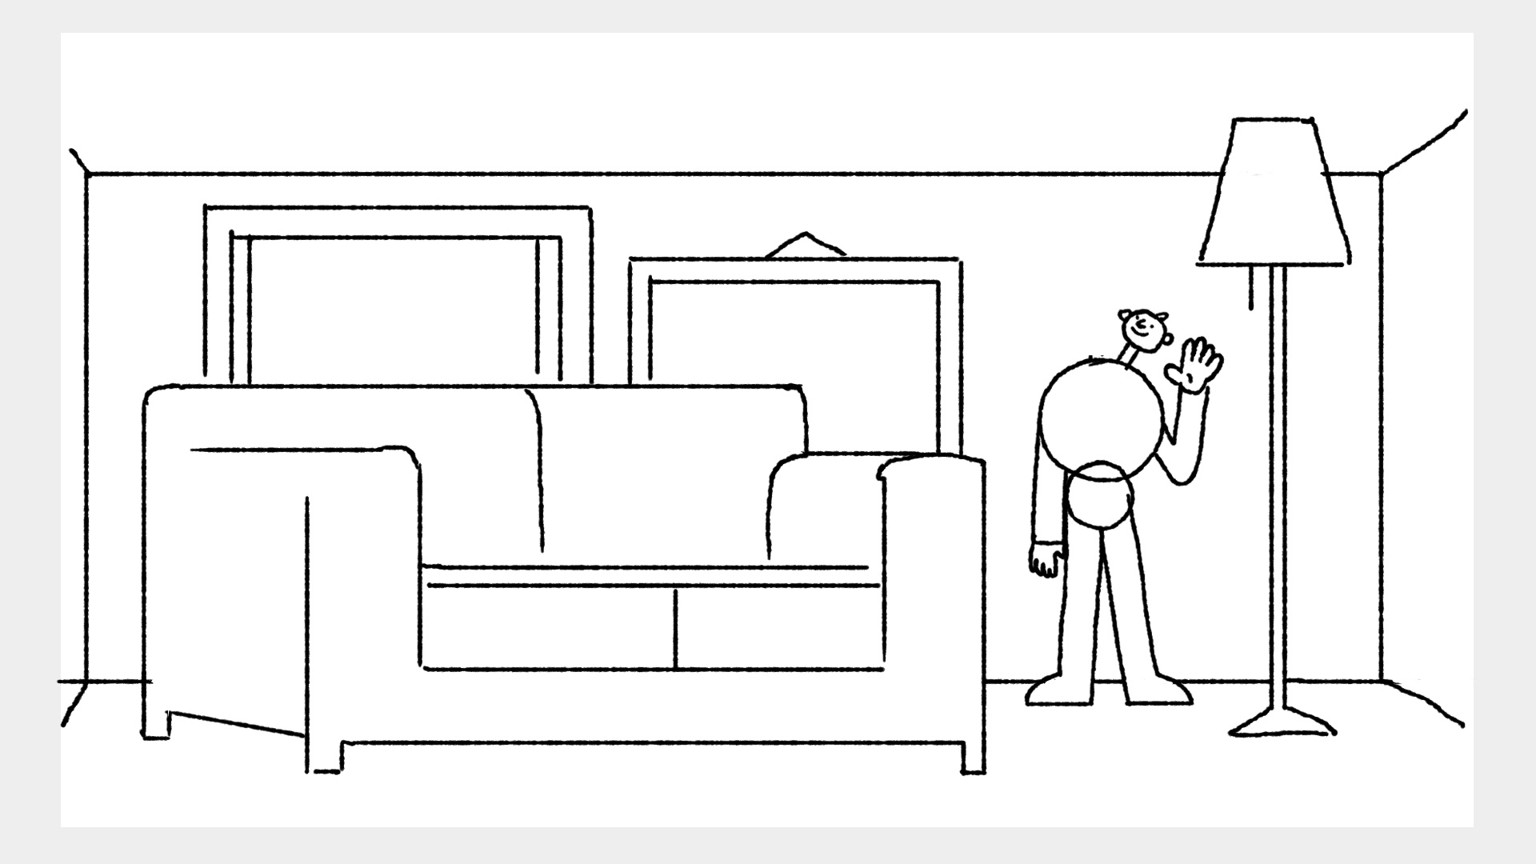
Think about layering
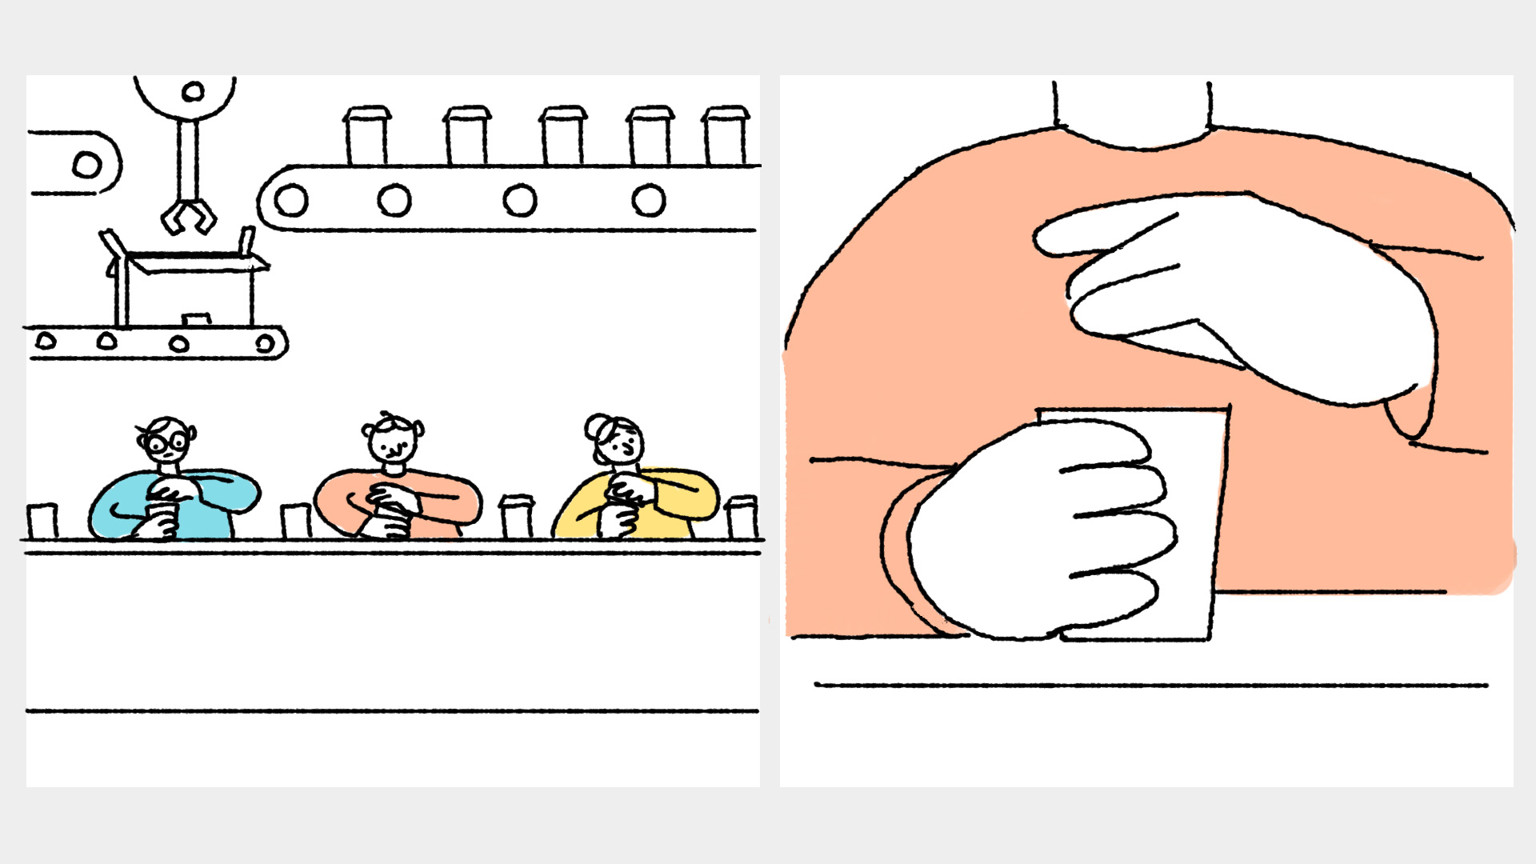
Layering is the process of setting up subjects within different layers of a frame. It helps to establish a sense of location, while also adding an element of depth to your images. Images often have a foreground, middle ground and background layer. Consider this example:
- Foreground (red): The area closest to the viewer.
- Middle ground (yellow): The area in the centre of a frame. It sits between the background and the foreground.
- Background (blue): The area furthest from the viewer, behind both the foreground and the middle ground.
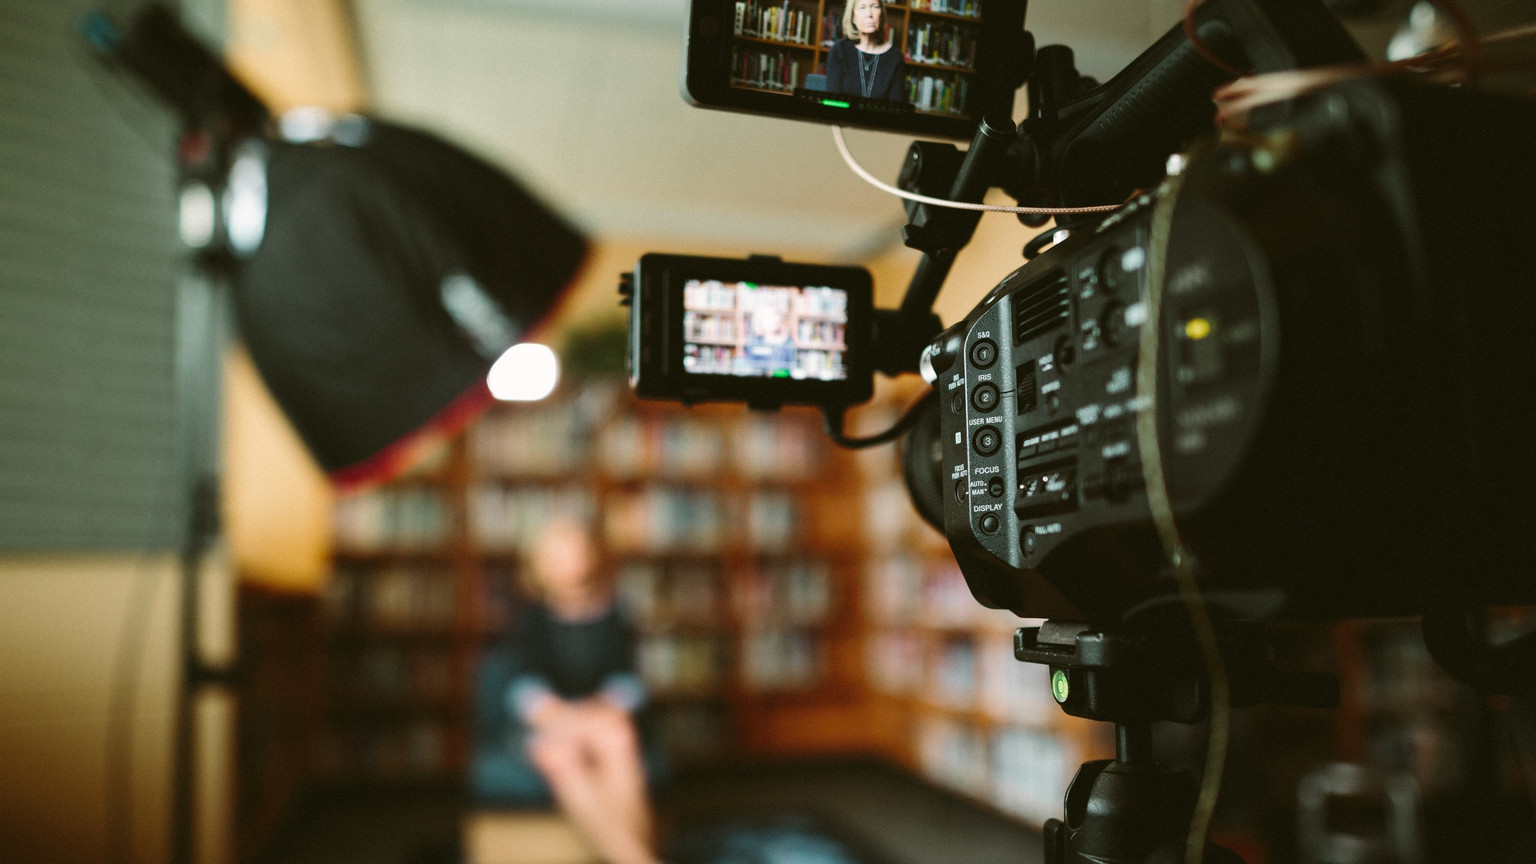
Step 4: Add camera movement
Incorporating a variety of camera movements into your shots is a great way to add interest to your finished production. Here are some well-known camera moves to get you started:
- Zoom: Gives the impression of moving closer to or away from the subject.
- Pan: Panning involves moving the camera horizontally from one side to the other along a central axis.
- Tilt: The camera stays in a stationary position and focuses on upwards and downwards movements.
- Dolly: A track-mounted camera moves towards or away from a subject.
- Truck: Moves the entire camera along horizontally along a fixed path.
- Pedestal: The camera ascends or descends in relation to a subject in the shot.
Pro-tip: Boords lets you add pre-built camera move indicators to your storyboards in seconds:
Invest in storyboarding software to streamline your process
Storyboarding is an essential step in the creative process, serving as a visual roadmap that guides creators from concept to completion. At Boords, we want to make it easy as possible for you to create storyboards and start your next project. Whether you're writing or directing a feature film, a short, TV pilot or motion graphics, Boords is the best storyboard software with your user experience in mind. See how easy it is to get started.
Check out our free storyboard templates and see how 500,000 creatives are already using Boords Storyboard Creator to bring their visions to life.
BONUS: Storyboarding glossary
Whether you're just starting out with your first storyboard or you're a seasoned pro, there are some key storyboarding terms that you need to know. To help give your vocabulary a new lease of life, we've compiled an extensive list of the most common storyboarding terms that you're likely to come across.
- Aspect ratio: The relationship between the width and the height of an image. In essence, it defines the shape of the image. Aspect ratios are written as two numbers with a colon (:) separating them. The first number represents the width of the image, while the second number refers to the height.
- Frame: A storyboard is divided into individual frames, which are represented as square or rectangular boxes. Each frame depicts a specific moment or event in the story. Your storyboard can be made up of as many or as few frames as you like – just make sure to include enough frames to make it easy to follow the flow of actions throughout the story.
- Shot: A shot is a series of continuous actions and is typically made up of a sequence of frames.The most basic shot-labelling option is in numerical order (i.e. 1, 2, 3, 4). In filmmaking, it's common to see shots labelled in increments of 10 (i.e. 010, 020, 030, 040).
- Scamps: In its initial stage, a storyboard should be made up of rough sketches. The process of creating these sketches is called scamping.
- Script: Every good storyboard starts with a script. You'll need to agree on a starting point before you make things visual.
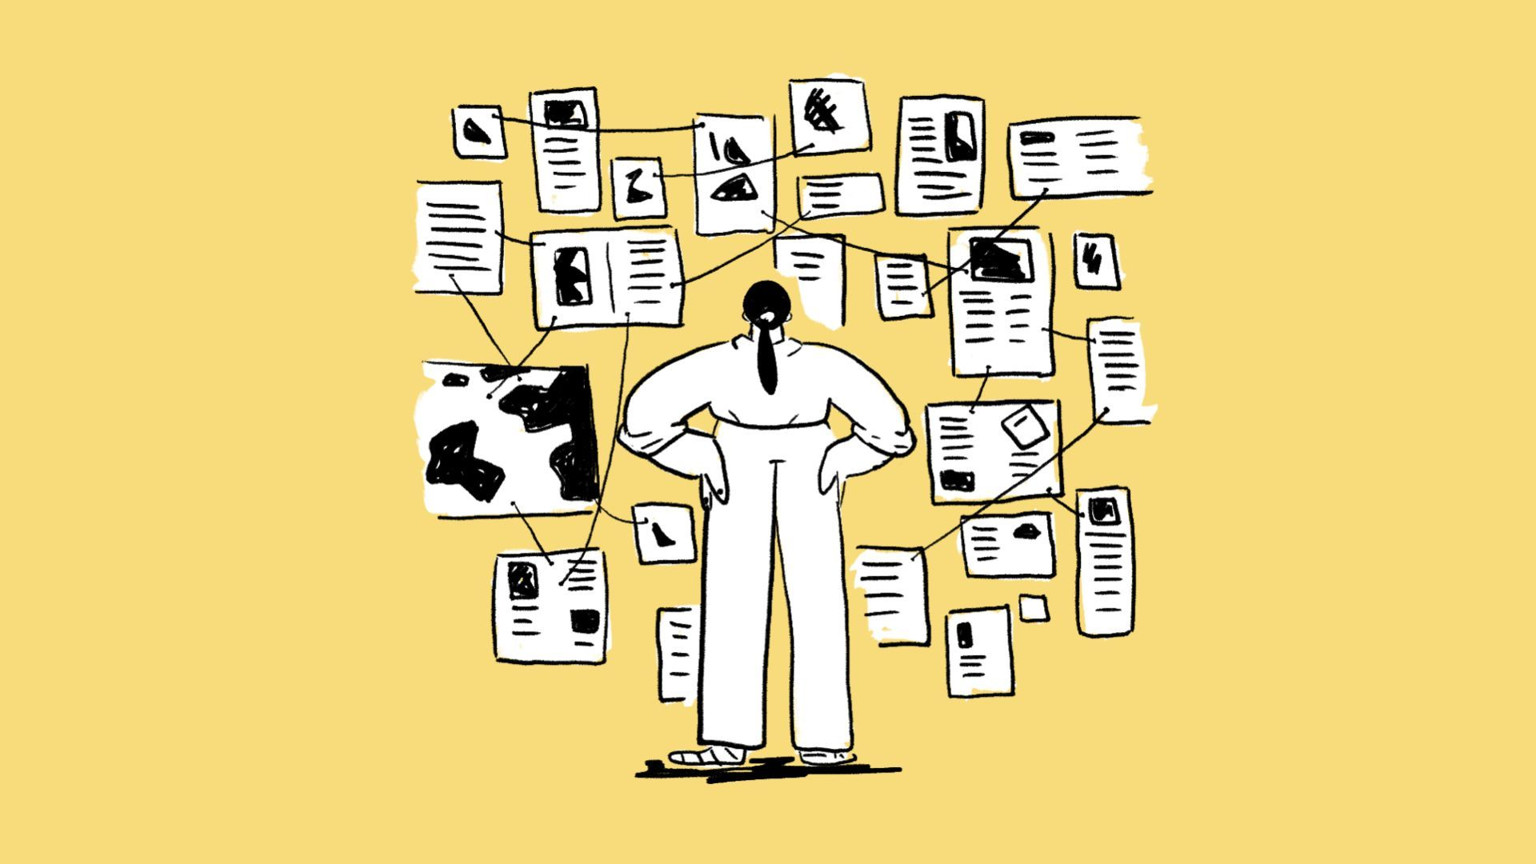
- Shot list: A shot list is a checklist that describes each individual shot in detail. It outlines what exactly will happen in the scene and what is required for the scene to be a success.
- Voiceover: A voiceover is a person - not on screen - reading from a script. It communicates the narrative for a piece of moving image.
- Dialogue: Dialogue refers to a conversation that takes place between two or more characters in a story. It can help to convey information and reveal character traits, and is often used to help the viewer experience the action through the character's eyes. Dialogue shows us what the character is feeling, rather than simply telling us.
- Style frame: A full-colour image that helps to establish the overall look of a piece of film or animation. A variety of different style frames are often produced.
- Sound effects: Artificial sounds which enhance the illusion of reality in the scene, e.g. car horns, birds singing or other subtle sounds in the background.
- Animatic: A series of images played in sequence, often with a soundtrack. In essence, it's an animated storyboard. Boords turns your storyboards into animatics automatically.

Sharper preproduction, less back-and-forth
Workflow tips and Boords product updates for video and brand teams, twice a week.