How to Make an Animatic in Photoshop


Animatics are a central part of the pre-production process. While specialist animatic software is available, you can do a good job of creating a simple animatic in Photoshop in a few steps.
- Create your document
- Add a timeline
- Add your frames
- Time your frames out
- Playing your animatic through
- Exporting your animatic


The Shortcut to Effective Storyboards.
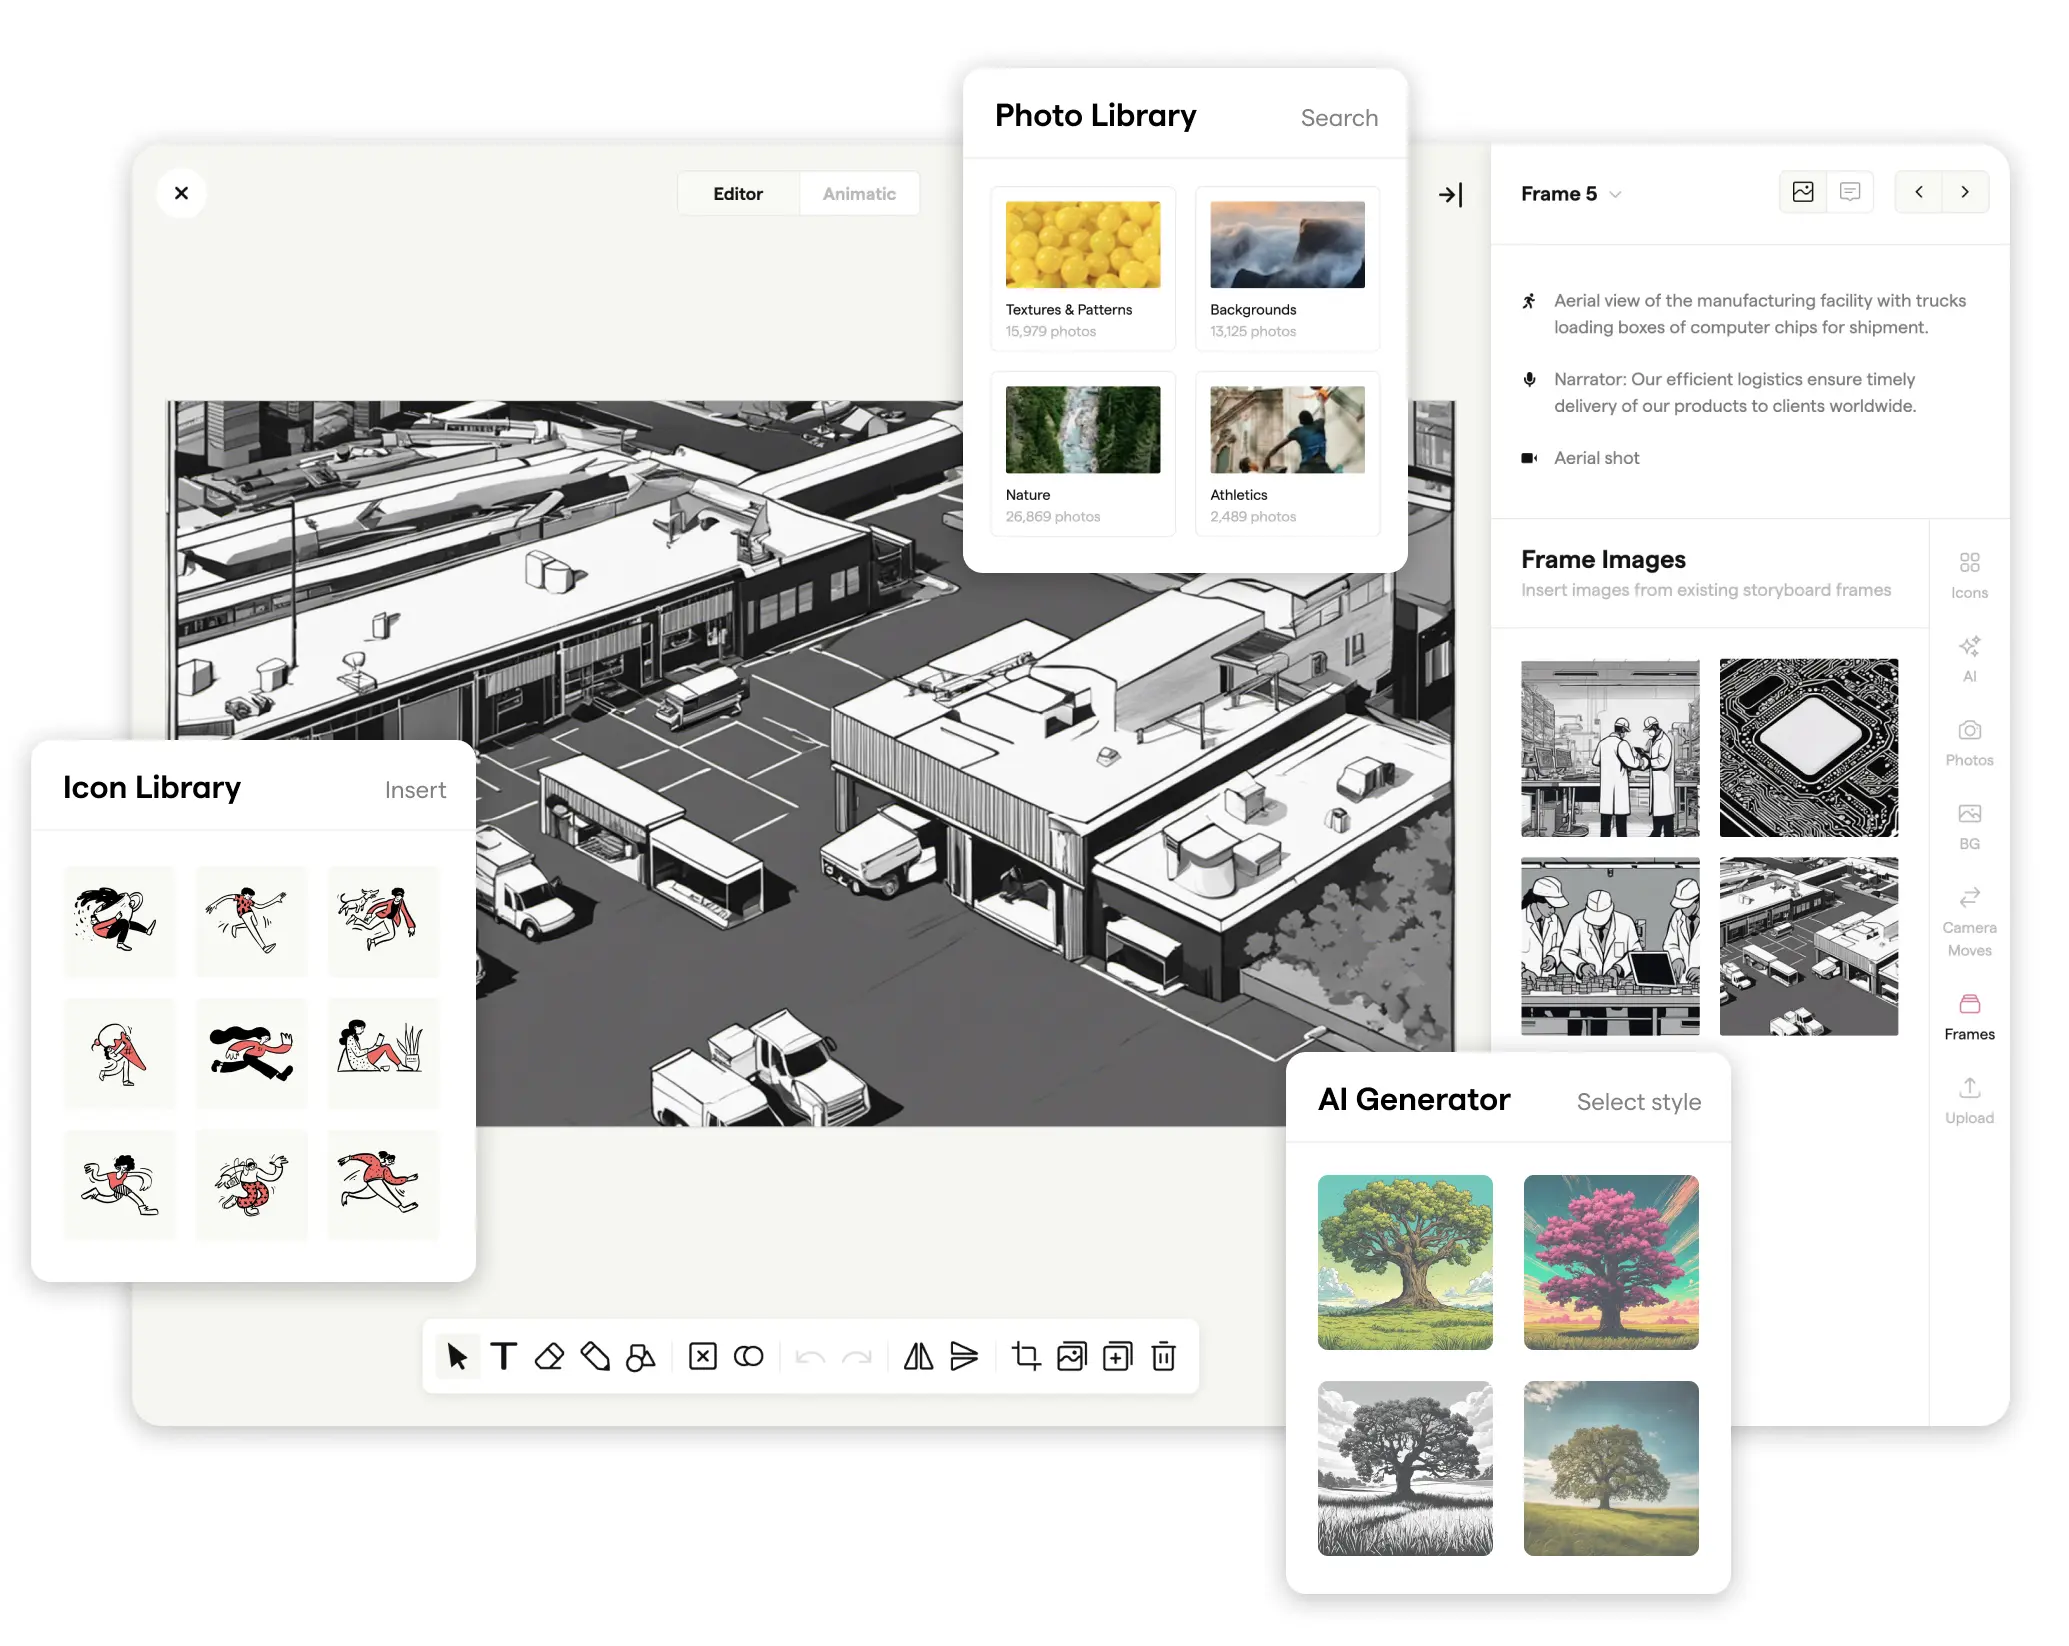
Boords is an easy-to-use storyboarding tool to plan creative projects.
Get Started for FreeStep 1. Create your document
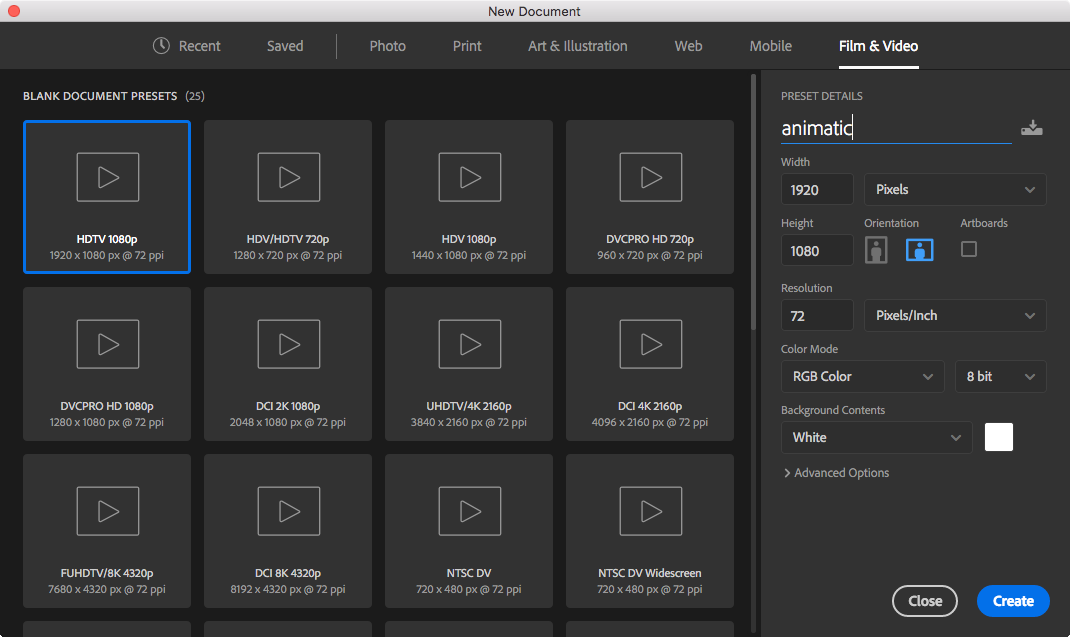
Fire up Photoshop, then create a new document 1920px wide, 1080px high. These dimensions are also known as HDTV1080p, or Full HD. It's the size of most short-form video.
Step 2. Add a timeline
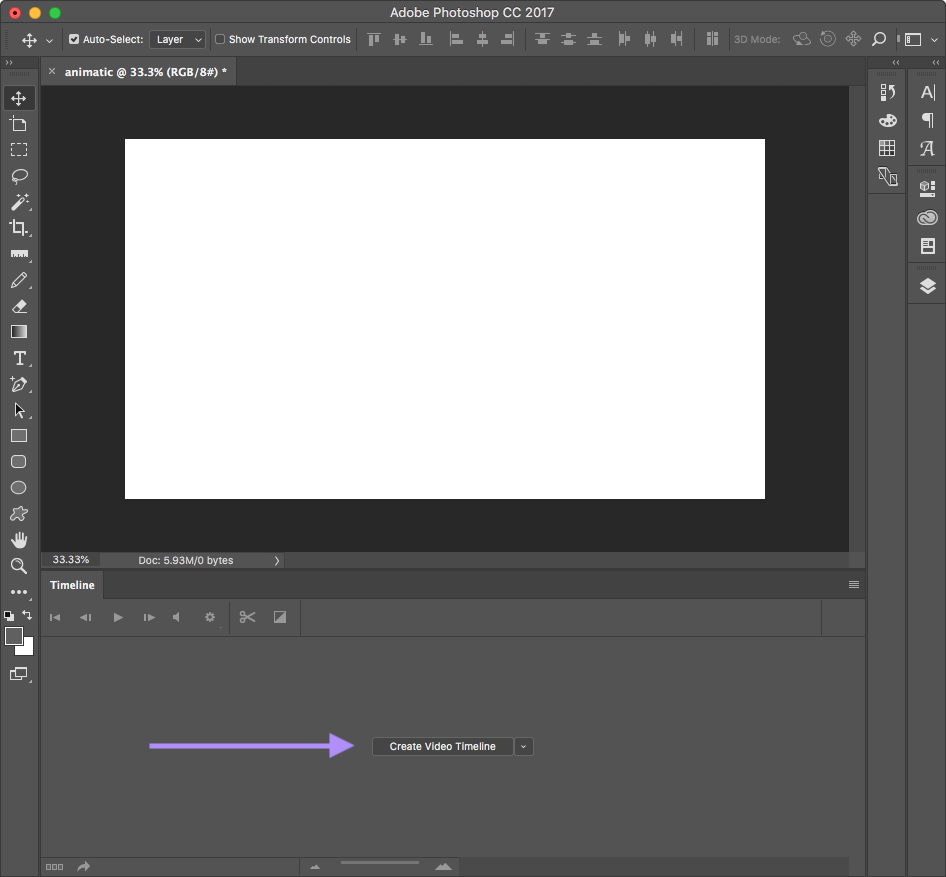
Click "Create Video Timeline" within the Timeline panel at the bottom of the UI. If you can't see the Timeline panel, you can open it by selecting 'Window > Timeline' from the menu.
Step 3. Add your frames
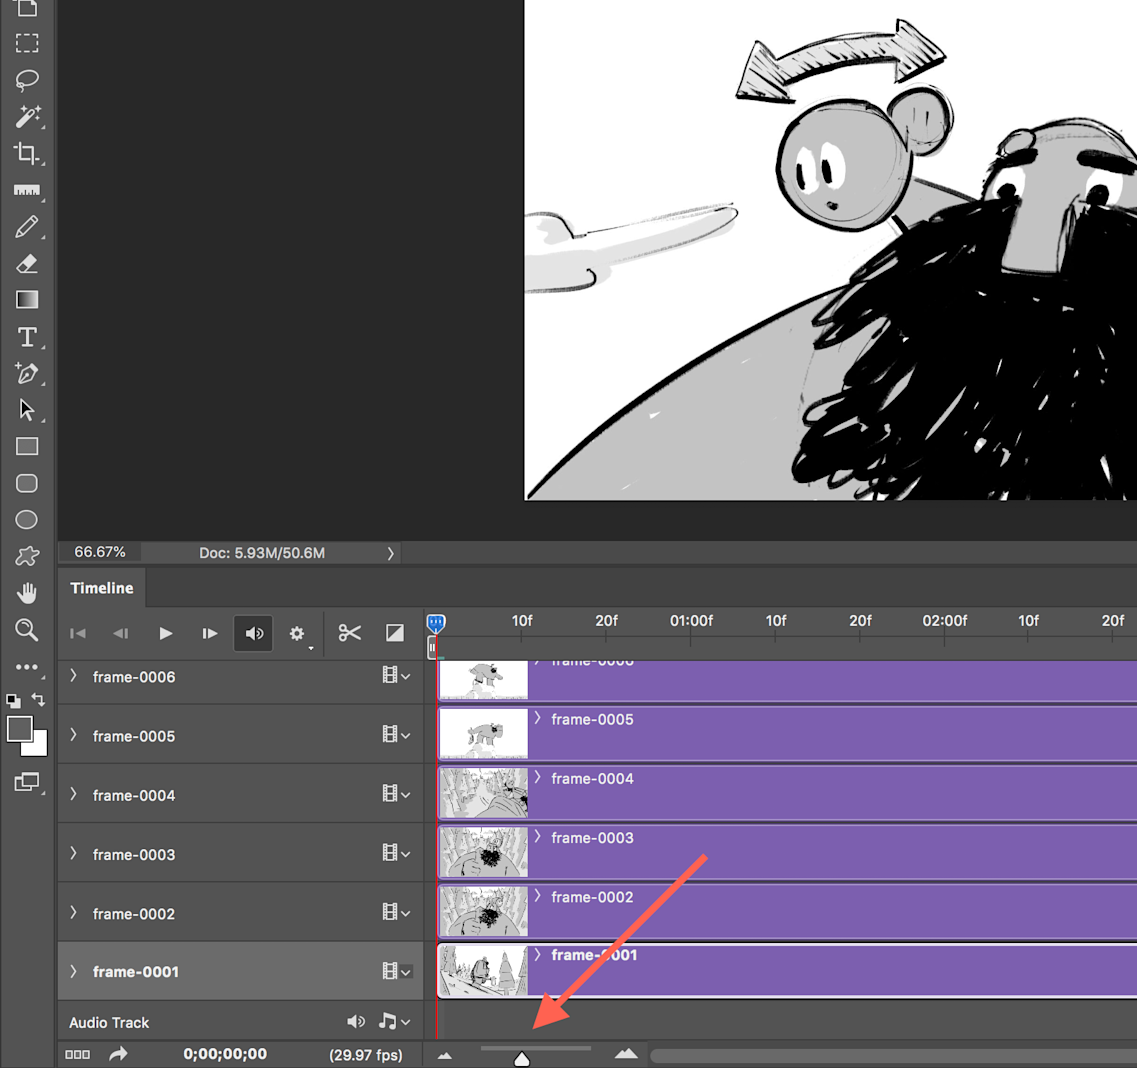
Drag your storyboard images into the empty artboard. This will create references to those frames on your Timeline. When you first drag your images in, there's a good chance the Timeline won't fill the whole horizontal width of your screen. Use the Timeline zoom tool at the bottom of the Timeline panel to zoom in or out.
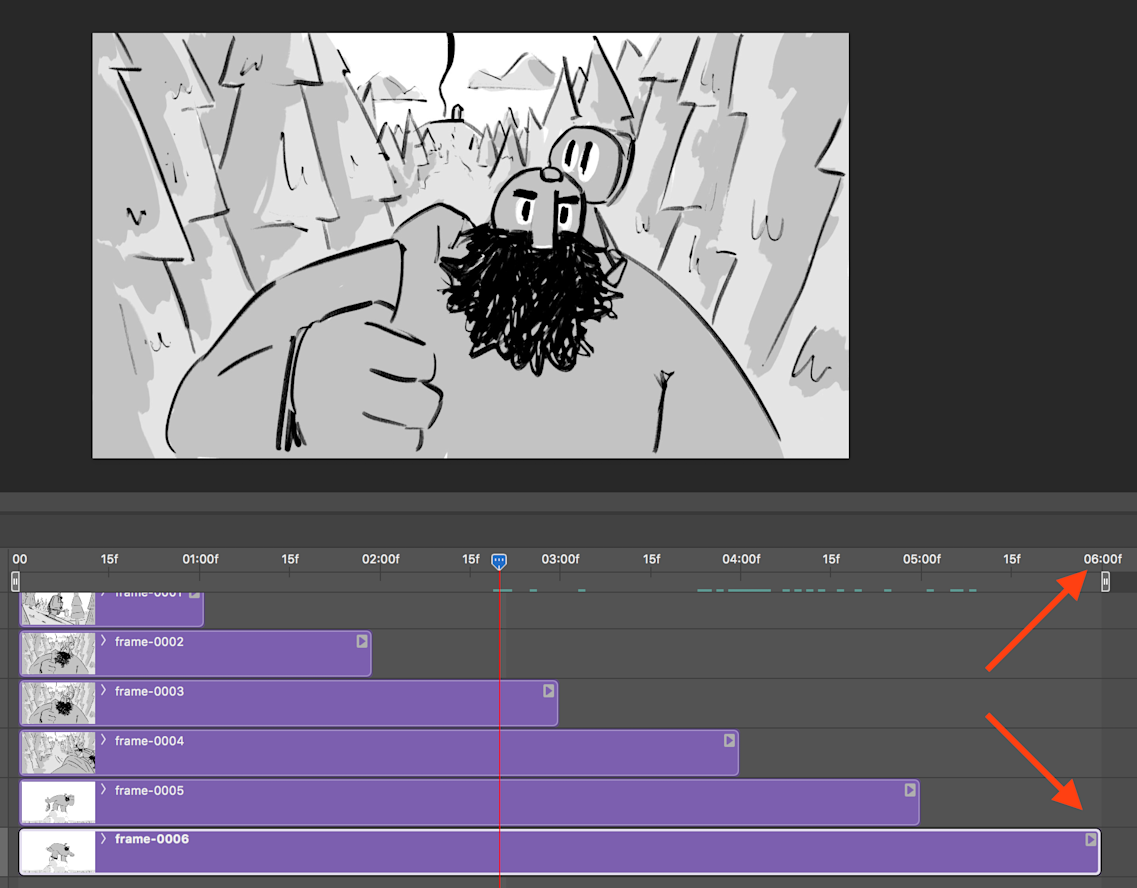
Step 4. Time your frames out
Now for the fun part - timing out your animatic! Drag the end point of each of your frames to the left until you have a 'staircase' of frames. Your first frame should be at the top, the last frame at the bottom.
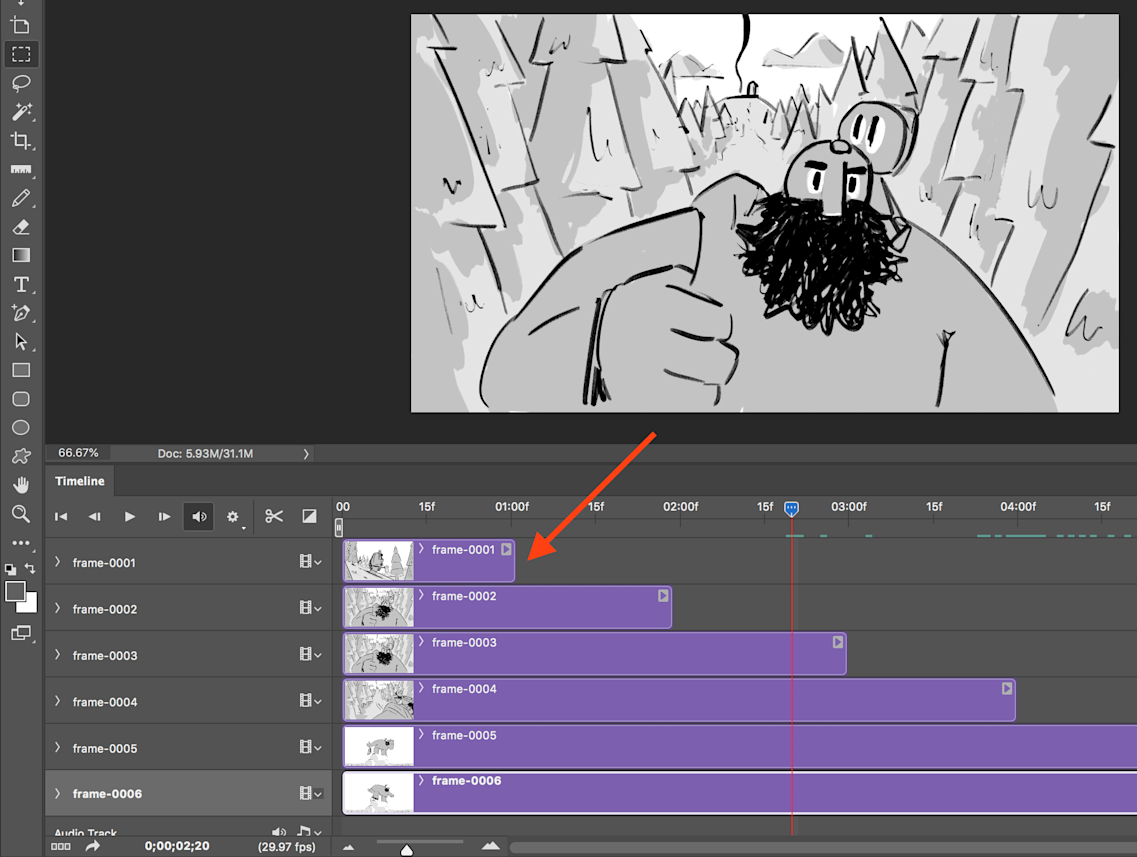
We don't need to alter the start points of each frame, because Photoshop will only show the top visible frame at any given point. The end point of the last visible frame in your Timeline defines the duration of your animatic.
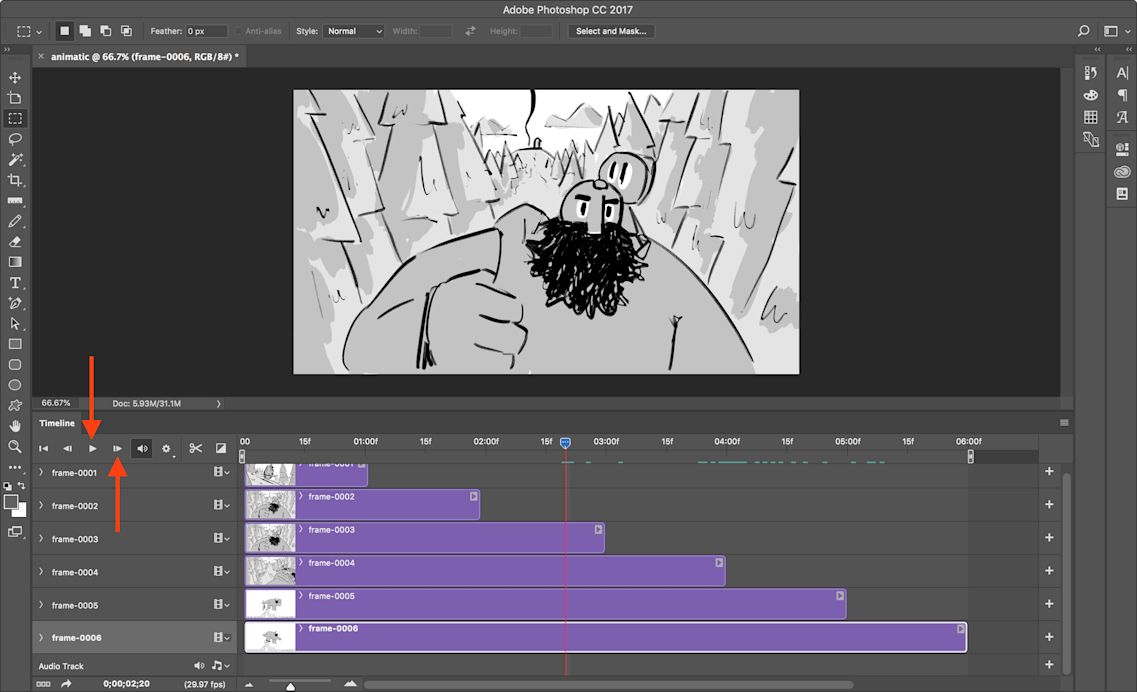
Step 5. Playing your animatic through
Play your animatic through by using the 'Play' or 'Step' buttons in the Timeline UI. 'Play' will continuously play your animatic (it loops by default, although you can turn this off). 'Step' will move your animatic forward one frame at a time. You can also play and pause your animatic by pressing the space bar.
Get your FREE Filmmaking Storyboard Template Bundle
Plan your film with 10 professionally designed storyboard templates as ready-to-use PDFs.


Step 6. Exporting your animatic
When you're happy with the timing of your animatic, it's time to export it. Go to 'File > Export > Render video', choose your MP4 export settings, and you're off to the races.